I`ve been baking bread in a bread maker for about a year. There`ve been a lot of trials and failures before the loaves started to seem something like bread, but that`s not the point. Today it`s about keeping the bread fresh, which can be a bit of a struggle because home-made bread doesn’t have preservatives in it.
Moulded bread
We stored our bread in a lined bread basket, wrapped in a plastic bag. It used to be just fine until a couple of month ago I found mould on the loaves.
Tip: You can`t get rid of mould just by throwing away the loaf. The invisible spores might spread throughout the bread container whatever it is – a basket, plastic bag/container, bread bin or bread drawer. And it`s not enough just to wipe it with a damp cloth. You should use alcohol or the best would be to wash it thoroughly with soap. And that`s exactly what I did with our stainless steel bread bin and the basket.
DIY cutting board
But the problem still remained. Besides I wanted to have a regular board for bread cutting. While surfing the internet I found hundreds of beautiful crumb catching cutting boards, but again, they`re a bit pricey and there`s hardly a few to fit the size of my bread box.
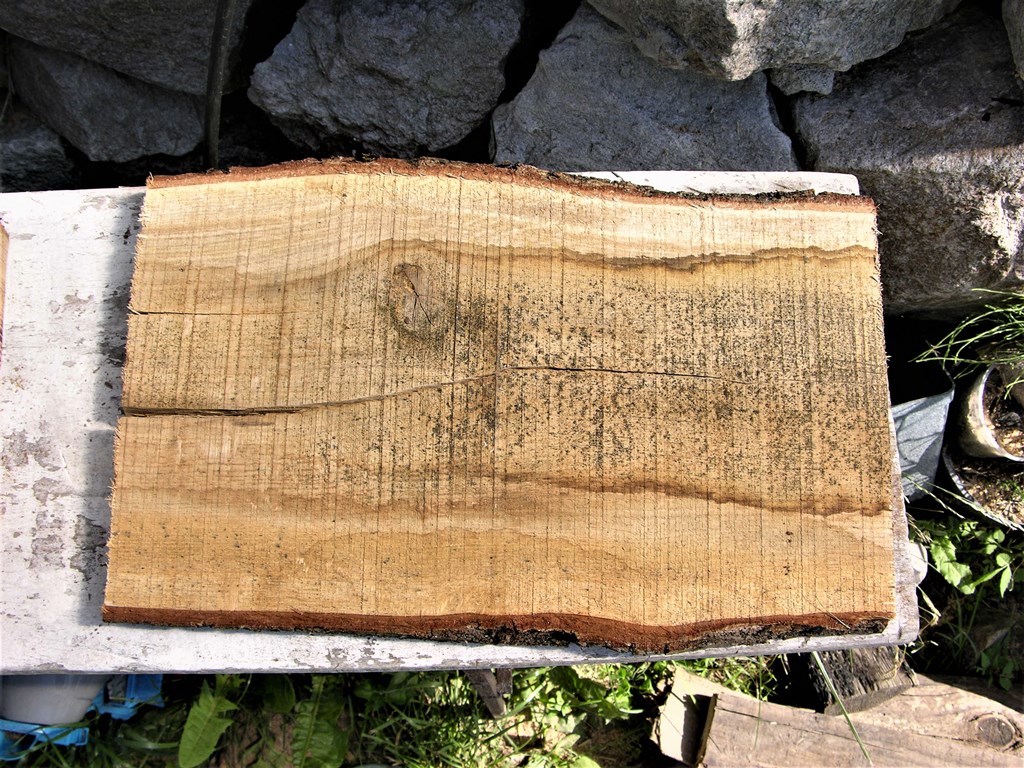
I have a couple of unedged oak boards. The width of one of them was a bit smaller than the bread box`s cutting board.
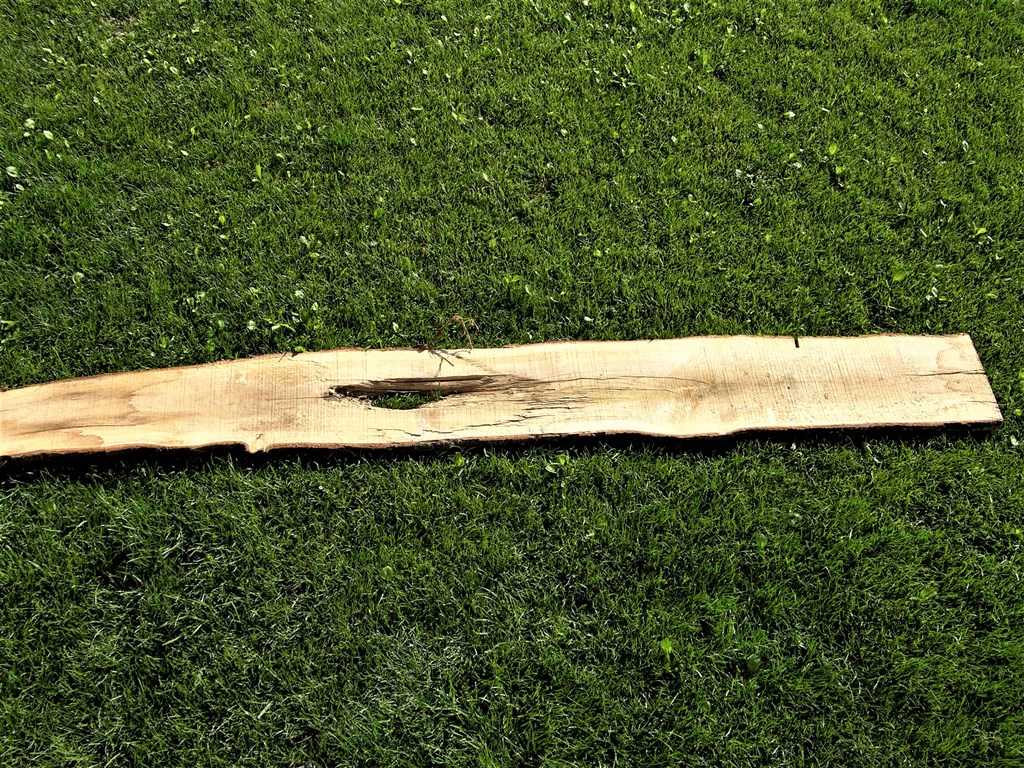
So I cut off the length I needed (approx. 14″ x 8″ or 36 x 20 cm) aaaand it snapped. . . But the carpenter`s glue is a miracle itself and I quickly fixed that mishap.
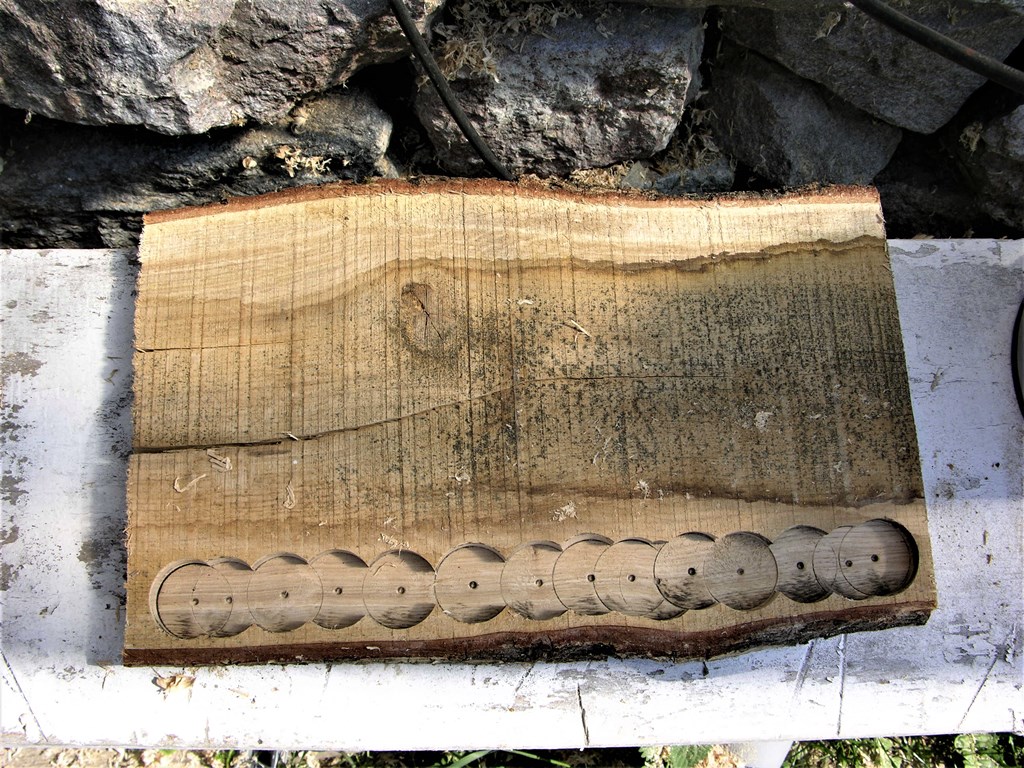
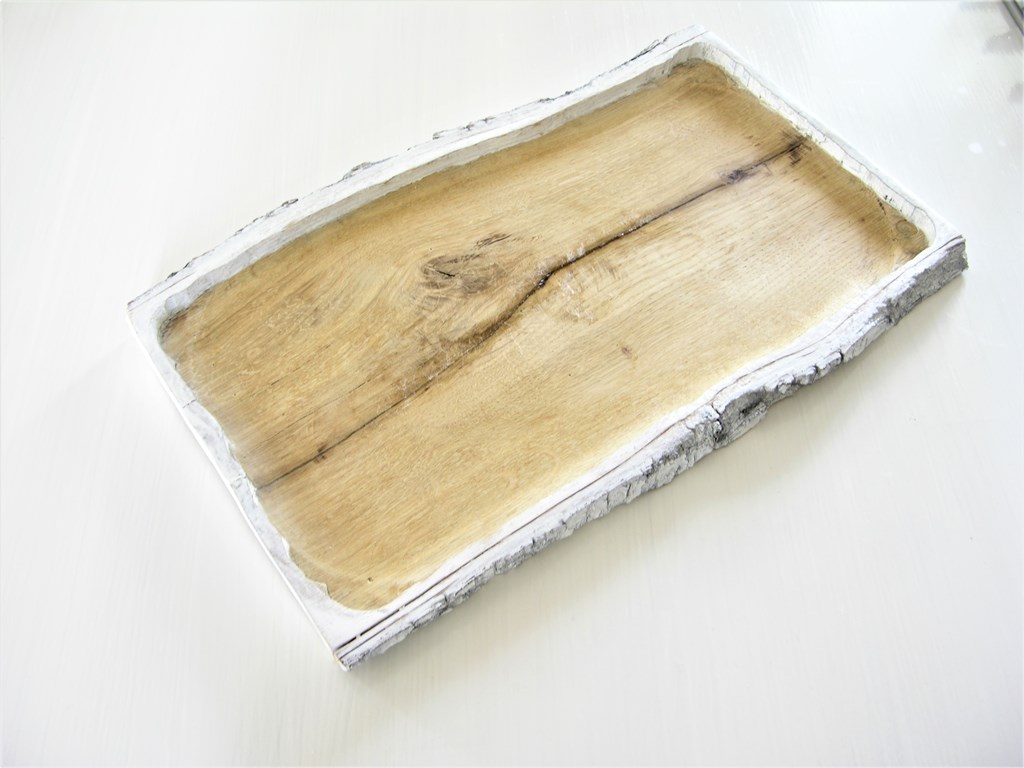
I wanted this to be not just a cutting board but something like a tray with edges so that the crumbs don`t spread all over the kitchen. Hence I`ve decided to make a cut throughout the whole board leaving just the perimeter (about 3/8″ thick) edges. Tried to use a router with 1″ wide dado & planer bit. First I cut the perimeter and then the whole board (except the edges). Made about 3/8″ (1 cm) deep cut in a 6/8″ (2 cm) thick board. Frankly, it seemed to be unreal to do this, but when the bit is sharp then the work goes fast & smooth 😉
Then I used the angle grinder with 120 grit flap wheel and the orbital sender with the same grit sanding paper to get to the corners. The corners aren`t perfect but they’ll do.
I sanded the whole board and painted the live edges white as I crave contrast. The oak board with its pleasant colour and texture evolved into a soft and pretty utensil.
Drawstring bag
Let us not stop on the bread box and the cutting board and move forward with a drawstring bag for the homemade fresh and flavourful bread. It`s the simplest thing to make.
I have some thick linen fabric.

I cut out a 10″ x 12″ (40 x 30 cm) piece of it, bent it into two (there`s no face or back, both sides are identical). Sewed a double-fold hem on these two sides

But unlike in this post I didn`t have to iron it because linen easily creases. So I just folded the fabric over on itself twice and sew a neat and finished hemline.

The side hem shouldn’t reach the top of the bag for about 2 ½″.
The part that we didn`t saw on the top, we`re going to press and hem separately, on both sides.
The drawstring case
Fold down the top of the bag for about half inch or less, press it. Then fold down one more inch and stitch it starting from the split edge. Don`t forget to make a back stitch every time you start and finish stitching so that it won`t split.

Drawstrings
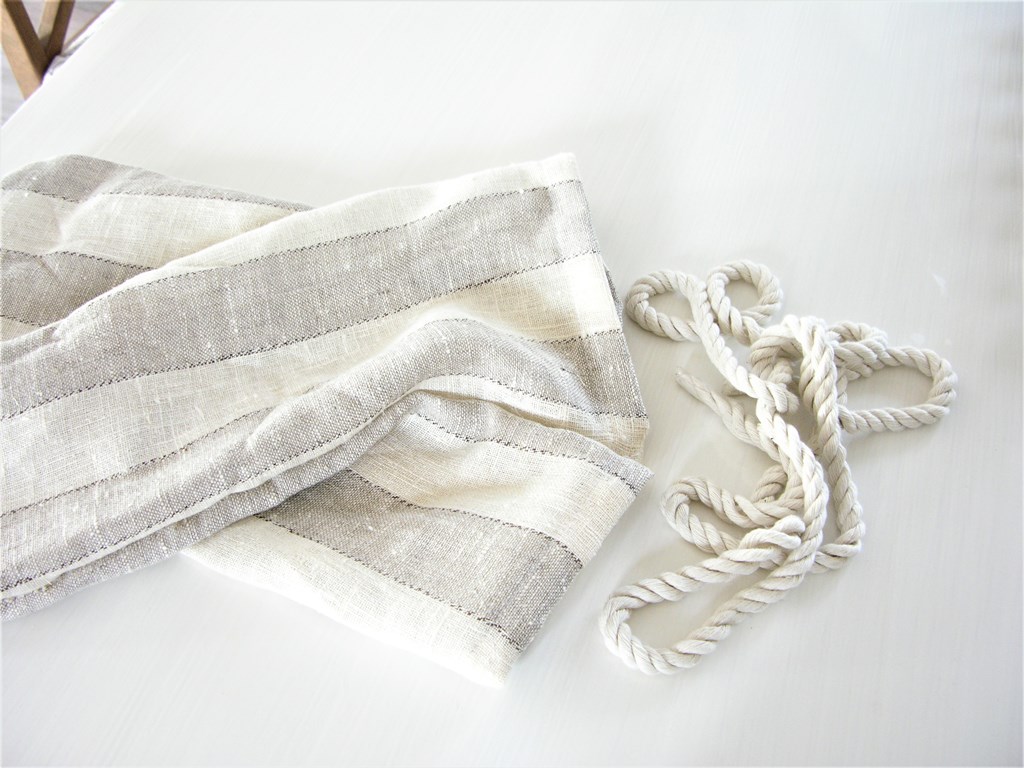
Turn the bag right-side out. Make a knot on one of the drawstring ends. Put a safety pin in that knot and thread the drawstring through the drawstring case. Tight the two ends together.
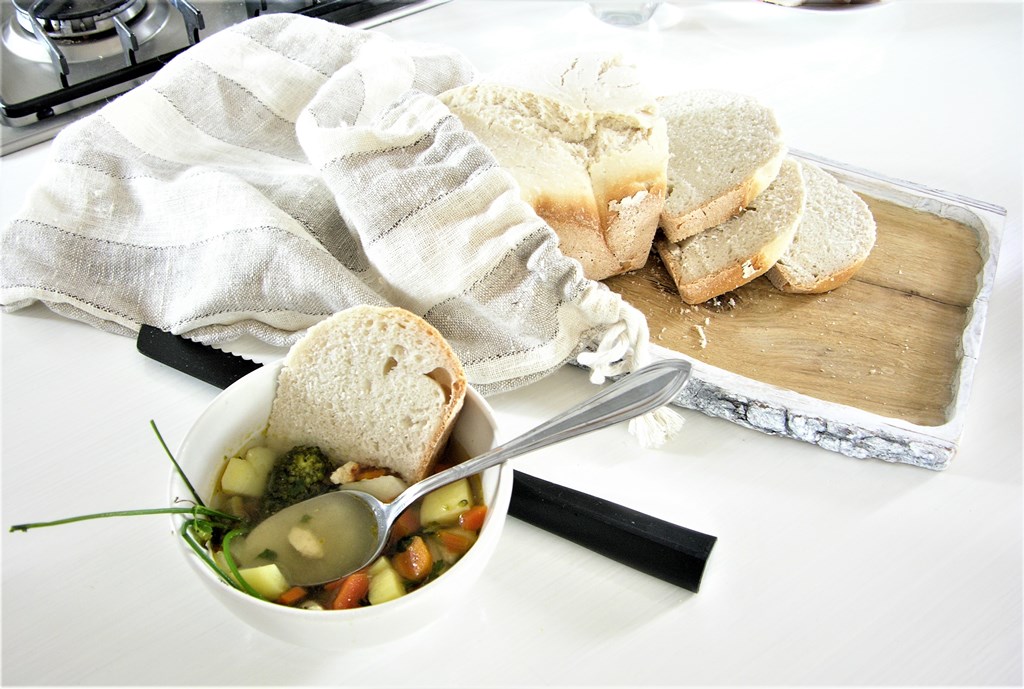
Nice to behold and utilize 🙂
And what is your best way to store freshly baked bread?


