

Every entryway, even a tiny one, needs a surface where we can put our keys as soon as we step into our Home, showcase a welcoming sign, some dear to heart photos or lovely little items which make the home warm and cosy from the very entrance door.
Our entryway has not pretty much space for anything, but it has a big unconventional radiator instead. It dramatically affects both – the inside temperature in winter and my aesthetic dignity.
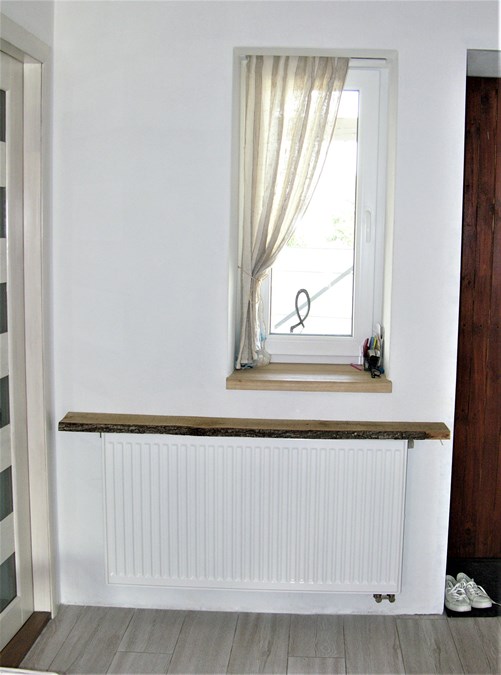
I needed something to cover that big white ruffled screen but at the same time to leave it exposed enough to heat the room. That`s how I got the idea on making a thin heat-efficient wall mounted console table.
Wood for the top
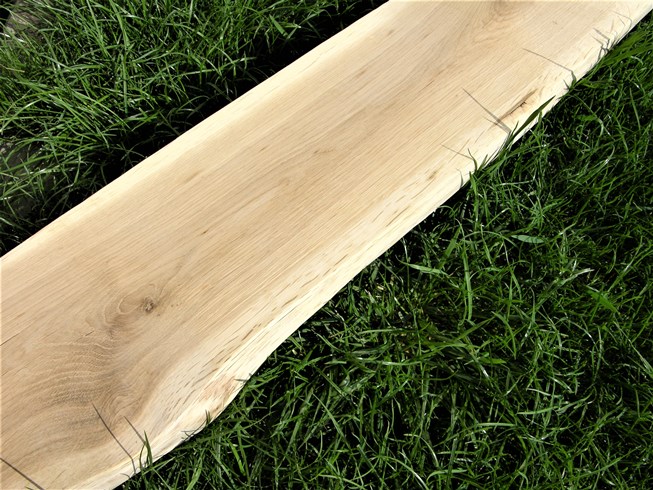
For the top of the radiator cover I took a 30 mm (1 3/16″) thick untreated oak board, but it can be any kind of wood (remember the “Use what you have” principle).
The radiator is 1000 mm (approx. 39 ½″) long. I added 150 mm (5 7/8″) to both sides so the overall length of the table was 1300 mm (51 3/16″). It also had width limits. The minimum width was determined by the thickness of the radiator and the maximum – by the bathroom doorway to the left of the table. As I wanted to leave the beautiful grain of the live-edge wood, the width is ranging from 130 mm (5 ¹/₈″) to 150 mm (5 ²⁹/₃₂″).
According to the measurements, I cut the board`s length and one of its edge with the circular saw.

With the help of a well-sharpened axe I took off the bark from the other, live edge.

* Tip: the bark comes off easier if it is dry, so give your board a day on a bright sunlight or a couple of days to dry in a warm dry place.
Then I sanded the whole surface.
Wood grain is a genuine aesthetic. . . pleasure to me. Like the post if you share this passion for working with real wood 😉 .
Attaching the console table to the wall
The easiest way to attach a console table or a shelf to the wall is to use angle brackets. But I needed to mount the table to the wall so that I could easily take it off anytime I need to clean the radiator.
I had a couple of aluminium brackets, which are just 20 x 70 mm (3/4″ x 2 3/4″) long bent plates with a hole at one of their sides.
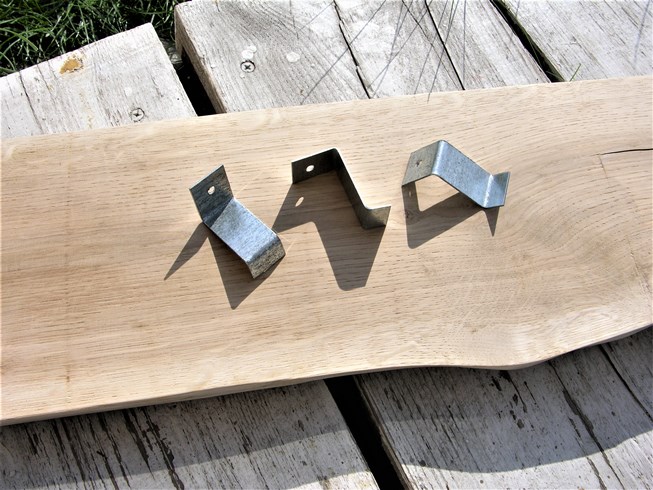
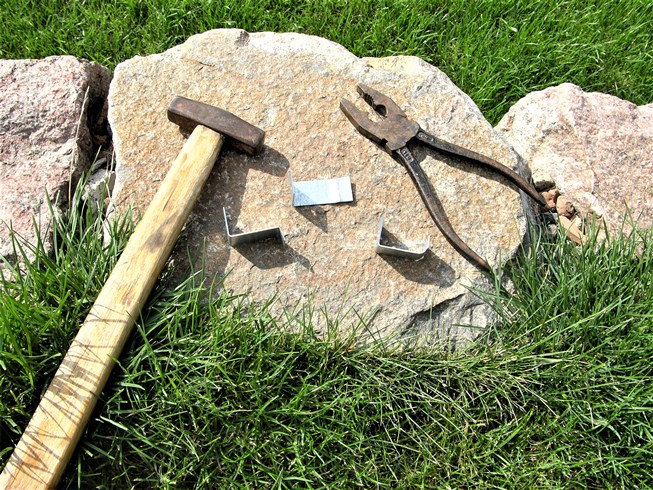
I tried to make some sort of hooks out of them and bent them to the other side with the help of the hammer and pliers. Something similar you can find here.
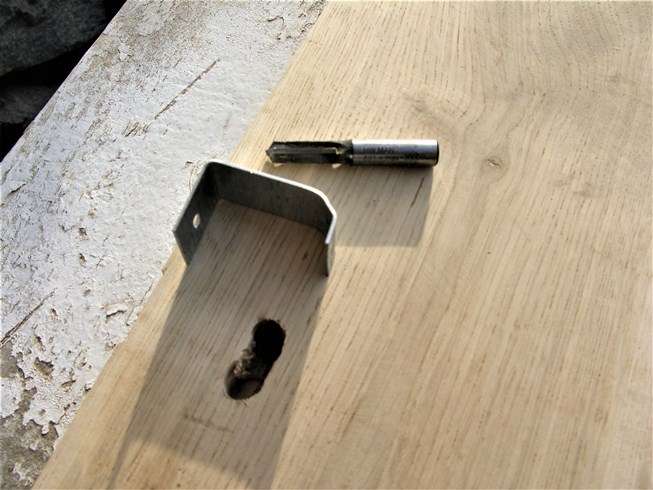
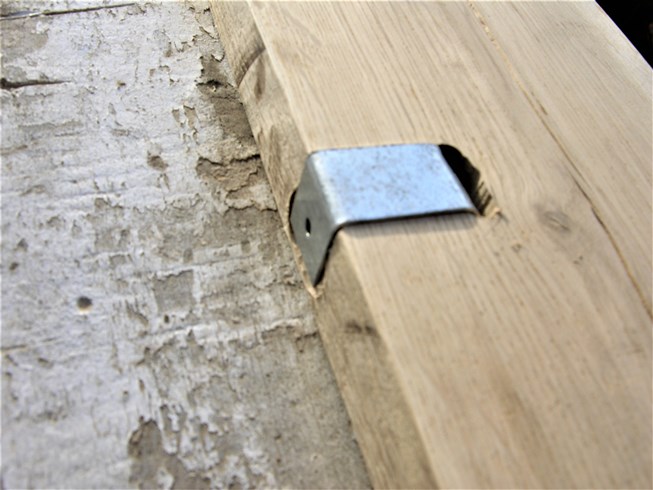
In the wood I made a thin recess with the router to fit in the “hooks” so there would be no gap between the table and the wall.
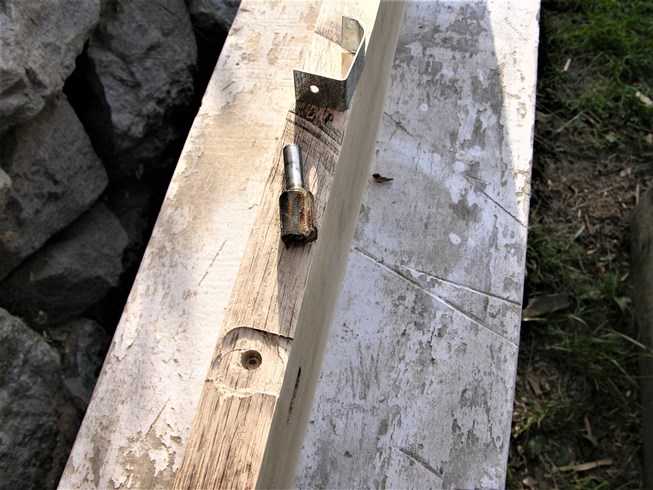
I also made a hole for the head of the anchor which would hold the bracket.
With the help of the 6 mm (1/4″) two flute straight router bit I made holes in the board for the brackets.
How to make marks for the bracket anchors on the wall
The method I used is good for “soft” walls like drywall or cement plaster.
I inserted a tiny 1 mm (3/8″) screw in the bracket hole for the anchor:
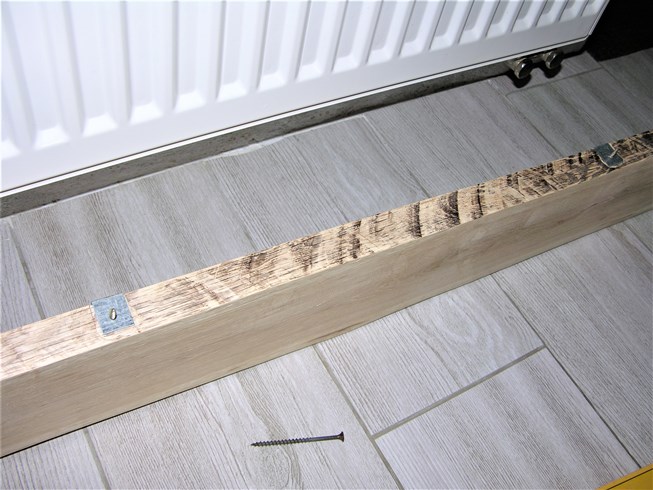
Levelled the board (using some props like a glass jar 🙂 ) and pushed the board towards the wall so that the screws left holes in the soft wall:
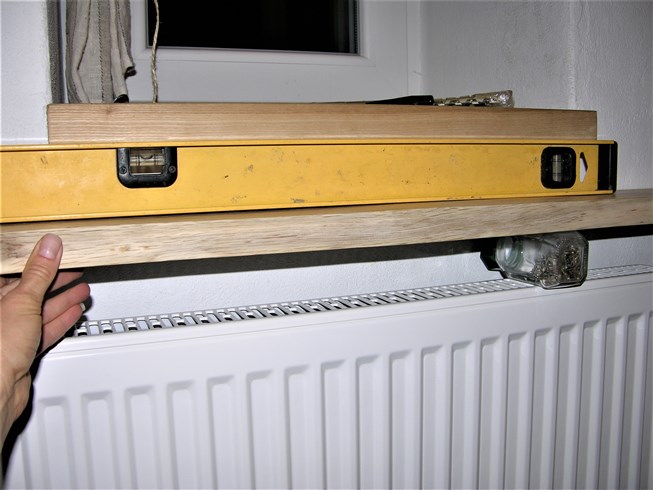
It liberated me from all those unnecessary and imprecise levellings and measurements – I had the exact marks for the anchor holes.
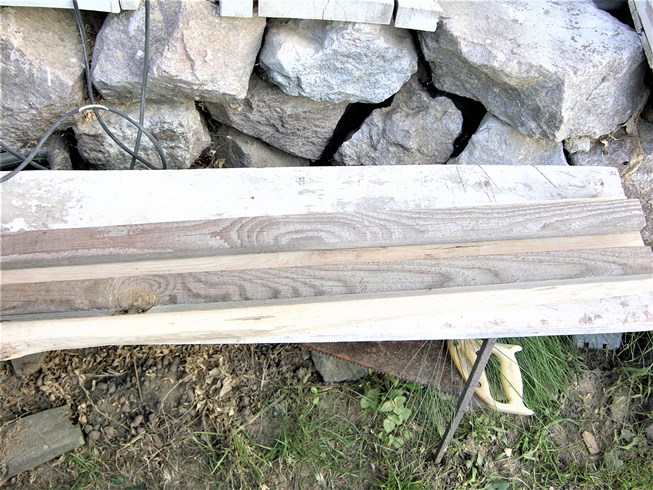
Legs for the wall mounted console table
I had several pine battens (2×4) from the sound panels left outdoors to make them weathered:
Positioned one of them on the place it was supposed to be as a leg and drew a parallel to the floor line on the bottom of the batten. Then I took the two battens and cut them along the marked line.
Then again, I positioned one of the legs to its place and marked the top cut. Before cutting, I drew a parallel line for about 15 mm (5/8″) above the mark I made at the top of the leg.


This is for the mortise and tenon joint.
The simplest Mortise & Tenon joint for the table legs
It might not be the most precise and reliable joint, and it won`t work with a dining table, but for a wall mounted console table, which needs the legs only for some additional support, this method will work fine and fast.
I drew two outlines of the legs on the bottom of the board:

and made two 16 mm (5/8″) deep mortises with a 12 mm (1/2″) wide two flute straight router bit. I could`ve tried to make accurate mortises with a sharp chisel, but it`s an oak board, I thought it would`ve taken forever.
The legs in the mortises I secured with wood glue and screws. So, I made two pilot holes for the screws with a thin drill and with a 6 mm (1/4″) made little recesses for the screws` heads in each leg. Sanded the legs. Injected wood glue in the mortises and attached the legs, additionally securing them with the screws (see the photos down the post).
The result was such a huge strange creature on the wall 😆 the legs are too long and disproportionate:

Adding a stretcher
I decided to add a side stretcher that would: first, visually shorten those extra slim legs; second, strengthen those extra slim legs.
The stretcher I made of the same as the legs 20 mm x 40 mm (3/4″x 1 5/8″) battens. I cut it down to the length of the radiator. To level the stretcher, I put it on its place with the level on the top of it and marked out its place with four horizontal marks on both legs.

Then I took the table off the wall and drilled two holes for screws in each leg with a thin drill bit within those marks.
After that I screwed the screws in from the inner side of the legs (the side of the radiators) and pushed the stretcher against them so that the screws leave marks on the stretcher. Then drilled into those marks for about the half of the horizontal batten thickness. And made some recesses with the bigger drill for the screws` heads (to align them with the wood).
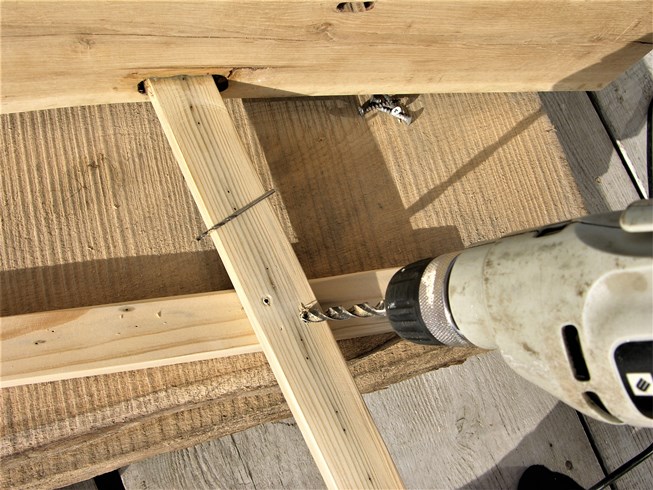
Poured some wood glue within the marks on the face side of the legs and joined the stretcher with the legs with two screws on each leg.

When the glue`s dry I filled the gaps around the legs with a wood putty. The gaps were around 15 mm (5/8″) deep, so I had to fill it twice, waiting for the first layer to dry. When the putty dried, I sanded it so to make it neat.
*A little reminder: with a chisel the work would probably be much neater and I wouldn`t have had to use the wood putty. But I think the way I attached the legs to the board saved me a lot of time.


Then I applied a coat of acrylic varnish to the whole surface.
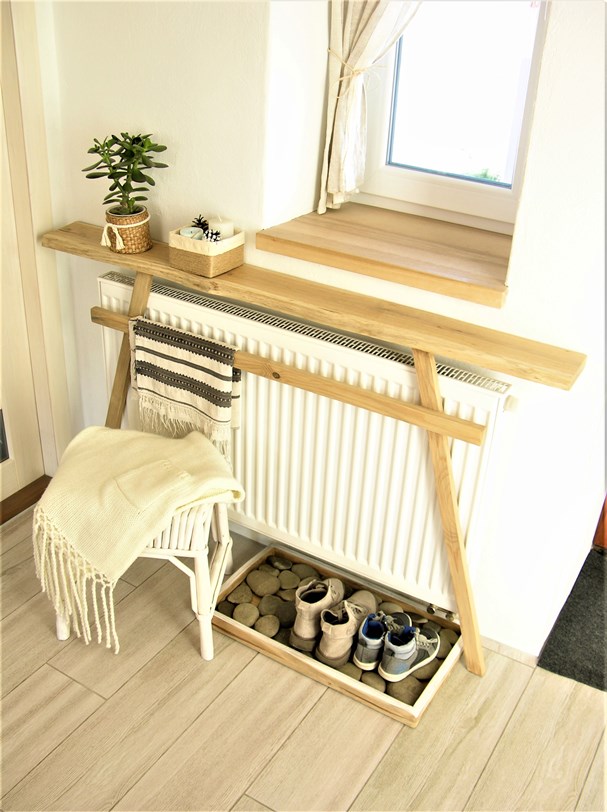
DIY wall mounted console table
Some accessories like a cute DIY storage box and a DIY shoe tray and an inviting cosy DIY wall mounted console is ready. I think it`s a good alternative for a screen that covers the whole surface of the radiator.
God I love this solid oak console table and all that solid oak and ash and pine natural look!
Share if you like the DIY wall mounted radiator cover console table idea!

Hi Kinga,
This turned out amazing! Simple yet so elegant looking. You have a beautiful home. So great to meet you 🙂
Christina
Thank you for a nice comment, I’m very pleased!
Apologies for such a late response, somehow your comment got into Spam, and I’ve just noticed it.
I remember your blog, your beautiful flips and interesting upcycles!
Hope you’re doing well! 🙂