
The variety of baseboard types, styles, materials is stunning. One can easily get lost among those.
Along with that baseboards are such an ordinary thing in every household that it doesn`t even come to our minds that there might be other options.
I used to be one of those baseboard-oriented personalities 🙂 . But in this article I`ll prove that the idea of walls without baseboards is worth trying!
Here`s a video tutorial on making DIY wall base without baseboards:
Baseboard height standards
We have quite high ceilings, 3,05 m (10″) to be more specific. A standard rule of thumb called the 7-percent Rule says that the baseboard height should comprise 7% of the ceiling height. Which would`ve meant that we needed 21 cm (8 1/4″) high baseboards to compound a standard proportional wall outfit! 😯
Can`t even imagine those huge base mouldings on our plain white walls. However, I was looking for them – high, flat, extremely expensive hardwood baseboards. . . Though that was a lavish option we couldn`t afford.
So, do the walls need baseboards?
Backgrounds
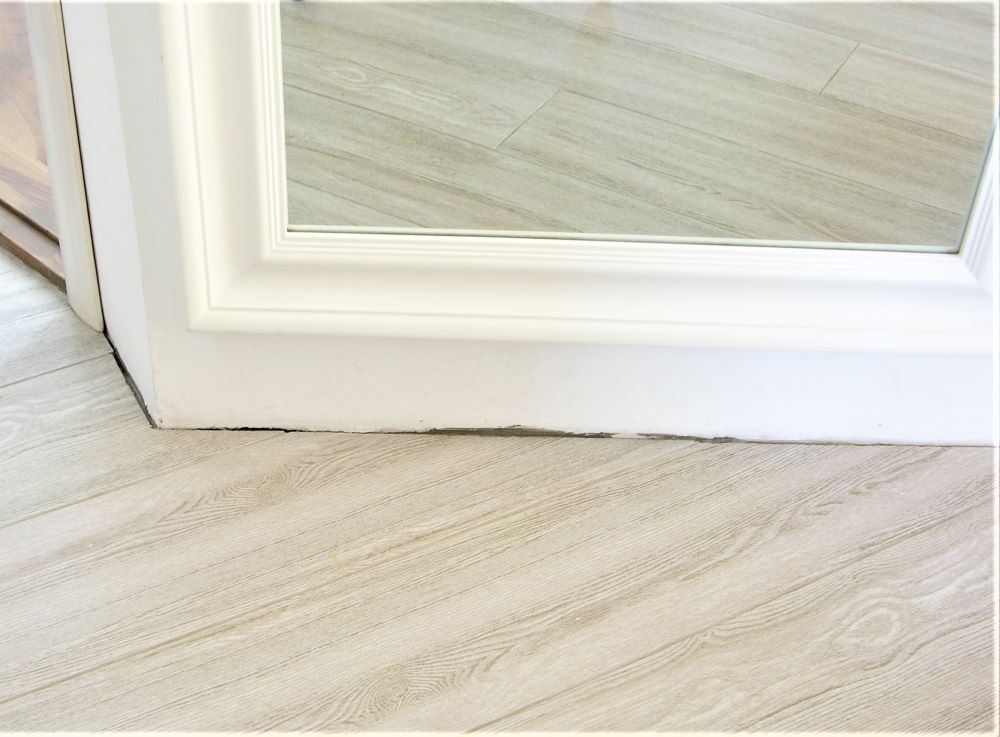
We have a tiled shower and once in a while I repair the grout. There were always some leftovers after this fascinating process, and so not to pollute the environment I filled the wall-floor gaps in our living room with the remaining grout. It wasn`t somewhat noticeable because, as I`ve mentioned before, we have white walls and light-grey tile floors.
After a while I took a close look at that grout and found no cracks! It supposed to be cracked but it wasn`t!
This time I mixed some grout solely for a short (about 1 m) joint line between the wall and the floor. I wanted to see if it works that good in the inter-seasonal period. And it does! No cracks during the winter-summer period.
Walls. . .
Our interior walls are made of foam concrete blocks covered with cement plaster. It was intentionally made uneven and was a very good decision.
*Tip: stains, children`s teeny-tiny fingerprints and small drawings are very obscure on an uneven cement plaster, even if it is painted in white.
The assumption that there are going to be gaps along baseboards installed on the uneven walls is quite reasonable. And that was another point against installing baseboards.
Floors. . .
Well, everything is simple here. The floor is tiled. Although we have a hydraulic (water) underfloor heating, the tile doesn`t expand or contract, unlike wood, laminate or vinyl flooring during the seasonal temperature and humidity fluctuations.
. . . & gaps between
While designing the flooring, I chose large scale tiles (1200×200 mm) to simplify the tiling process (therewithal, it is aesthetic to cover vast areas with large scale flooring). Together with our contractor (who happened to be my brother-in-law) we determined the width of the grout lines so not to cut the tiles along the walls (and save them from crazing and cracking during the cut).
I express our deep appreciation for the neat work he did.
Grout
I used a decorative cement-based non-sanded grout. To match the grey colour of our tile, I mixed some white and black grouts.
*Important! Check the manufacturer’s instructions for grouting before purchasing or beginning tile grouting. Use safety glasses, gloves and respirator when mixing the grout, otherwise it may cause serious eye damage, skin and respiratory irritation!

*Tip: if you mix the colours, then remember the proportions of different colours and water you added, to make the same colour when this blend is over.
Creating a neat look
First, I thoroughly vacuumed the gaps.
To fill the gaps, I used a small rubber grout spreader (my favourite one, you can find similar here) and my fingers (yes, not the best idea, but I got used to working with bare hands).

Also, writing this post I stumbled upon a tool which has over fifteen hundred good reviews and 4.4 stars on Amazon. I haven`t tried it, but it may become useful for someone 🙂 .
*Tip: don`t use metal or plastic trowels, they would scratch the surfaces and leave grey tracks on them!
If the gap is deep (ours reached even over one centimetre), then we have to fill it and let it dry for minimum two hours, according to the manufacturer`s manual of the specific cement grout I used. Leaving it to dry overnight would be better. And then fill it again.
I did it in two steps, because the ordinary cement-based grout cracks if the gaps are too thick (caution: refer to the container for full information and always follow the instructions).
When the grout is in place, you can wipe away the excess with a damp sponge or cloth. But frankly, I always use my fingers to make the grout joints neat 😳 .

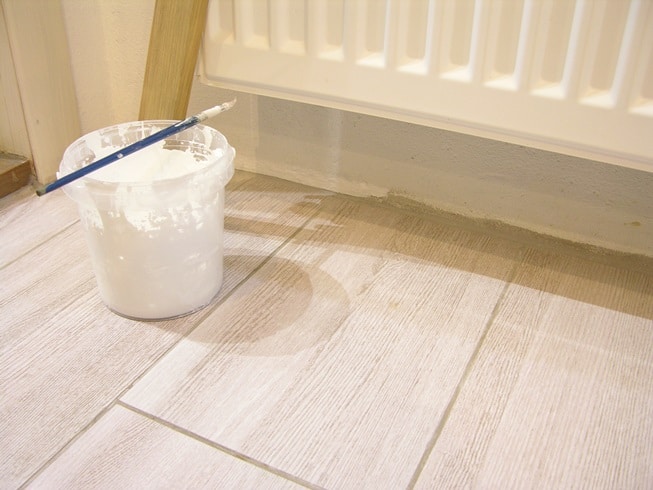
Painting
And the hardest part, which demands some skills of precision, is to draw a straight line on the wall above the grout. It defines the thickness of your “baseboards”. I used the same paint applied to the wall before.
Drawing a line with my kid`s 6mm paintbrush worked well for patient me 🙂 .
I also used masking tape on one of the walls trying to make the painting process easier.
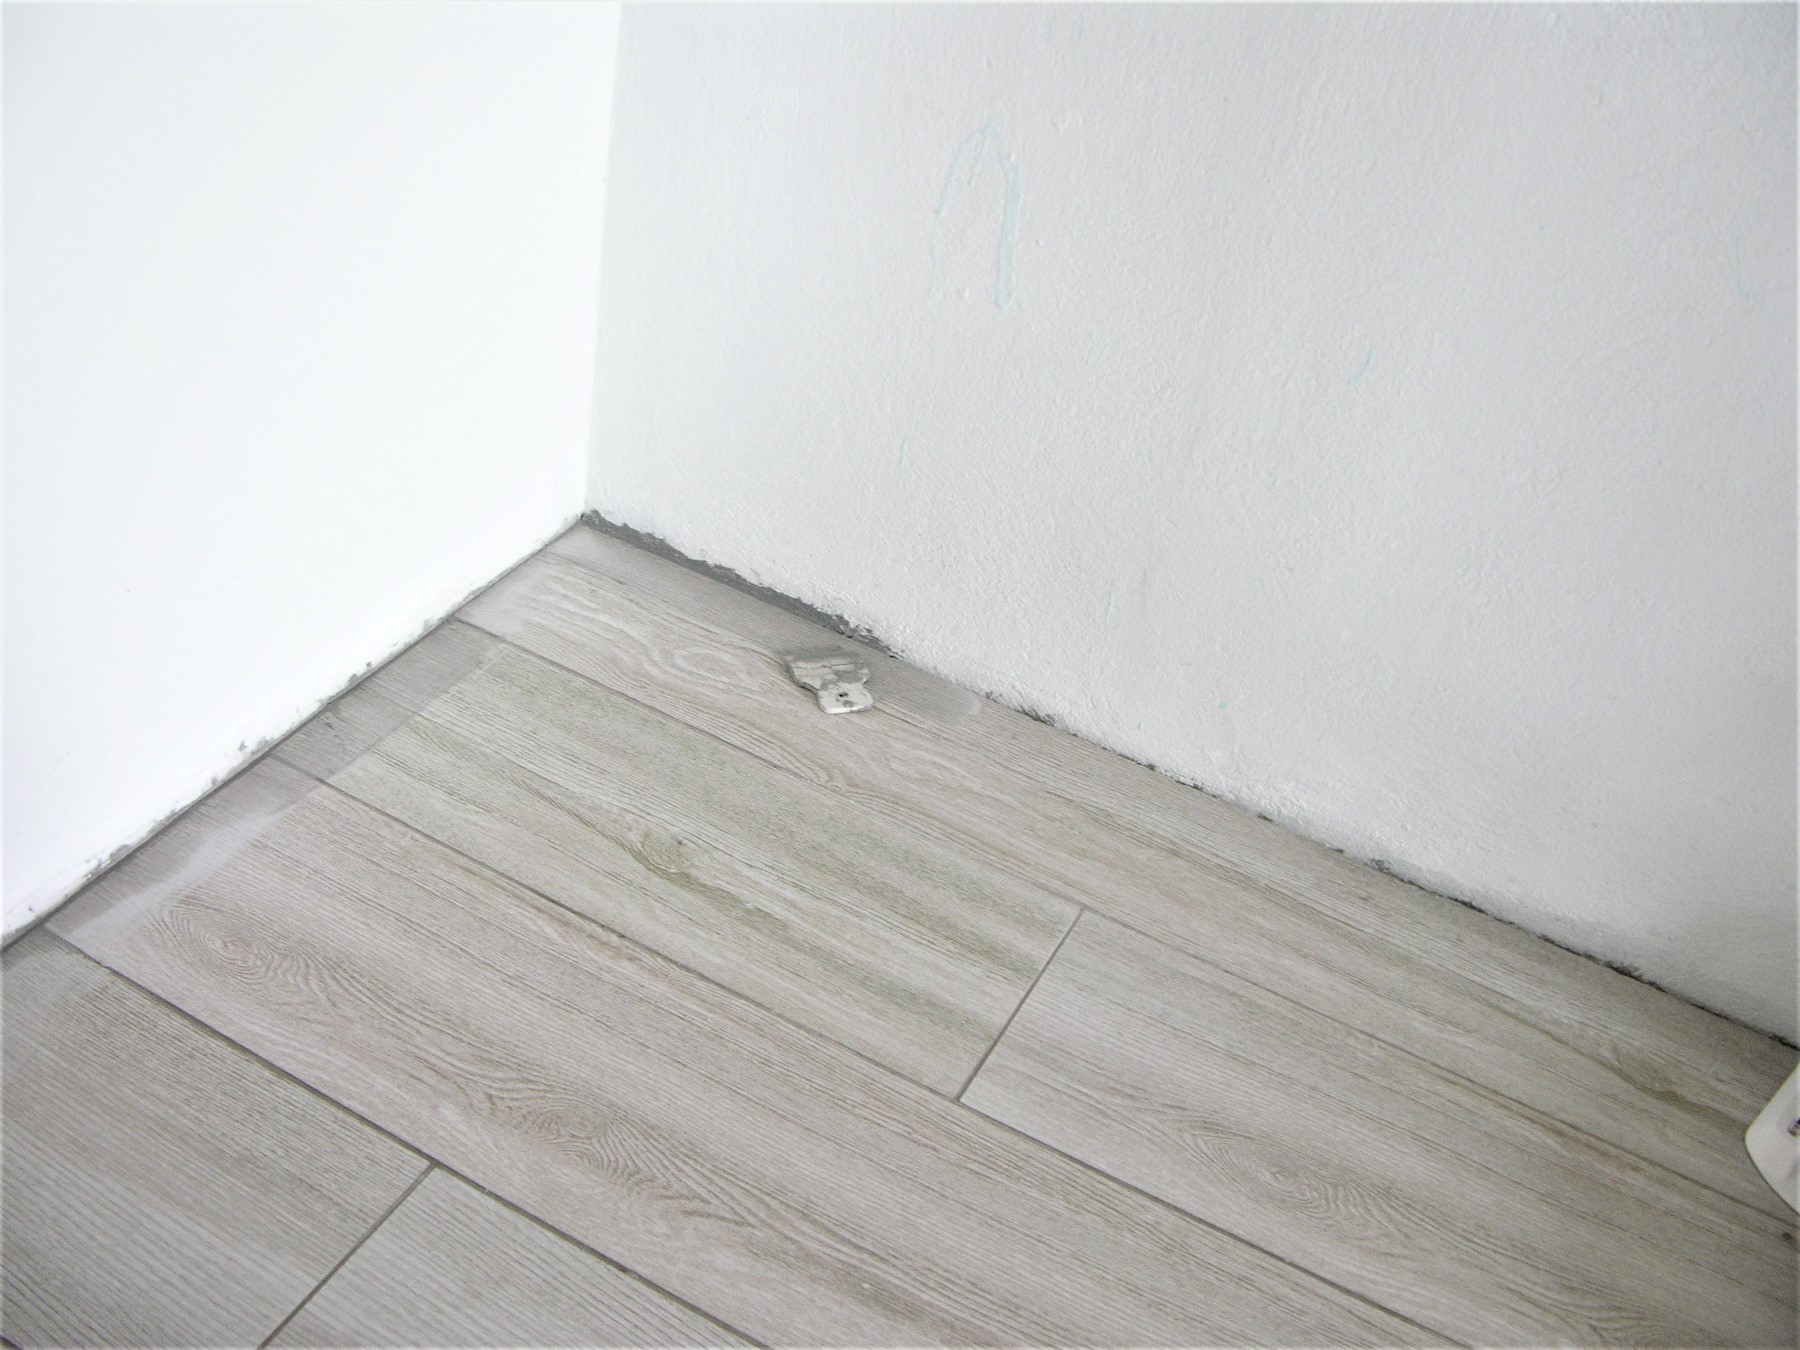
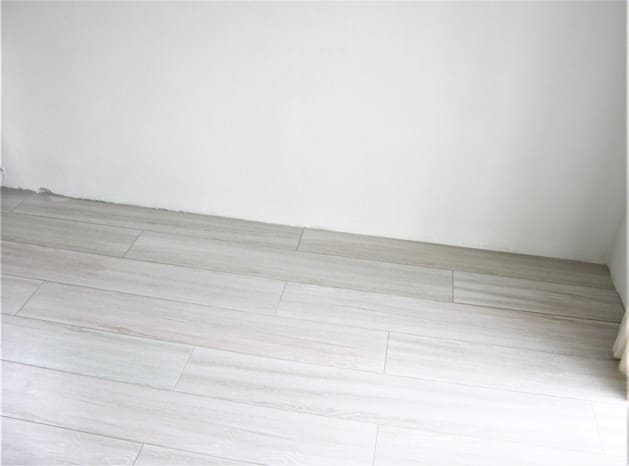
*Note: The walls You see in the pictures below are not solid (not stone, like the others) but drywalls, and surprisingly the grout hadn`t cracked here either.
But it didn`t work with the uneven surfaces: when you fiercely apply the paint, it gets under the masking tape anyways, plus when the masking tape is removed, it takes small particles of the paint off of the wall 🙁 .

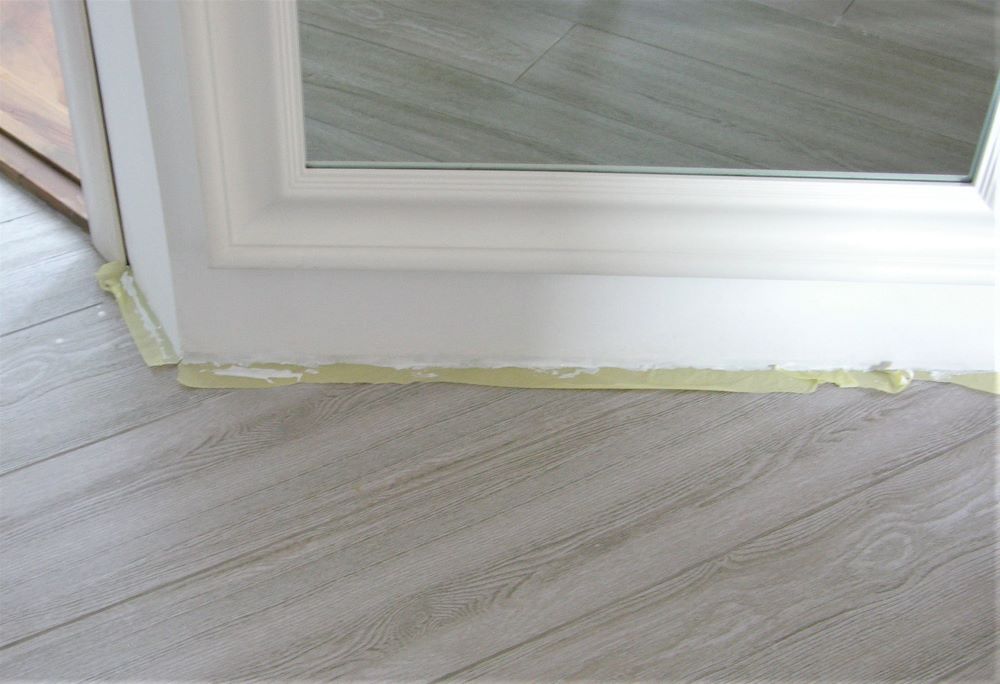
So, eventually, I drew a straight line by hand.
Pros. . .
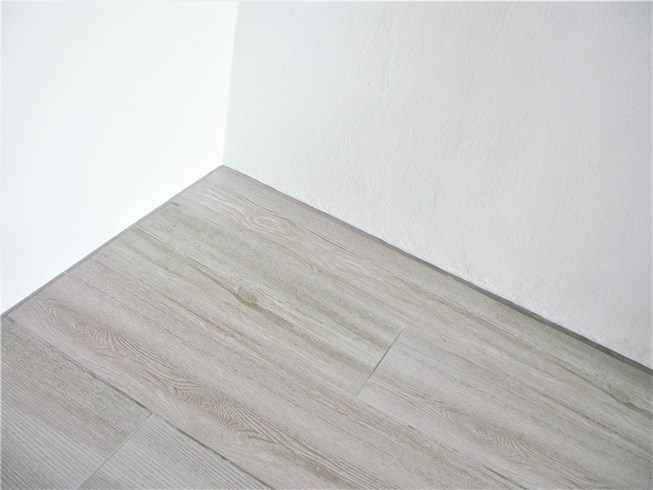
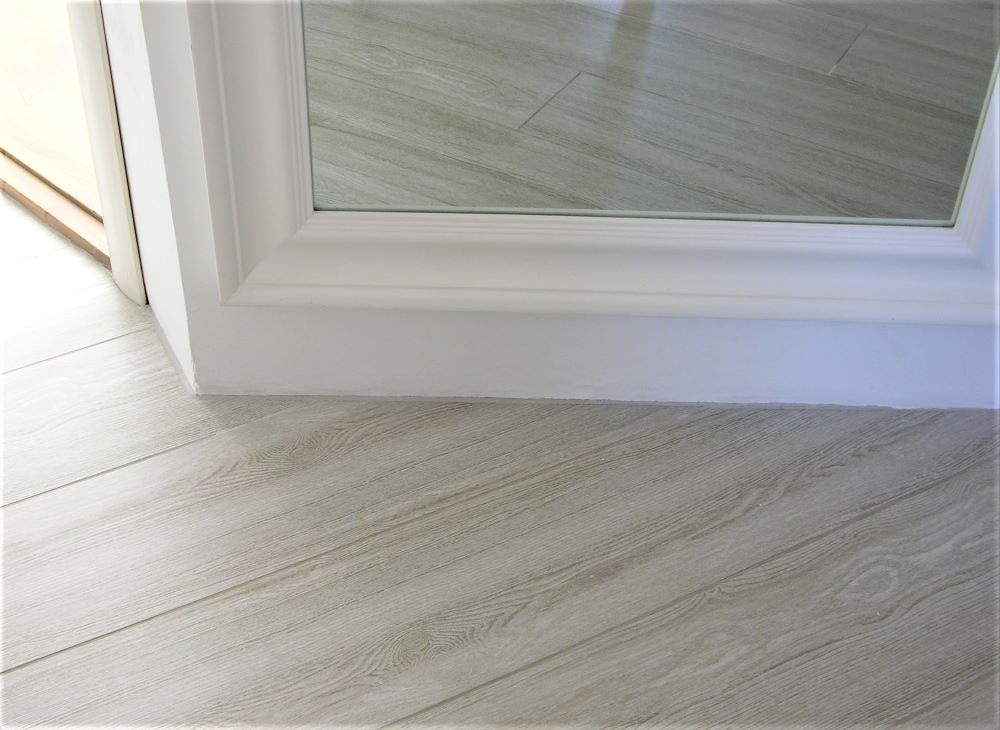
- This method of finishing the wall-floor joints looks really luxurious (if the work is neat).
- I think it`s the most frugal way to finish the wall-floor joints.
- It works with drywalls (tried it with gypsum wallboards and OSB and plywood).
- It is a perfect solution for uneven and/or crooked walls, uneven tiles and stone flooring (even for the homesteads with underfloor heating).

& Cons
- This method won`t work with new-build houses (the shrinkage of a new-build house lasts for about a year, so if you`re okay with waiting a bit, this argument could be omitted).
- It won`t work with timber, laminate, vinyl flooring.
- The grouting requires some accuracy.
Walls without baseboards
I definitely recommend grouting the gap between walls and floors to those who have uneven surfaces, has a tiny budget, wants to have an expensive look and of course treats his/her house with Love and Care.

Spread the idea if you liked it 😀

I really like your writing style, excellent info, appreciate it for putting up : D.
Hello.
Good luck 🙂
I’m not that much of a internet reader to be honest but your sites really nice, keep it up! I’ll go ahead and bookmark your website to come back later on. Many thanks
Hey people!!!!!
Good mood and good luck to everyone!!!!!
Thank you!!1