

There are some tutorials on how to make a sliced twig table in the Web but I`ll tell my experience in renovating such a craft item.
Willow furniture
This piece of furniture was made by our artsy neighbour. He makes gorgeous, out of stock willow and twig furniture using local materials (we`re lucky to have a picturesque lake with wetland area around it in the neighbourhood).


Several times I was passing by this table left outside, getting wet under the rain, and just could not stop myself from asking if he was going to put it into further service. A few minutes later I was happily carrying home this unique work of art.
Cleaning and small repairs
What can be more frustrating than a wobbly table? Only a wobbly table with a set of wobbly chairs. But if the last ones can be fixed by sticky cloth pads, then big differences in legs length can be fixed by eliminating that difference – by trimming the longest one. Just have to make sure the measurements are taken when the table stands on a flat surface.
Cleaning the table
It was covered with mould and dirt, and the worst thing was the cracks on its top. The top is a 12 mm (1/2″) thick particle board (OSB) base covered with 10 mm (3/8″) thick wood slices. The gaps between the wood slices are filled with wood shavings mixed with carpenter`s clue. As the table got wet those gaps were enlarging.
It was ruined anyway, so I just took a brush, soap and washed the table outside with the garden hose, two birds are killed with one stone – the item is clean and the lawn is watered. After, it should be dried thoroughly. The best would`ve been several days under bright sunlight, but as the weather was not quite sunny, I used a simple air heater.

The gaps became larger.

Filling the gaps
I didn`t try to reinvent the wheel and made the same natural wood filler as it was in the gaps before. So, just made sawdust from the wood shavings in the coffee grinder and mixed it with the wood glue, PVA in particular.
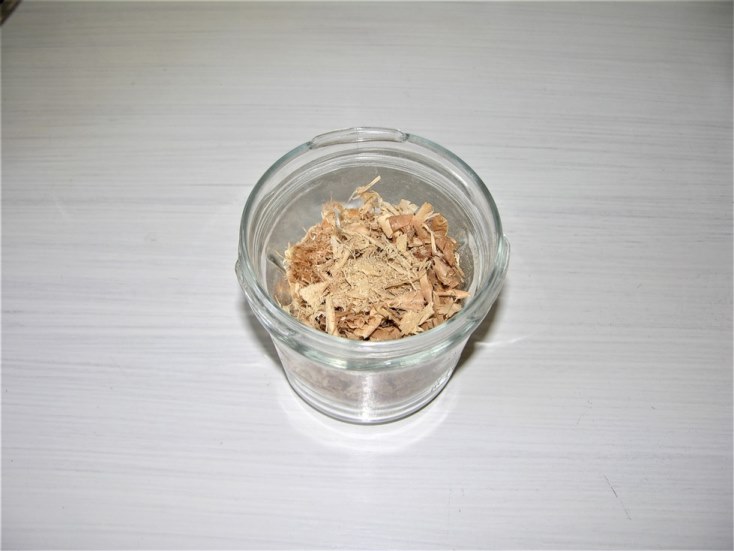
Wood shavings 
Ground wood shavings
PVA glues are eco-friendly, create strong bonds, inexpensive, water-resistant when harden and one of the most attractive thing about them (especially when you make your projects with kids involved) they can be cleaned up with water (when liquid) 🙂 .
To fill the gaps you can use a putty knife, but, frankly, I always press the fillers in with my fingers. The surface is not smooth and flat, so one cannot properly fill the putty in the cracks. Or if there`s a large area to fill in, you`d better use a rubber putty knife.

According to directions on the wood glue label, the cure time of the glue is 24 hours (for all the PVA glues). When the glue was cured I hand sanded the filled gaps and varnished the top.
Colours
At first I wanted to paint the whole coffee table white (you`ve probably noticed that I`m one of those white interiors lunatics), but then I realized that there`s no point in having a sliced twig table if the wood slice grain can`t be seen. So I just covered the compelling top of this engrossing table with an acrylic parquet varnish.
The legs and twigs I hand sanded and painted white with an acrylic paint, two coats for the legs to cover the mould at the bottom.
The bottom shelf, which was obviously made of reclaimed hardwood oak planks, I didn`t even touch – it was in perfect condition and had the adequate to my contrast principle dark colour.

Vintage items collage

Don`t underestimate things that look old and down-at-heel – sometimes they just need to be cleaned 😆
