

A dripping tap can be very irritating, besides it does harm the ecology and your budget as well. Though repairing a ceramic disc tap is a pretty easy job.
Here`s, I hope, an informative video on how to fix that problem.
And here`s a written instruction for those who (just like me) don`t really like video tutorials.
Preparations
Take a deep breath 🙂
Switch off the water by turning the isolation valve off.
Open the taps to make sure all water is gone.
Plug the drain to make sure nothing falls down into the plug hole.
Disassembling the tap
Wrap the faucet handle in scrap of cloth.
Fit an adjustable spanner (or pliers like I did) around the handle and unscrew it by turning counterclockwise.
Take off the cap.
Unscrew the ceramic disc stem cartridge with a wrench (I used an open-ring spanner).
Fixing the cartridge
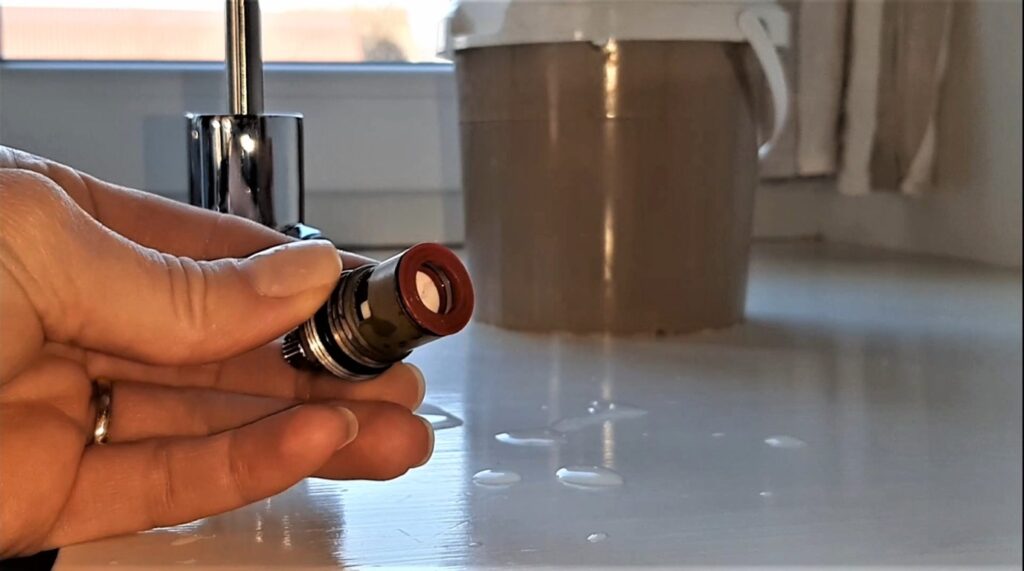
Here it is – the evil cartridge 🙂 You can buy a new one (about 8-10$) or fix this one (feel no fear, it`s really easy). Often there`s nothing wrong with the cartridge itself, so you just have to clean out all the debris and clean the cartridge from limescale and rust with this simple and very effective solution.
This post contains affiliate links. For more information, see my disclosures here.
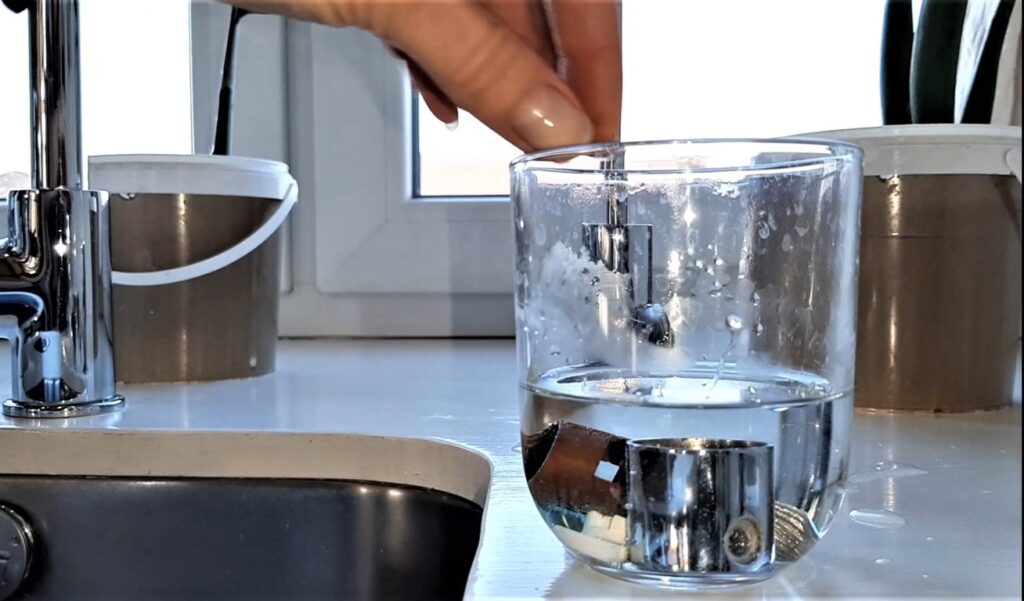
You can find Citric Acid Powder for the cleaning solution in your local supermarket, usually in the canning section. Or buy it online here.
We`re going to need a flat screwdriver or just a knife. Take off the o`ring, then, using the knife, take out the ceramic discs. Put all the parts of the cartridge into the citric acid solution, let them soak for about 40 minutes then clean them with a toothbrush.
Additional gasket
Sometimes we need to bring out the heavy artillery to make sure the tap won`t be leaking for some time, so we`re going to make an additional gasket of an electrical tape. When all the parts are clean, let the upper ceramic disc dry. Cut two 2mm x 5mm out of the electrical tape and stick them to the top of the upper ceramic disc.
Reassembling the cartridge
Put the discs back. Pay attention to the sides and the sequence of the ceramic discs. Put the sealing ring back. Tighten the retainer nut of the cartridge. Put on the cap and screw back the little handle. Turn the isolation valve on. Turn on the faucet.
Don`t forget to unplug the drain.
Voila, enjoy the silence!
*Music used with permission of Relax MusicBox.
Original soundtrack here. All rights reserved.

Hi, I think that I saw you visited my site so I came to “return the favor”. I’m attempting to find things
to improve my site! I suppose it`s ok to use a few of your ideas!!
Hello, I enjoy reading all of your article posts.
I like to write a little comment to support you 🙂
I’m not sure why but this website is loading extremely slow for me.
Is anytone else havinhg this probloem or is it a problem on mmy end?
I’ll check back later and see if the problem still exists. https://Bandurart.Mystrikingly.com/
Thanks helps very much
Could I mention a thought through my head. Has the gasget tape …offer a bit of pollution to the water with it’s adhesive etc etc. I wonder what else I could use instead chau..for you’re help..
Hello Chris. I`ve got Your point and would totally agree with You, that the electric tape is not something meant for consuming as food. But, unfortunately, in our days there`s much more serious stuff polluting our food and water than a tiny stripe of gasket tape. Frankly, no other substitution comes to my mind. . .
But, to soothe our ecological sobriety, with my modest knowleges in fhysics, I`d assume, that the adhessive would release some evil chemicals into the water only when by melting in the hot water (drinking water is usually cold). As for the cold water, perhaps the adhessive would dissolve in the cold water as well (much much slower). But there`s such a miniscule amount of it, that it would be flused down with a couple of gallons of water 😊
How do You like this idea?!
Hi, nice video.
Please, what is the size of the cartridge?
Could it be this one?
https://www.aliexpress.com/item/4001178432303.html?spm=a2g0o.productlist.main.3.41aa6bf4KVGKgq&algo_pvid=478500c7-e192-45ac-80f6-12b0e2ff9e39&algo_exp_id=478500c7-e192-45ac-80f6-12b0e2ff9e39-1&pdp_npi=4%40dis%21EUR%211.83%210.93%21%21%211.96%21%21%402103080717042761300626484e2ac9%2110000015055394034%21sea%21SK%21942480824%21&curPageLogUid=gMfedNtLrRn5
Sincerely
Milan
Thank You 😊
I cannot guarantee it would fit, because there are dozens of types of these taps, but, luckily, there is a picture with all the sizes of the cartridge under the link You have sent, and here: https://tap-cartridges.com/how-to-measure-ceramic-mixer-tap-cartridges/ is a good instruction on how to measure all the parameters of the cartridge that needs a replacement.
Wish You an enjoyable replacement and no water leaks at home 😊
Would be happy to hear about the results of the replacement!