Every homemaker loves those cute and cozy crates, boxes and wicker baskets. But sometimes one doesn`t want to spend or doesn`t have extra money on those hygge-feeling makers. But there is a cheap and easy way to make a lovely wooden crate by yourself!
Free fruit wooden crates
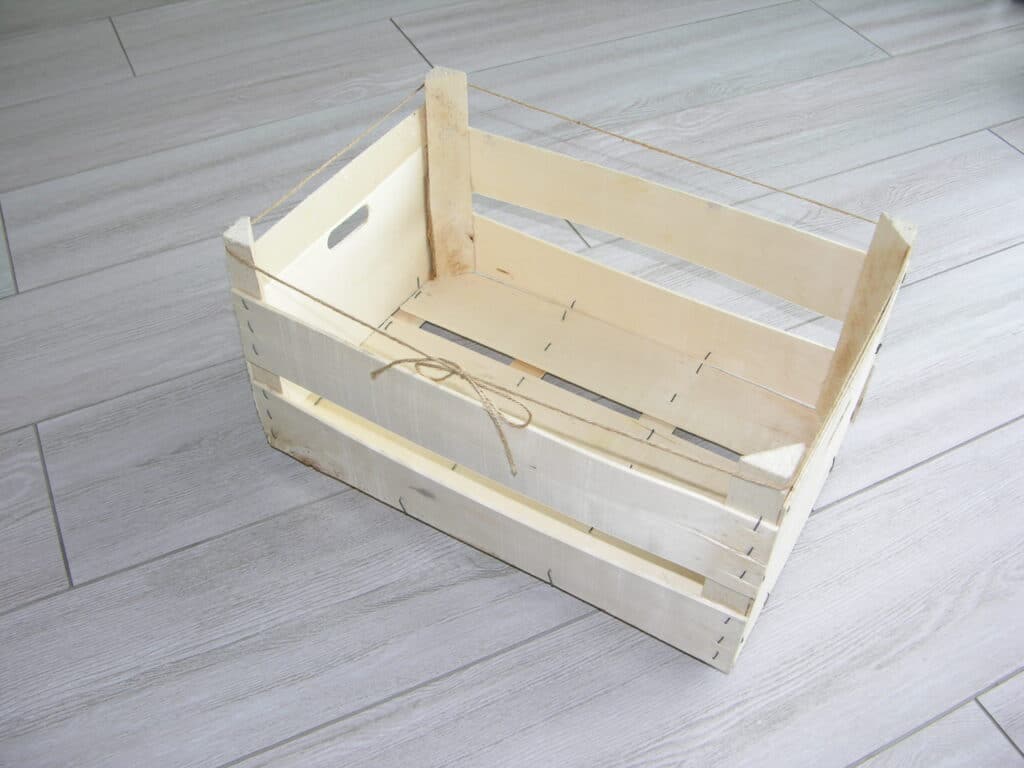
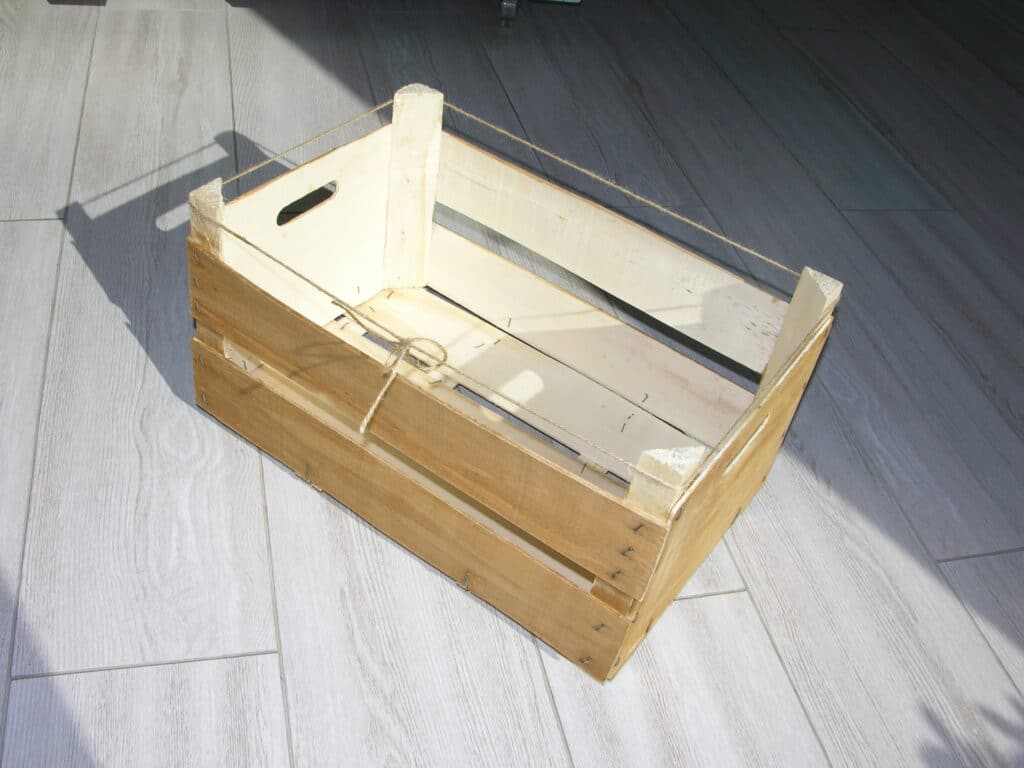
A super cheap (almost free) alternative to the store-bought crates are simple apple or some other fruits crates. Our family`s a lover of apples, so I thought it would be much better to buy them in crates, not in those awful ecology damaging plastic bags (yes, people still use them). These crates are free if you buy all the apples in it. Also you can find free wooden crates and pallets at many local grocery stores, hardware stores, garden centers, and other small businesses if you simply ask. Some businesses may charge a small fee for used crates and pallets.
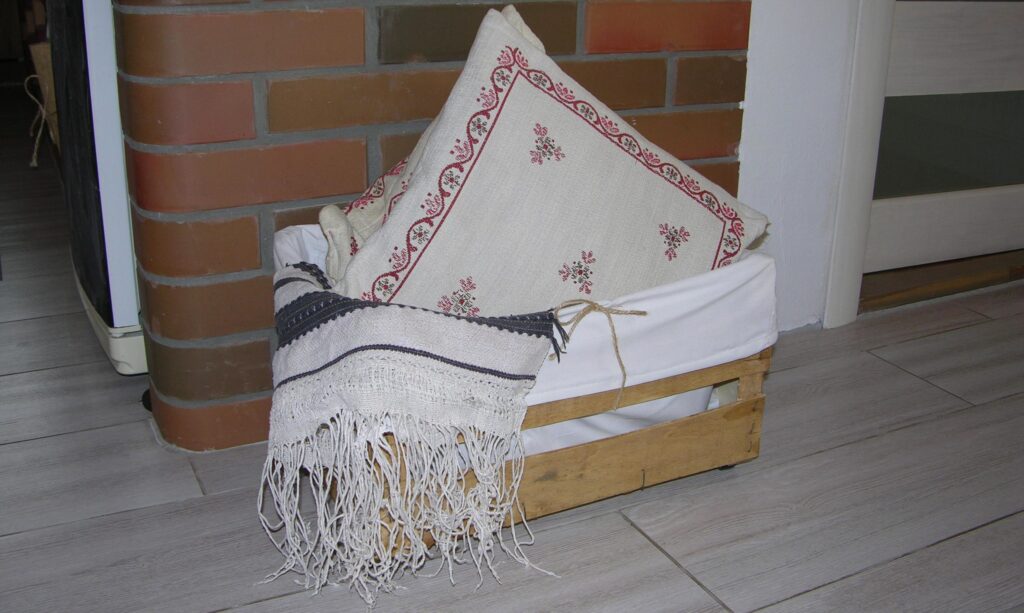
Of course, you can use them everywhere in your interior/exterior, but I have a special purpose for them now.
Currently I`ve been doing a mudroom closet. Actually I`ve been doing it since we moved in and . . . there is some progress. I`ve made a shoe rack but some boxes or baskets are needed underneath. Without them the rack seems uncompleted.
All I paid for while making these crates was less than 2$ for the wheels, although I had some at home, but I needed a smaller size.
Preparing the crates
So, first we have to bend properly all the sticking-out staples/ hammer down the sticking-out nails.

Then we have to wash the crates.
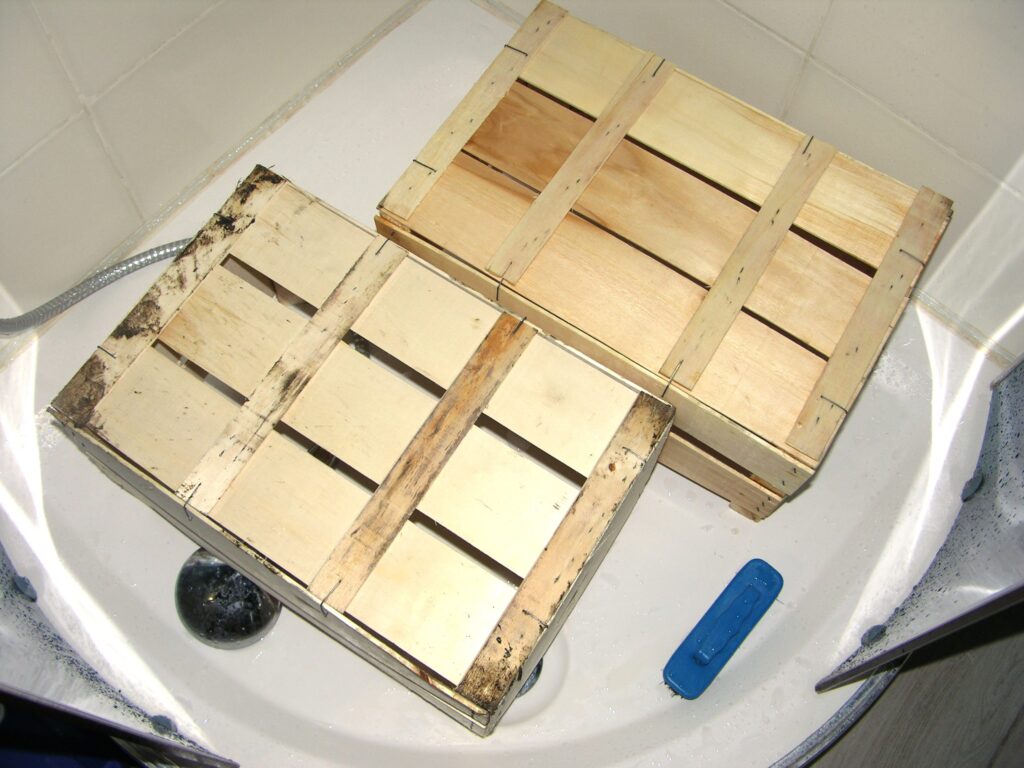
Be careful with washing, because wood`s to bend in the side it is wetter. I solve this problem by drying it attentively and carefully with the hair dryer on the both sides. It takes some time, but it`s worth it.
Painting
It`s still the quarantine and I ran out of my favorite driftwood stain. When trying to organize my small kitchen pantry a soluble coffee jar came into my sight, we don`t drink it anyway, so I thought what if I make some kind of “natural paint” of it.
So, I took about 1/3 glass of hot water and 4 teaspoons of instant coffee, to make it very dark. And applied this “solution” on the inner surface of the crate.

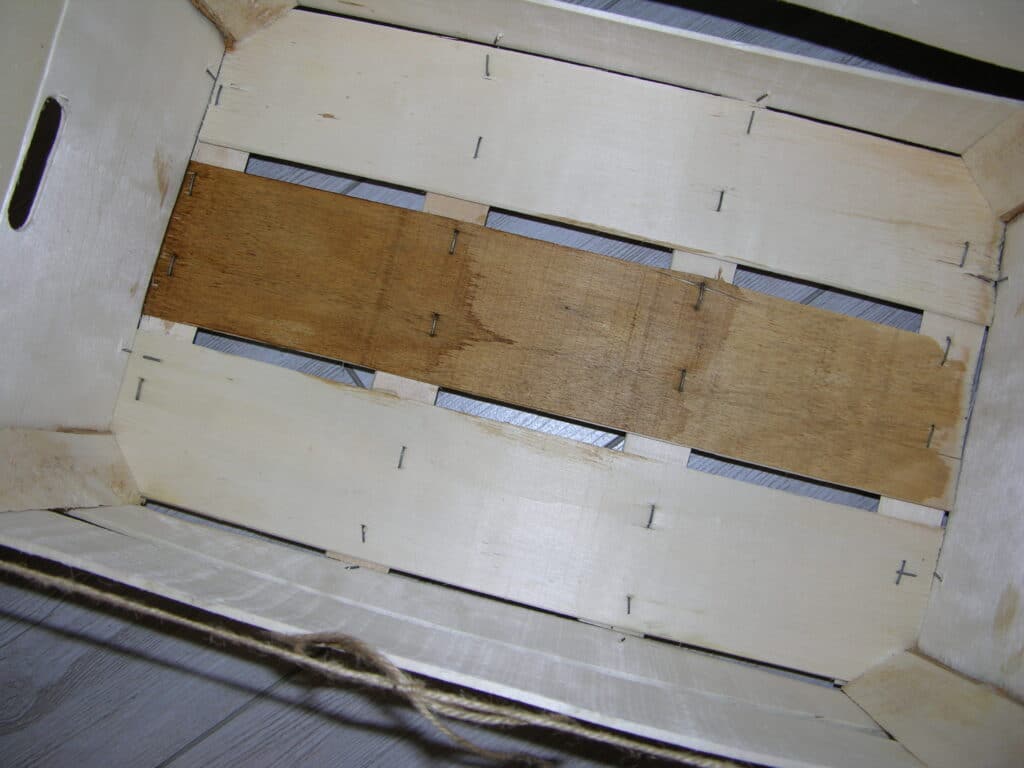
You can see the colour getting darker with the layers.
I`ve decided to cover the crates twice and to slightly sand them after that.
How to make a basket liner from repurposed fabrics
From one of my former works I have a couple of lab coats, which I think I`m not going to wear again, besides some of them have stains. I`m going to use one as a liner for my wooden crate.

Unfortunately, the camera wasn`t around when I was sewing the liner, but here`s a couple of words how I did it.
First I measured each side of the crate, as well as the bottom, added 1/2″ to each measurement for seam allowance, plus 5″ to the height of each side to account for the fold-over at the top of the crate. According to this measurements I cut one long-path piece (which included two smaller sides and the bottom) and two equal bigger sides out of the lab coat.
Then I sewed the side pieces first to where the bottom should be, then to the smaller sides. Be sure to have the right sides of the fabric facing each other before sewing! (because I wasn`t, ha-ha).
To finish off the edges I hemmed the top of the liner (about a 1/2″ hem), and the liner is finished!

Sewing a box/crate/basket liner is a bit tricky and requires some maneuvering with the fabric, but I took it slow and it came together.
Wheels
Usually, we can attach the wheels to the wood just with a couple of screws, but the planks of this crate are very thin, and even if I found some super short screws, they wouldn`t have held anything. Thus, one of the two sides of the wheel base I could attach to the corner planks which hold the side slats together with a 1/2″ screw. And the other side I glued to the slats with wood glue.


It`s cute and almost free. I love these DIY wooden crates with wheels!