
Recently I`ve written a post about freshly baked bread storage, and particularly, how to make a cutting board for bread.
That was kind of a tricky work, although it turned out quite good.
But today I`d like to tell you about my experience of making and using DIY oak cutting boards.
While surfing the web, I found an information, that first you have to cut tree into slabs and let them dry out for approximately one month. But I`m a lazy and a busy one (so many projects to do! 😆 ) and if I had waited for every piece of wood drying out I would`ve never finished any project.
Cutting the board
So, just cut the piece you need from the wood you have (I had some scrap wood from the previous project, about a 2 cm thick board). It`s better to be a freshly cut wood, not a reclaimed one (you`re going to chop food on it after all).
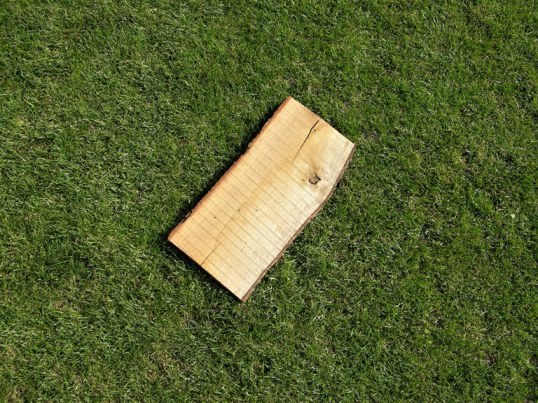
You can use a handsaw, a chainsaw, a circular saw, a jigsaw – whatever cutting tool you have. Just make sure you wear safety glasses 🙂
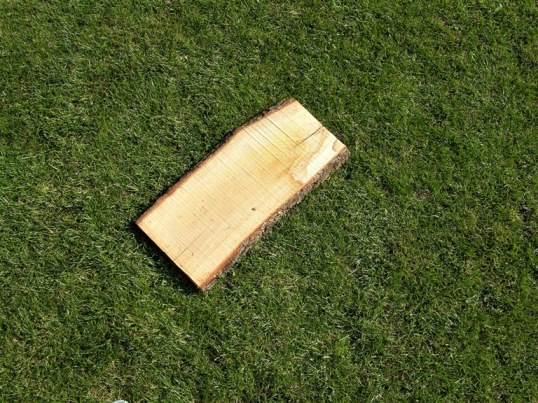
Sanding the board
Using a palm sander, an orbital sander, an angle grinder (with flap sanding disks or hook and loop backing pad) a sanding block or even a scrap wood block wrapped in sanding paper, sand with coarse (36-50-grit) paper. Then, using the same tool that you have, sand in with some finer (80-100-grit) paper. Then, finish sanding with a fine 120-grit paper. Wipe off dust with a simple soft cleaning brush.

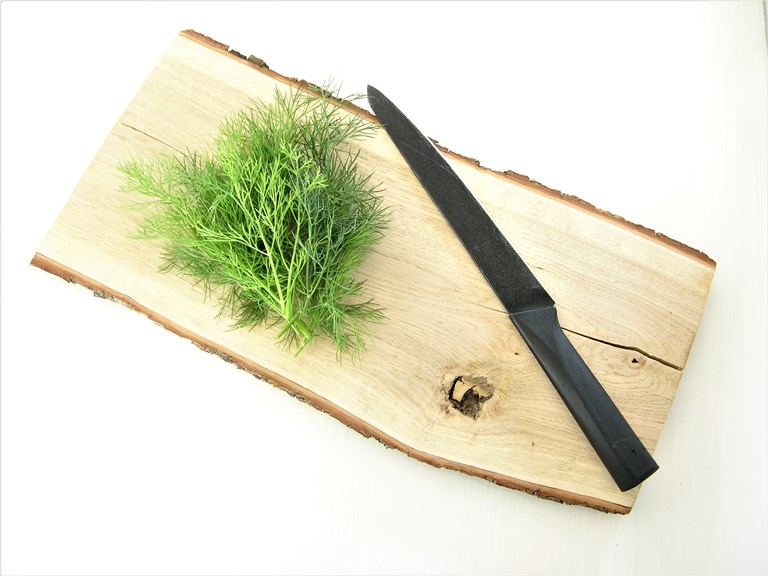
Live edges
You can cut off the edges to make the board neat and perfect. But I prefer some unrestraint so I`m leaving the edges with the bark (examine the wood attentively to exclude any insects and mould beneath the bark).
Thoroughly brush the barked edges with the same cleaning brush to clean all the crumbling pieces.
Dish drying rack
If it is oak made of, this board doesn`t need any paint or butcher-block wood conditioner.
I frequently use it as a dish drying rack.
Just put one side of the cup or plate or a pot on the board and the other stays on the clean countertop, so that the air could circulate around the dishes.
Thus water stains appear on the wood. At first, I was a bit upset with the stains and thought that the board would need to be sanded again, to show its beautiful grain.

And then I thought, what if I try to “dilute” the stains with more water?
So I just gave it a quick rinse and let it dry.
Guess what? The water spots were gone!

The grain is SOOOOO beautiful!
*Scoop: I`ve been working on a couple of big (for me) projects with oak currently, just so you know – it is such an aesthetic pleasure to work with oak (although it`s a bit hard, because the wood is hard 🙂 )
And unlike the fibres of the yellow pine wood (which are torn off when it gets wet), the fibres of the oak still lay down and the surface is smooth.
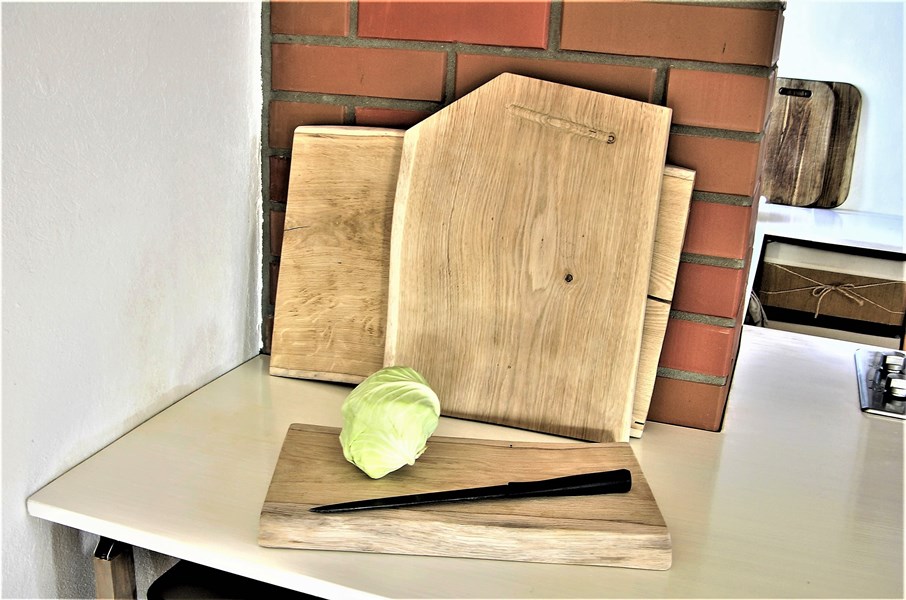
DIY oak cutting board
Have you ever used an untreated oak cutting board?

Here are some more live-edge cutting boards (I just couldn`t stop making them 😆 )
Share the idea if you liked it 🙂
