

Update 12/12/2022: For those, who`s been wondering, the chipboard I used for the backrest is still holding on, though it needed some paint refreshment in the middle of the summer season.
As you may have noticed, I love making something about my home, especially when there`s no need to spend a fortune, but there`s always some additional stuff needed. Unfortunately, in these conditions of strict quarantine, we have to use what we have. That is why I`ve decided to make not an imposing porch swing, which my kid`s been asking for a long-long time, but a totally utilitarian porch swing made of only things I have at my home.

So, instead of a fancy jute rope I used the polyester rope from the baby swing which has been hanging in our front porch for about three years.
Instead of shiny stainless steel eye hooks I used simple oversized yellowish hooks I once bought for some other purposes I don`t even remember.

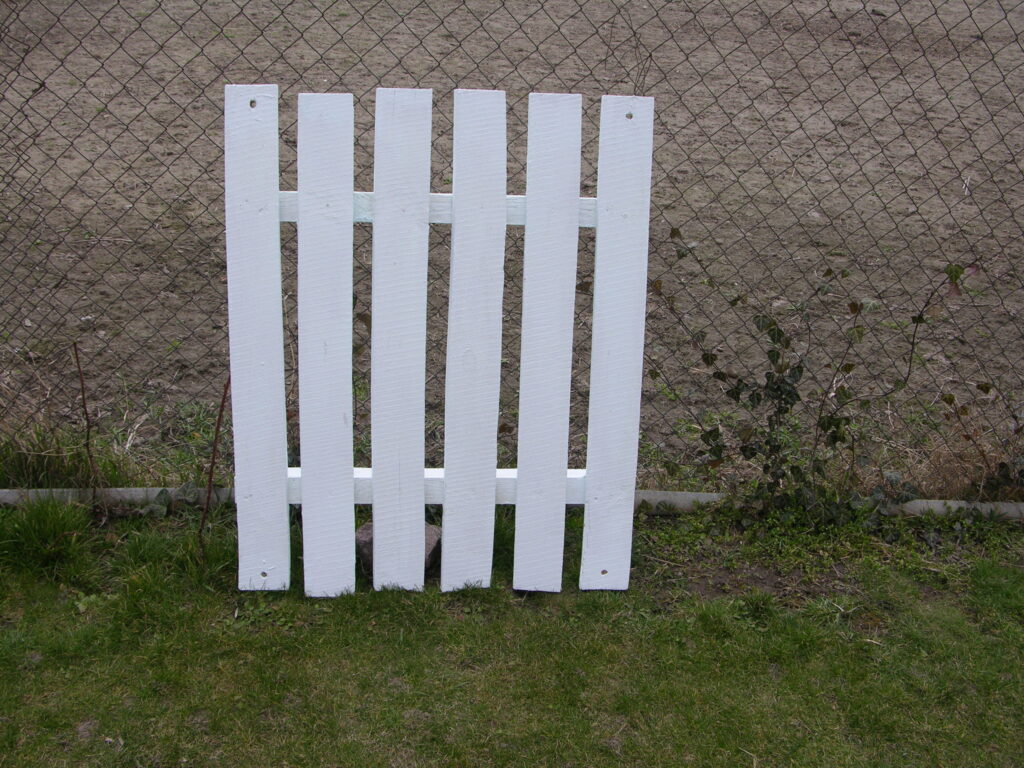
Pallet
There are still a number of pallets we need to get rid of, so I took one of course. Brushed it thoroughly and painted with acrylic paint left after we painted the walls three years ago. I know it`s not supposed to be used outside but there`s no other more appropriate paint, besides it`s of a very beautiful gentle aqua color.

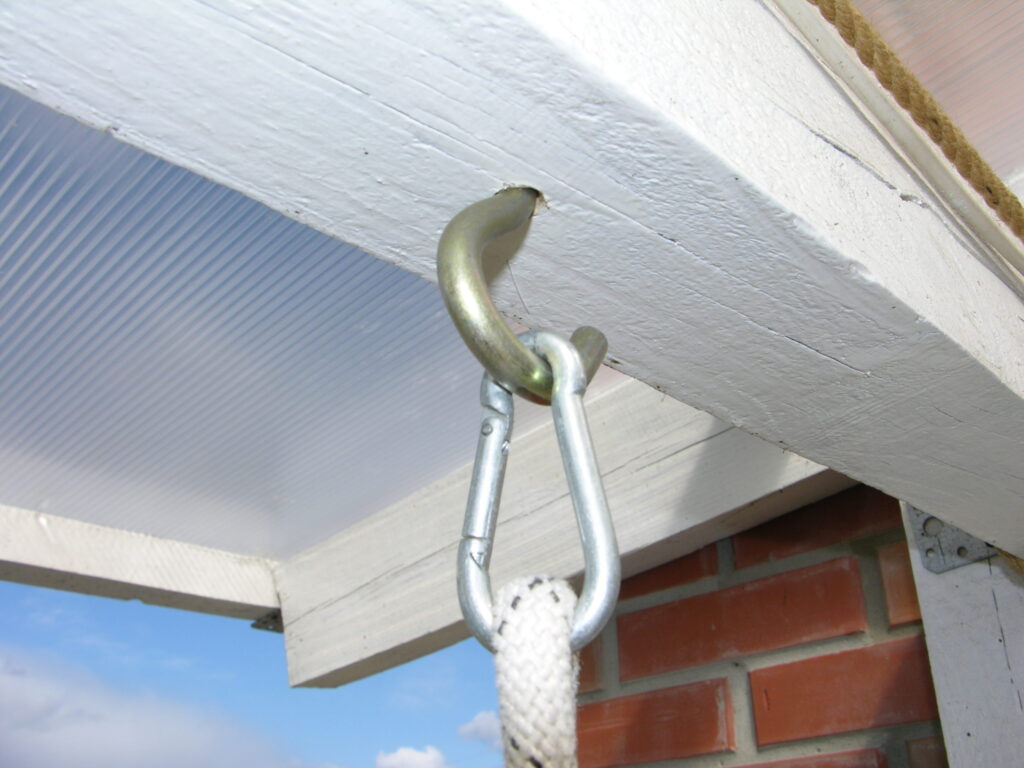
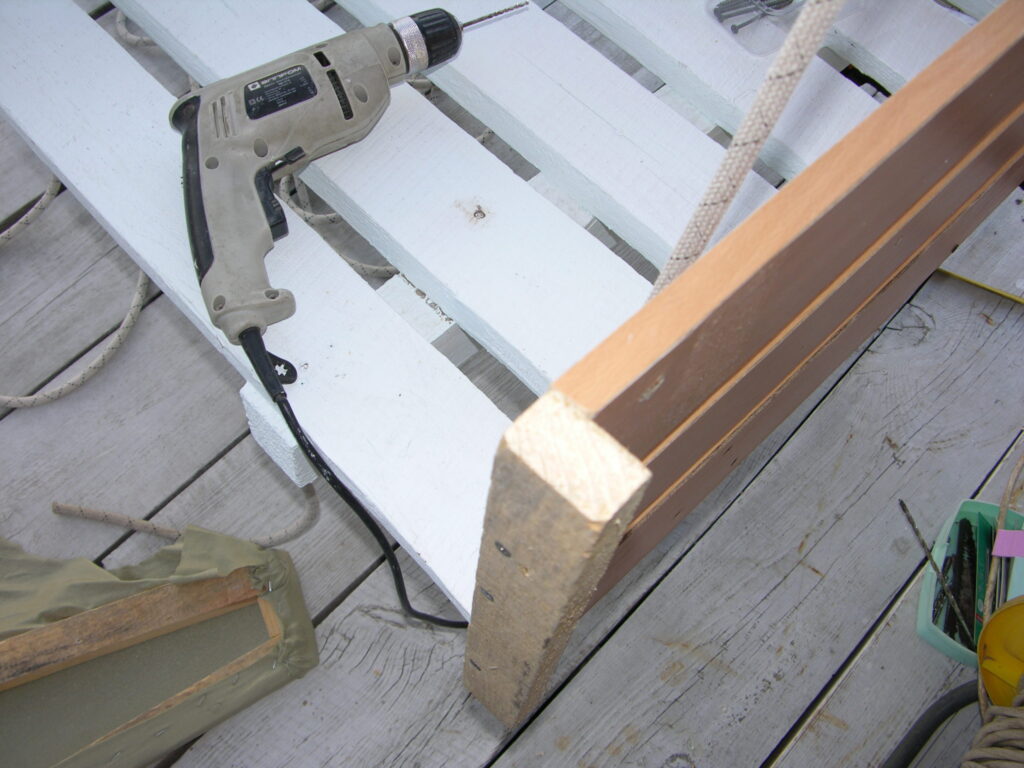
Hook in the beam
I drilled a vertical 3/8″ hole through the beam where the swing was going to hang, poured some glue in it and screwed the hook into the hole. To be sure that it wouldn`t fall out (the swing is heavy) I put a nut on the hooks` thread.
Rope
So, the 3/8″ rope was taken from the baby swing, I washed it in the washing machine and made a knot on one of its end. Then I made eight holes in the pallet with a 1/2″ drill bit and fed the plain end of the ropes through them.
Then I measured an approximately equal length of two side ropes which would hold the swing and made loops on their top.

And hung the rope loops on the hooks with the help of carabiners.
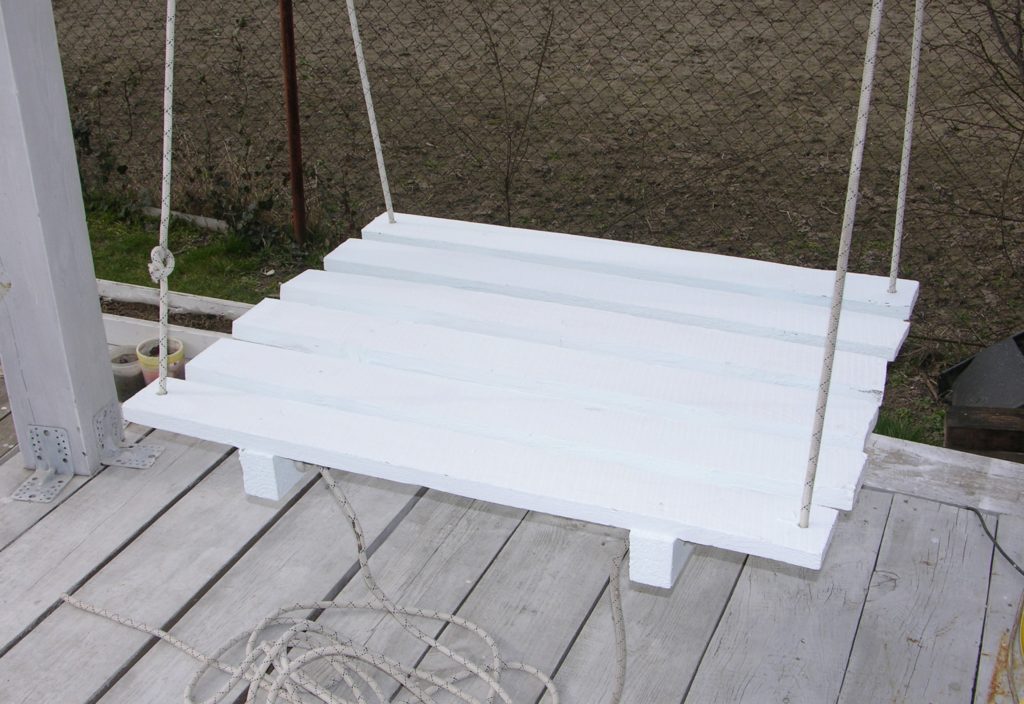
Already looks not bad.
Convenience
When I was making this swing, I was thinking about how great it would be to read some astonishing fairytale to my son, swaying in the air, while the gentle, warm wind blows in our hair and the curious sun rays touch our toes.
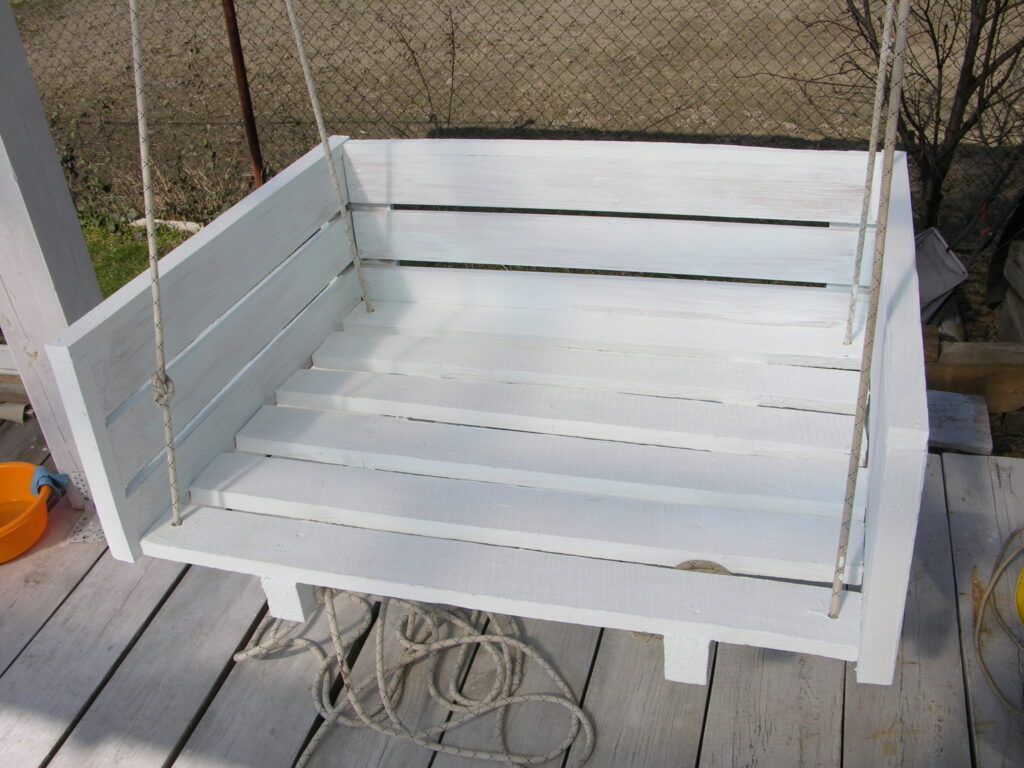
So, I made a threeside backrest from some laminated MDF (which I`d never use inside the house). I used it all and even needed more, so I had to take some laths from the good old sound panels. Guess pictures would say more.


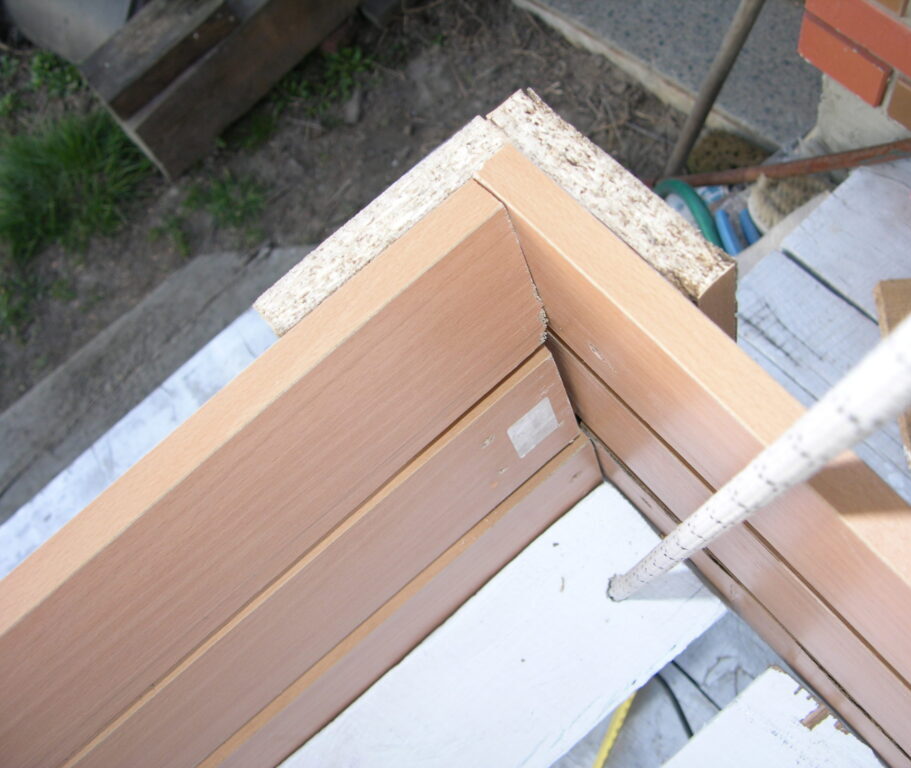


And painted the whole piece of “masterpiece” with the same acrylic beautifully turquoise paint.
Cushions
It`s unbelievable but I found some more foam rubber, and used it for the seat. The former sound panel fabrics turned into five pillowcases: one for the seat, three roll pillowcases (which I filled with fabric scraps) and one blue colored for an old pillow.


Well, a dream came true.

Tip: use synthetic fabric for upholstery as it is more stain resistant.
Enjoy the sway 🙂
