Installing drawer runners on a brick wall can be a unique challenge due to the material’s hardness and texture. However, with the right tools and techniques, you can achieve a secure and stable installation. Whether you’re adding drawers to an outdoor kitchen, a garage, or any other brick-based structure, this guide will help you get the job done efficiently and, I hope, easier than it seems.
This is a detailed tutorial on how to mount ball-bearing/telescopic, bottom-mount/roller/Euro drawer slides on a brick wall.
Types of side drawer runners
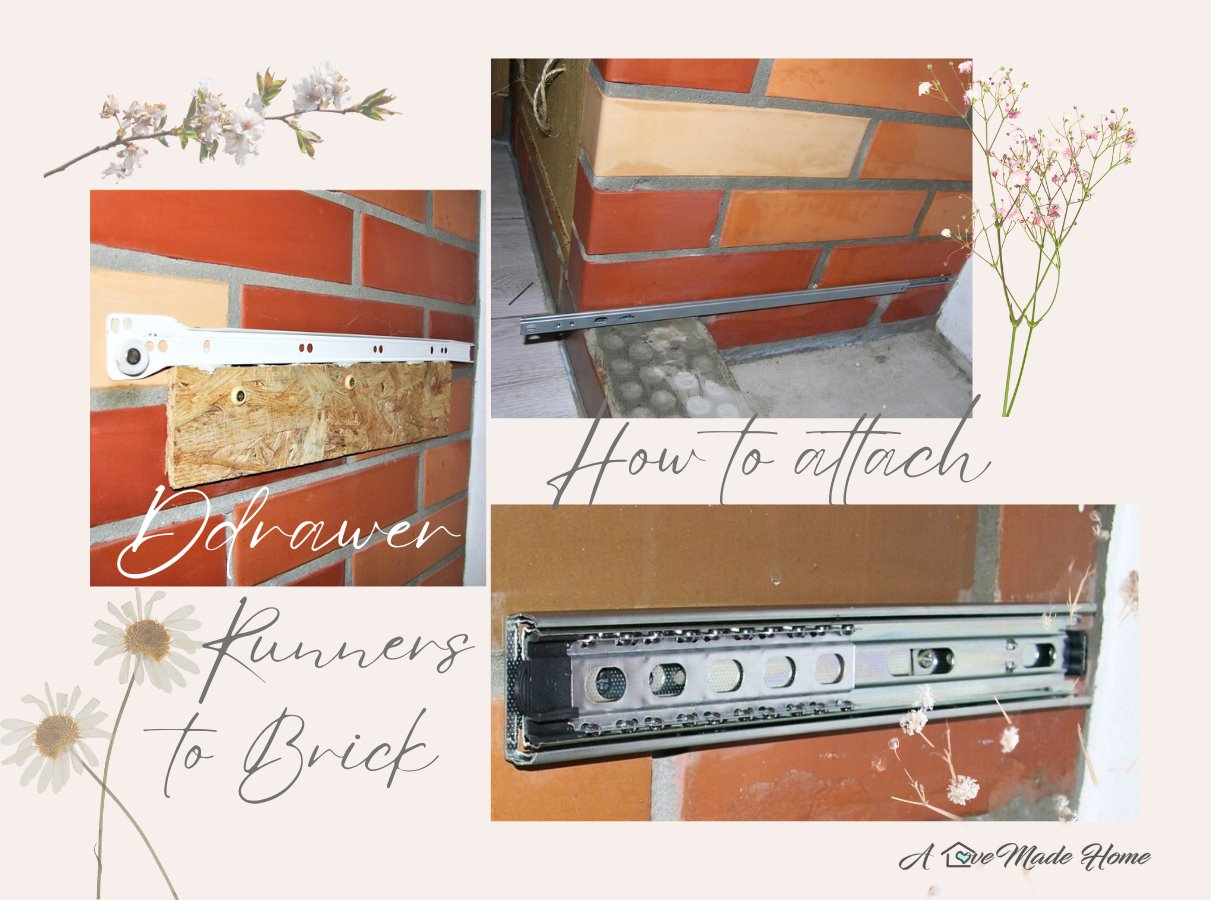
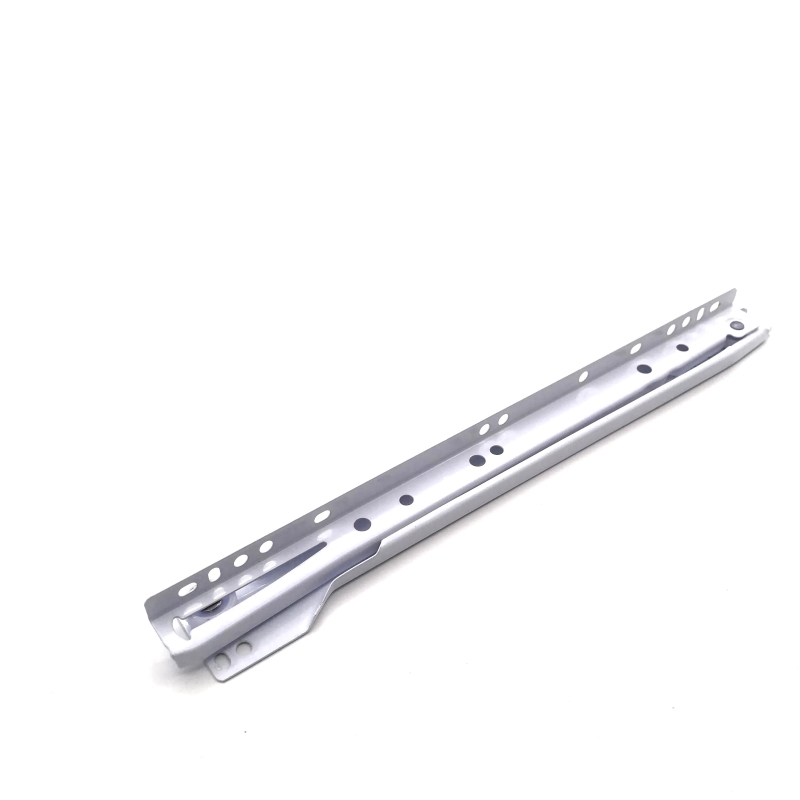
A lot of names, but, in fact just two types of side drawer slides in different variations: ball-bearing drawer slides (here available also in a noble black colour 😍 ) are excellent for heavy duty and are meant to be mounted on the sides of the drawers. And Euro drawer slides give additional support to the bottom of a drawer. There are also roller drawer slides, which I used here, but frankly they haven`t justified my expectations):
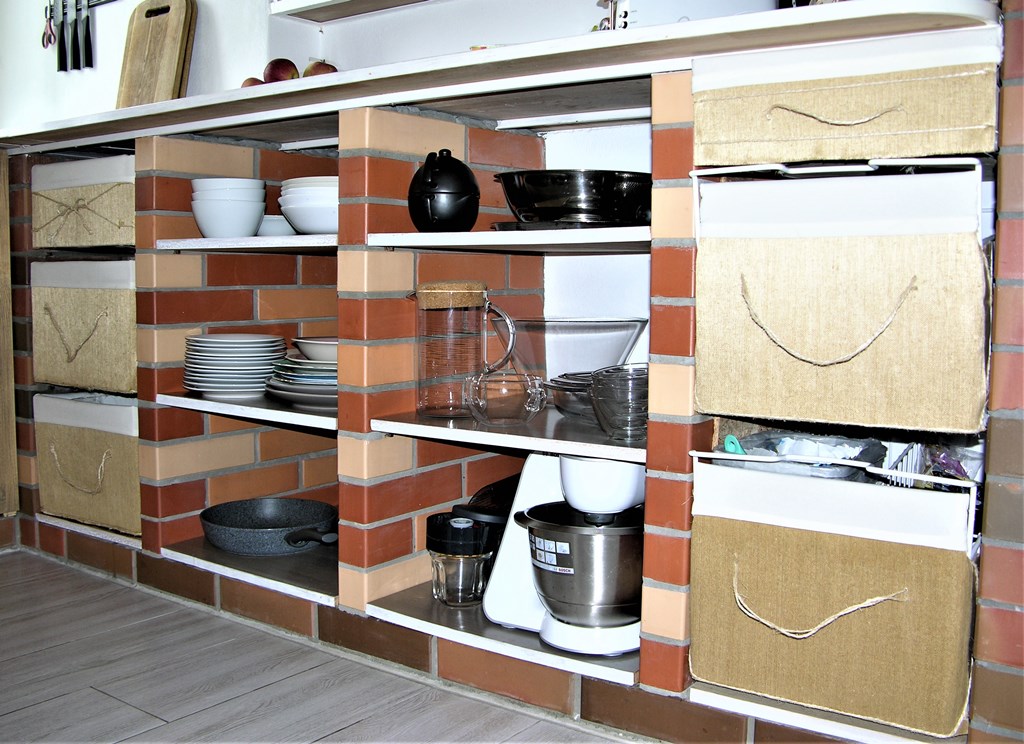
I was using them in various projects, and most of those are projects in the kitchen, in our brick kitchen units.
How to install ball-bearing slides I described in this post. And how to install Euro drawer slides I described in this post. But responding to Your numerous requests, my dear DIYers, I`ve decided to summ up those posts and write detailed instructions on how to mount drawer slides on brick.
Tools and materials you’ll need
- Drawer runners. Ensure you have the correct size for your drawer system.
*Tip: ball-bearing runners have a wider range of missing it with the width of the drawer and recess. The roller runners might fall down if the recess is considerably wider than needed for the drawer. - Drill. Here is my favourite light but powerful one.
- Masonry drill bits. These are designed specifically for hard surfaces like brick and mortar.
- Wall plugs (anchors) and Screws. The screws that come with the drawer runners are meant for wood, they are too small for keeping the runners in the brick, but they fit the drawers. To make sure the runners move smoothly, we need bugle head screws of minimum 30 mm (1 3/16 ″) length. This screws have a countersunk head with a flat top and a concave under-head bearing surface, that makes them sink in the installation holes on the drawer runners so they don`t interfere with the movement of the other part of the drawer slide. This set of screws and anchors is one of the best for attaching drawer slides to brick walls.
- Level. To ensure the runners are perfectly aligned we need a small level.
- Measuring tape. Here`s an inch and metric ruler for precise measurements.
- Hammer (optionally). To hammer the anchors inside the walls.
- Pencil or chalk. For marking the drill points on the wall.
- Slat of wood (OSB/plywood) leftover for an additional support of the drawer slide.
- Don`t forget about safety measures: dust mask and safety goggles.
Step-by-Step Instructions:
Step 1. Separate the drawer slides
If you are mounting ball-bearing drawer slides, it would be easier to do if you separate them 😉. If you have complications with that, a detailed instruction with pictures on how to separate ball-bearing runners is here.
Step 2. Measure and mark the placement
Start by determining the exact location where the drawer runners will be installed. And here`s my personal recommendation:
Drill into the mortar not the bricks
I tried to mount the drawer runners (and lamps and some other lightweight stuff so far) on the bricks, but the bricks in our kitchen are hollow inside and there`s just nothing to cling to for small anchors. Besides the cabinet walls are made of thin 60 mm x 70 mm x 250 mm (approx. 2 5/8″ x 2 3/4″ x 9 5/8″) bricks to save place.

And, what is crucial, it is hard to drill in a real clay brick. So I prefer making holes in the mortar between the bricks, even if the mortar is not where the runners are to be mounted. The mortar is easier to drill into, it`s softer than brick and it holds the plastic straddling dowels much better.
And another decisive advantage of drilling into the mortar is that you can pull out the dowel and putty the hole as if nothing has ever happened, if you change your mind 🤩.
Moreover, in this project, the brick mortars on the opposite walls of the cabinets were on a different height. It made sense to brake my head a bit, and make up attaching a thin slat of OSB (you can use wood/plywood) leftovers to the wall first, drilling into the mortar. And then attach the drawer runner to it with liquid nails. Because again, that is easier, reversible and still reliable (we have our freezer baskets constantly loaded with minimum 20 kg (44 lbs) of different groans and cereals still running smoothly).

Back to the measuring and marking. Use a measuring tape to mark the position for both runners on the wall. Ensure that the runners are level with each other, as misalignment can cause the drawer to function improperly. Use a level to double-check that the marks are horizontally straight.
*Tip: Use chalk or a pencil to mark the points where you will be drilling, as these materials can be easily cleaned off the wall if needed.
Step 3: Drill pilot holes
With the positions marked, it’s time to drill pilot holes. Attach a masonry bit to your drill that matches the size of the wall plugs.
*Tip: If you still decided to drill into the brick, it would be easier to accomplish by changing the drilling option on your drill into the hammer drilling position. A hammer drill works best for brick, as it can power through the hard surface without damaging it.

Hold the drill at a 90-degree angle to the wall and slowly start drilling into the mortar/brick where your marks are. Drill to the depth of the wall plugs you chose.
*Tip: Use a depth gauge or mark your drill bit with tape to ensure consistent hole depth.
Step 4: Insert the wall plugs
Once the holes are drilled, insert the wall plugs (anchors) into these holes. Gently tap them in with a hammer if necessary to ensure they sit flush with the brick surface. The anchors will expand and stick inside the mortar/brick when the screws are tightened, ensuring a secure fit.
Step 5: Attach the drawer runners
Now it’s time to attach the drawer runners. Hold the first runner against the wall, aligned with the pilot holes. Using a screwdriver or your drill, drive screws through the holes in the runner into the wall plugs. Make sure the runner remains level while you secure it.
Repeat the process for the second drawer runner, ensuring it is parallel and level with the first one.
Attaching the supporting slat for the drawer slides
If you have the situation like I had, that the mortars on the opposite walls were on different levels, then before attaching the runners on one of the sides, you will have to attach the supporting slat first.
For this, you will have to cut an even slat the length of the drawer slide or minimum the 3/4th of its length. The thickness of this slat cannot exceed the thickness of the drawer slide (depending on the depth of the runner you use, usually 10 mm or 25/64″) because it will impede the drawer`s smooth movement.
Mark the place where the runner should be. Put the runner leveled to the wall and just underline it.
Then put the slat under this mark and drill a pilot hole on one side of the slat in the place, where you assume the pilot hole for the mortar is.
*Yes, assumption, I didn`t make up anything better. Frankly, I do a lot of projects based on my intuition and hunches 🙈. But it works, mostly 🤭.
This was the hardest part.
Or not.
Let`s drive a screw in it and check it.
Draw a straight vertical mark on the wall above the other pilot hole with the chalk. Now you can see where approximately the hole is when you pull the free side of the slat up, exactly under the horizontal line.
Drill the other pilot hole in the slat.
Drums and horns: you`re a lucky. . . person if that hole is align with the hole in the mortar 😉.
Now drive the screws into those holes.
If it`s an extremely heavy duty drawer or it`s length is over 50 cm (20″) then you`ll have to repeat the execution one more time, drilling another hole somewhere in the middle.
Just kidding. The weight is distributed along the entire length of the runner, so there is no need for the third hole, even with huge weights and long runners 😉.
Attaching the drawer runners to the supporting slats
Here everything is easy. I just glued them onto the slats with liquid nails. They`re not going anywhere.
Step 6: Install the drawer
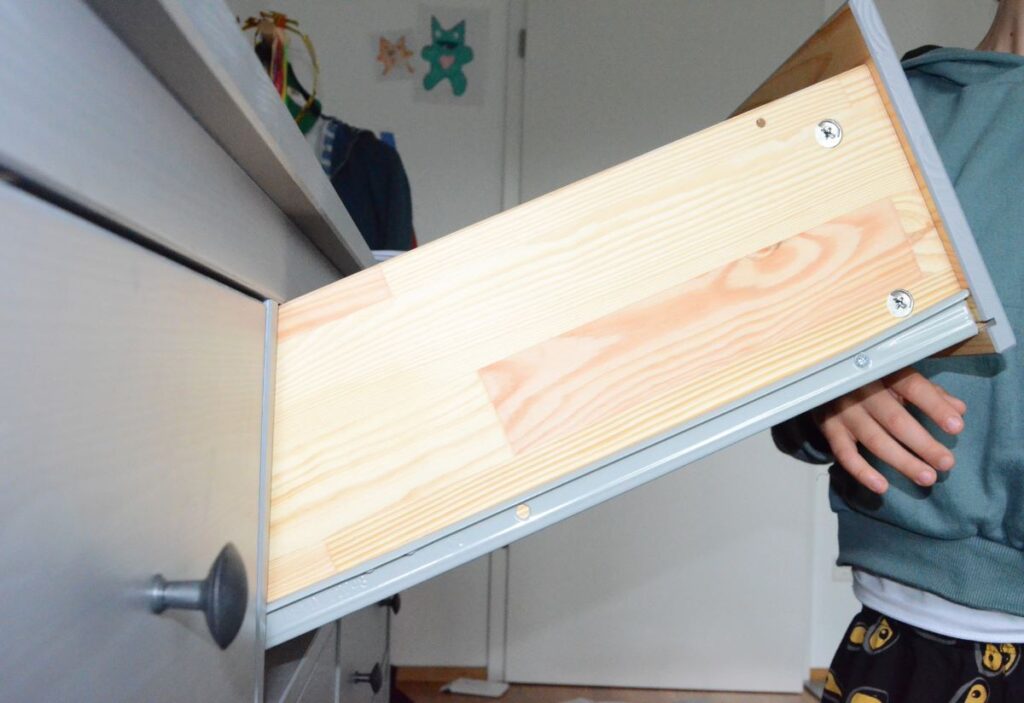
Phew, that was something! With the runners securely mounted to the brick, you can now finally install the drawer. With the ball-bearing slides you just shove it in. With the roller runners you have to lift the front of the drawer and place the rollers at the back of the drawer to the beginning of the runners mounted on the brick walls.

When the rollers are in place, lower the front of the drawer and slide it in. Done. Otherwise, follow the instructions that came with your specific runner system to mount the drawer correctly.
Once installed, test the drawer to ensure it opens and closes smoothly. If not – we`ve got a problem 😅. The most common problem is using wrong screws, or not screwing them to the end, so that they just click on each other and impede the smooth mowing. The second problem is misalignment, but it should be obviously huge to cause problems. If so, I`m afraid that the whole runner attachments will have to be redone 😕. The easiest would be to reattach the part of the runners, that are attached to the drawers.
Step 7: Final checks, adjustments, and praising yourself for good job
After installing the drawer, do a final check. Ensure all screws are tightly fastened, the runners are perfectly aligned, and the drawer glides smoothly without obstruction. In other words, open and close the drawer as many times, as it makes you proud of yourself for having done such a good work 😉.
Additional Tips:
- Choose the right wall plugs (anchors): masonry requires heavy-duty wall plugs that expand securely inside the brick/mortar. Be sure to match the plugs to the weight of the drawer and the load it will carry. Here are the ones that I used.
- You can do it!
Conclusion
Installing drawer runners on a brick wall might seem daunting, but with the proper tools and methodical approach (i.e. trying till thriving 😉), it’s a straightforward task. By carefully measuring, drilling with the right equipment, and using secure wall plugs, you can ensure your drawers are both functional and sturdy. Whether for indoor or outdoor projects, this method will give you a solid result on masonry surfaces.


