
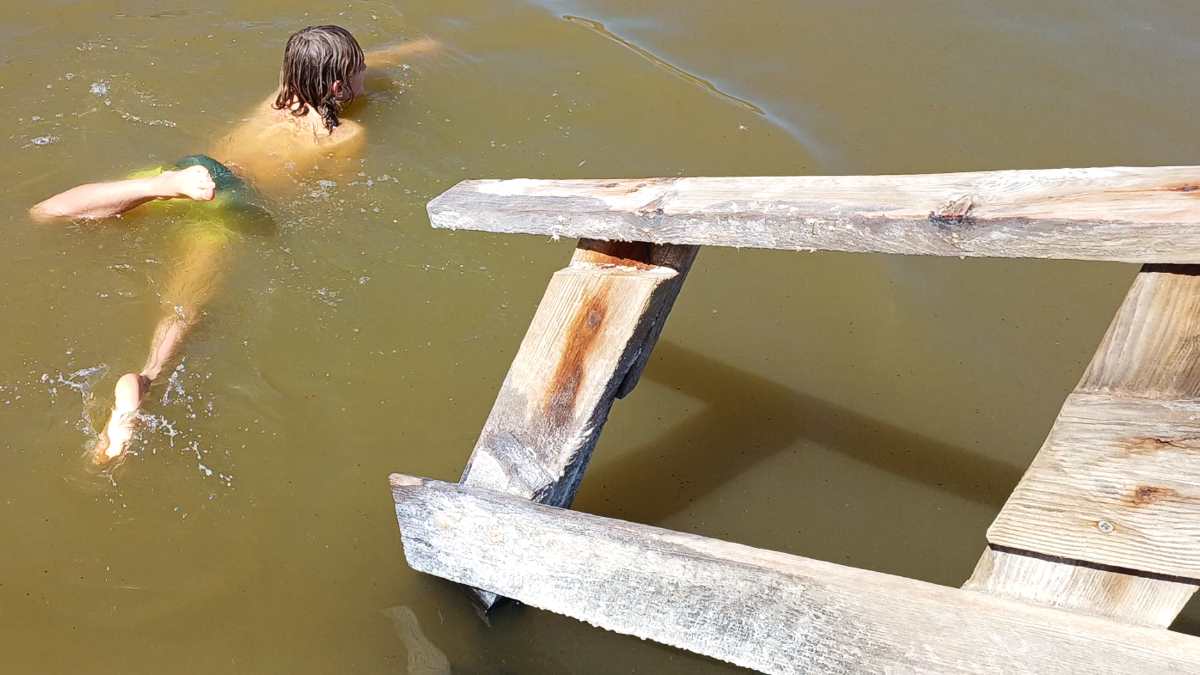
We recently had the pleasure of visiting some salty lakes — those shimmering pools infused with minerals said to restore both body and spirit. The experience was wonderfully soothing, though it came with an amusing surprise: for the first time, I discovered that a backside in those lakes is more buoyant than a rubber duck 🙈 it was nearly impossible to submerge ourselves properly. Floating was effortless, but swimming with any grace proved quite the challenge.
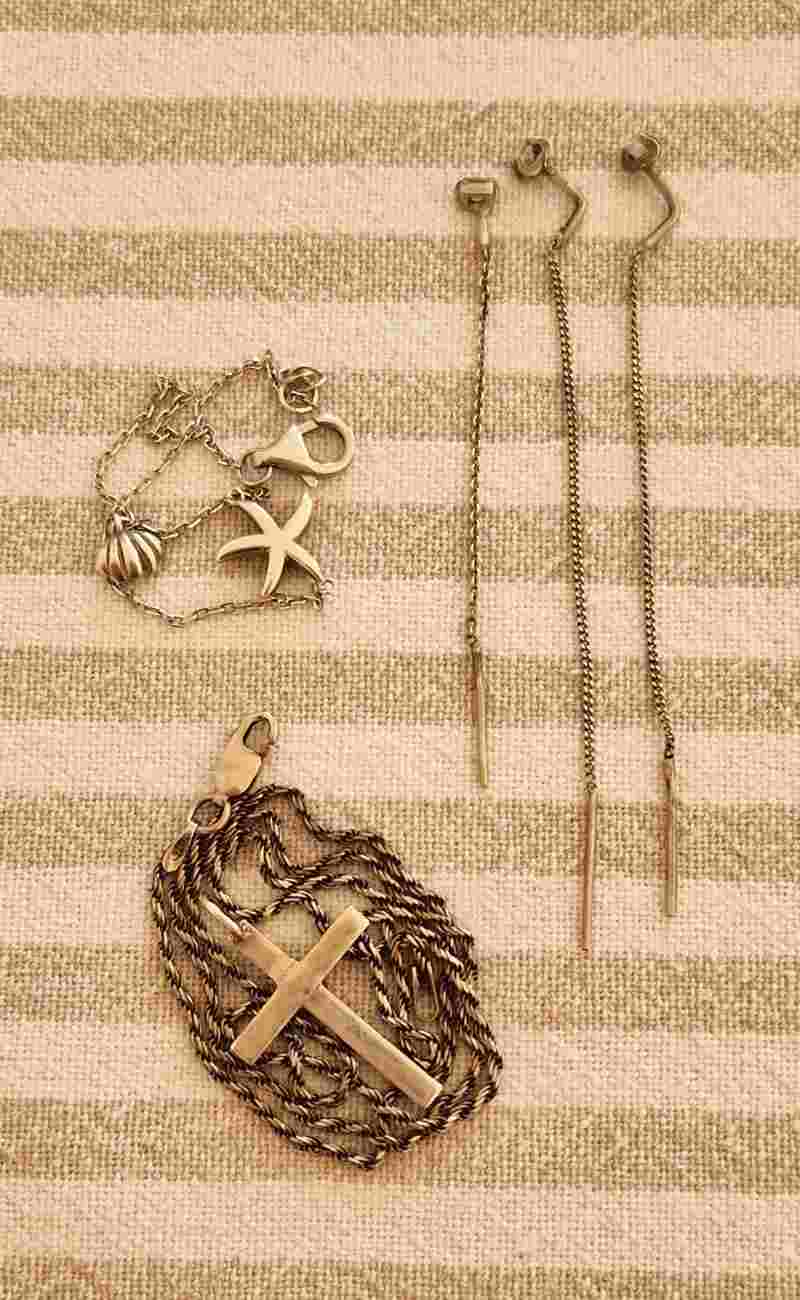
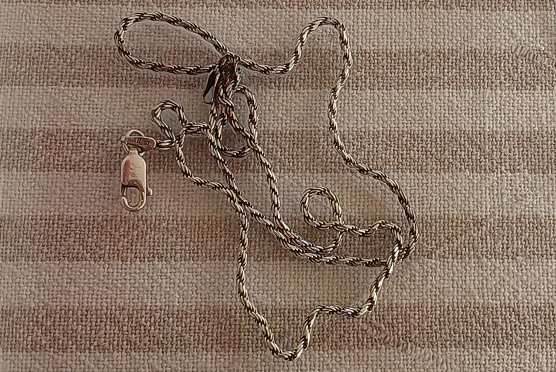
While the lakes were kind to our well-being, they were not so much to my silver jewellery. My necklace and earrings emerged with a gentle patina, and with the darkened look of long-lost treasure. Clearly, it was time to restore their shine.

So, time for a rescue mission. As always with my DIYs, the rules were simple:
- find the fastest, laziest methods possible
- effective
- use only what we already had at home
After some Googling and kitchen-raiding, I settled on six different “lazy” silver-cleaning tricks. Here’s what worked (and what didn’t).
Method 1: Baking Soda Solution
Ingredients: 1 tablespoon baking soda + hot water.
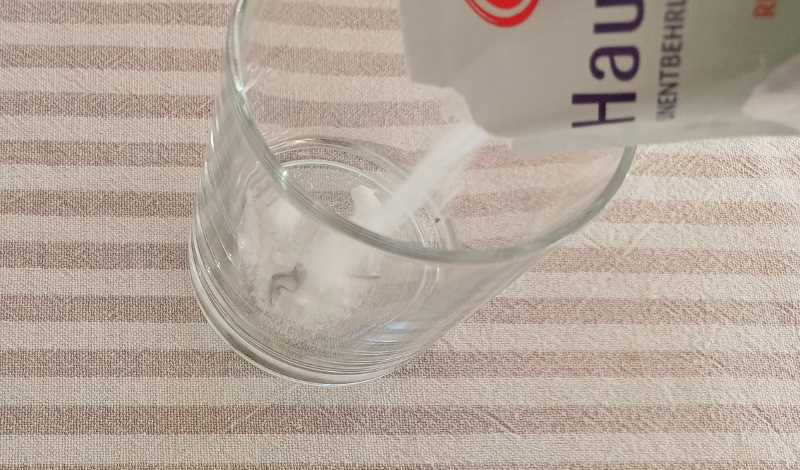
Baking soda is a classic silver cleaner. Normally, a paste of baking soda and water is rubbed onto the jewellery to remove tarnish. But since this was a lazy, no-scrub experiment, I simply submerged an earring in hot water with baking soda.
Result: No visible change. Without the rubbing action, this method just didn’t work.
Method 2: Citric Acid Bath
Ingredients: 1 tablespoon citric acid + hot water.
Citric acid dissolves tarnish by breaking down silver sulfide. It’s a safer alternative to strong acids, and usually works best in boiling water. I love citric acid for many cleaning tasks, especially in fair fight with limescale — but this time, I only used hot water, not boiling.
Result: My water wasn’t hot enough, so this one also failed. The earring stayed stubbornly dark. Without enough heat, the reaction just didn’t happen or was too much slow.
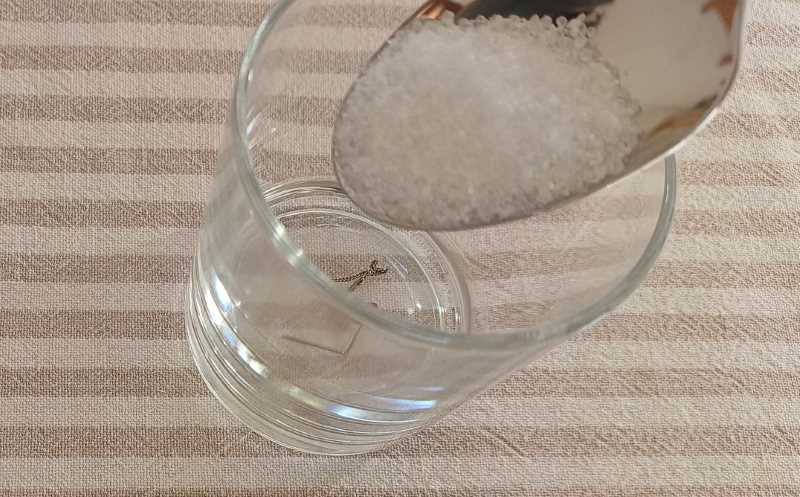
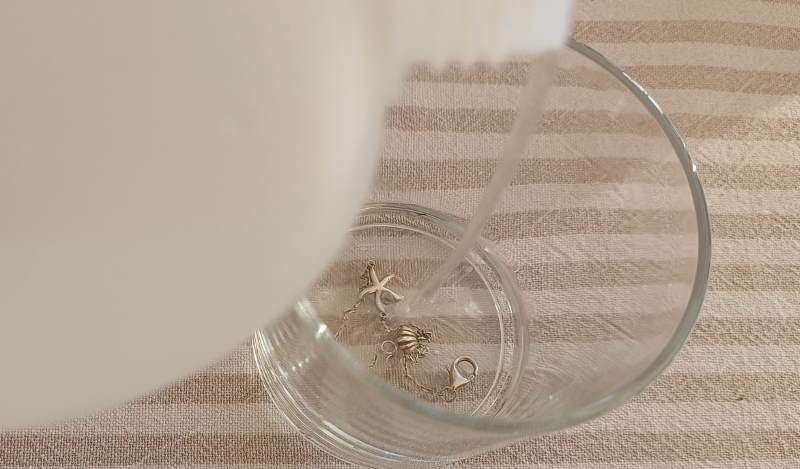
Method 3: Aluminium Foil + Baking Soda + Hot Water
Ingredients: Cup lined with aluminium foil, 1 tablespoon baking soda, hot water.
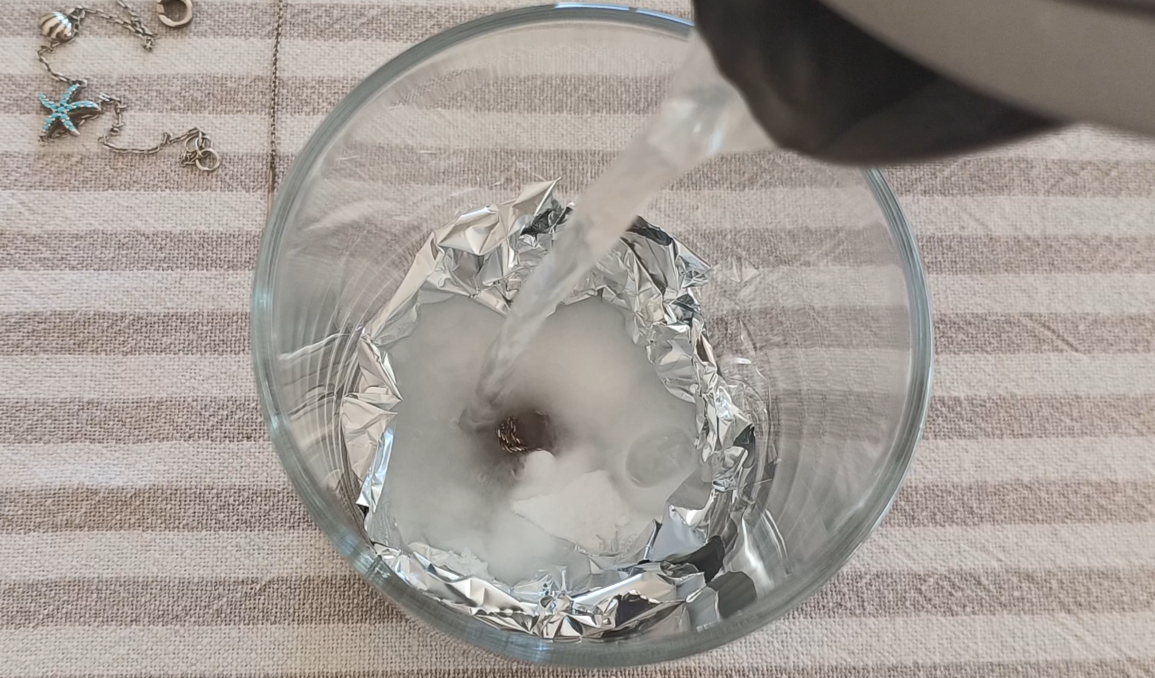
This one was a bit more sophisticated. I lined a cup with aluminium foil (shiny side up), placed my necklace inside, sprinkled in baking soda, and added hot water.
This method is all about chemistry. The aluminium, baking soda, and hot water trigger an electrolytic reaction where tarnish (silver sulfide) jumps from the silver to the foil.
Result: It partly worked! The necklace got cleaner, but not perfectly shiny. Some dark spots remained.
Method 4: Toothpaste Soak
Ingredients: Toothpaste + time.
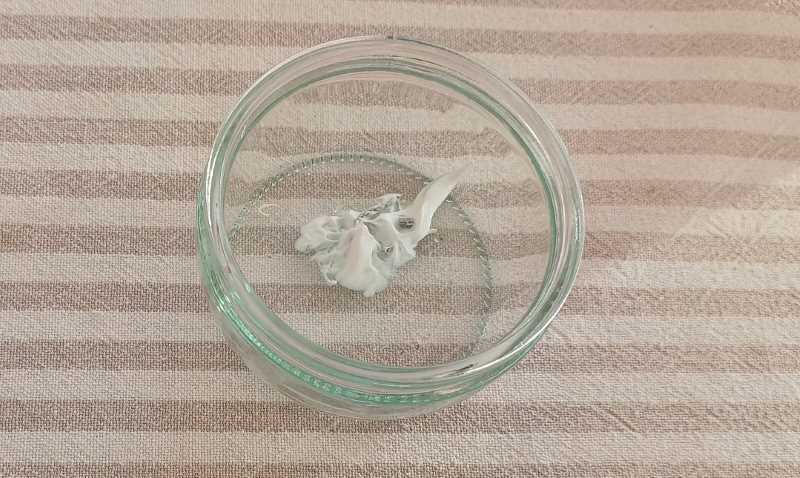
As I often clean my earrings and rings from regular grime with the help of toothpaste and a toothbrush, I decided to try to smear the earring with toothpaste and let it soak for a while. Toothpaste cleans silver through its mild abrasive ingredients, like silica, and sometimes soda (depends on the toothpaste ingredients) which rub away tarnish and grime. But, toothpaste’s abrasives are also too harsh for softer metals like silver. They can scratch and dull the surface of silver, especially items that are sterling silver, highly-polished, or silver-plated. As this method is only effective with scrubbing (like the baking soda method) — which I skipped for this test, it was not effective.
Result: No change. The earring smelled minty fresh, but it wasn’t cleaner.
Method 5: Ammonia Soak
Ingredients: Cup + 9.5% ammonia (You can buy it in any hardware or some grocery stores) solution or here.
*Safety note: Don’t sniff ammonia, it may injure Your sinus linings. Never mix ammonia with bleach! It creates toxic chlorine gas, which causes severe burns in the lungs.
Ammonia chemically breaks down tarnish and can be very effective on heavily tarnished silver. After soaking, I rinsed and gave the jewellery a very light brush.
Though this method is best used as a quick soak for heavily tarnished items, but it is not for regular cleaning or for silver with soft gemstones, and should always be followed by thorough rinsing and drying.
Result: Very good! The jewellery looked much brighter. I even re-dipped my necklace for extra shine and decided that it was the best method to whiten the Chinese “sterling silver” jewellery, too.
But still I was not happy with any of the above mentioned methods (the dark spots were still on the necklace and the shiny Chinese “sterling silver” bracelets looked more like yellow gold). So, I tried another simple method, that takes a little time, but absolutely no physical efforts.
Method 6: Boiling with Aluminium Foil and Salt
Ingredients: Pot, aluminium foil, 2–3 tablespoons salt, water.

I took a stainless steel saucepan (but it can be any other pot, including aluminium pots), lined the saucepan with aluminium foil (shiny side up), added the jewellery, sprinkled salt (in this case it`s sea salt, but You may use simple table salt without iodine) and water to cover the jewellery, and let it slowly boil for about 20 minutes, topping up water and salt as needed.
I also made up my mind and added the most yellowed Chinese “sterling silver” jewellery (two bracelets).
Salt with aluminum foil cleans silver through an electrolytic reaction just like the aluminium foil and baking soda: the tarnish on the silver reacts with the aluminum in the solution, transferring the sulfur (tarnish) from the silver to the aluminum foil while releasing electrons from the aluminum to the silver. This ion exchange reverses the tarnishing process, converting silver sulfide (the tarnish) back into pure silver, making the jewelry shiny again without damaging the underlying metal. And the boiling speeds up the electrolytic reaction.
Then turned the cooker off and let the jewellery cool down (I wouldn`t put the hot jewellery under cold water, because I think it would`ve damaged the pieces).
Result: then I rinsed the jewellery and was quite astonished with the result. All the tarnish was gone. The black stains on the necklace. The black stains in the corners of the earrings. The black stains in the corners of the sea star on the bracelet and in the hollows of the shell on the same bracelet.
And the Chinese sterling silver bracelets became brighter. They didn`t become silver shiny, because they are actually fake and they started peeling long before, so it`s another story. But, if You believe that Your sterling silver jewellery is genuine, then this aluminium foil boiled in salty water method is right for You.
Final Thoughts: What’s the Best Lazy Way to Clean Silver?
- For light tarnish, ammonia or the baking soda + foil method works well.
- For heavy tarnish, the boiling foil + salt method is the clear winner.
Important notes:
- Please exercise caution when using these methods on silver-plated items, pearls, or jewellery with gemstones. They may damage finishes and loosen glued parts.
- For jewellery with stones, it’s better to use professional cleaning solutions or an ultrasonic machine.
And last tip from personal pain: don’t rinse jewellery over the sink. I lost one of my favourite earrings that way. Yes, I even dismantled the drain to look for it. No luck 😔.
Before & After
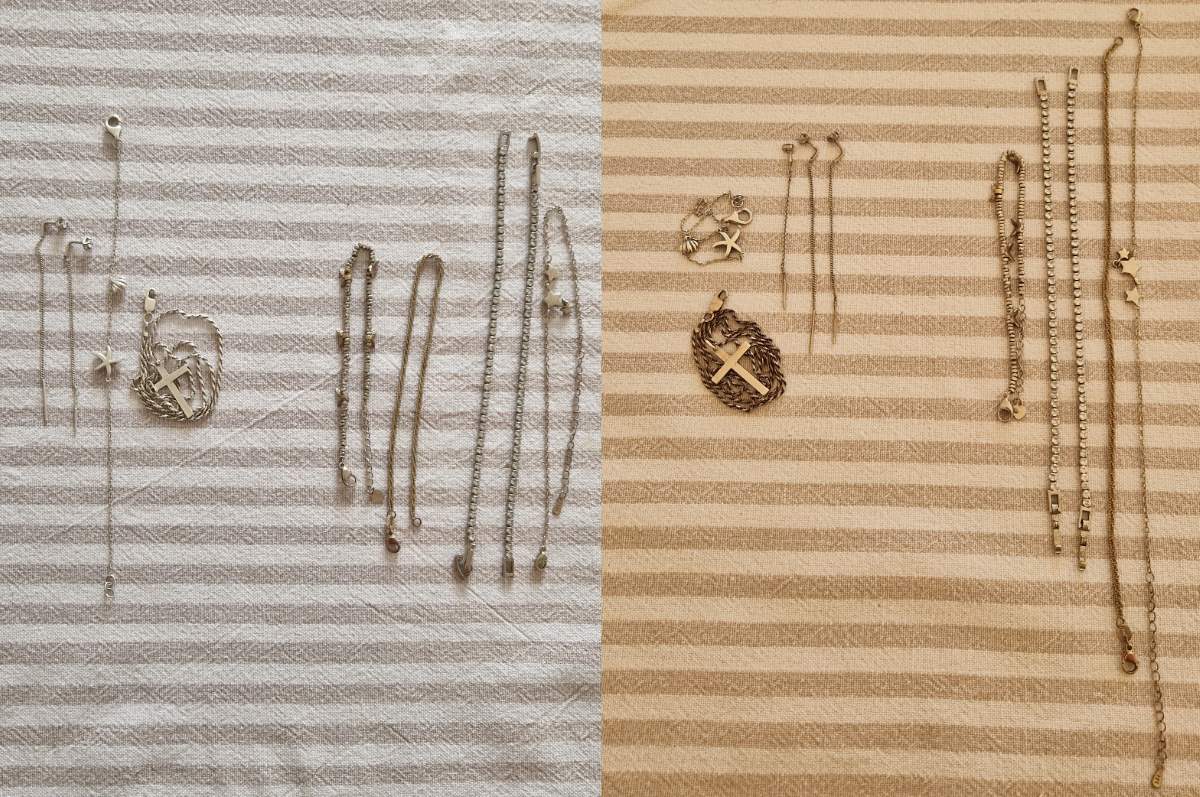
Sorry for the lame light on the “before” picture. But the difference between the tarnished and cleaned jewellery was night and day. My necklace and earrings went from dull black to shiny silver again — all with simple, “lazy” methods.
PS: Chinese “Sterling Silver”
As You may have noticed, I call some of these pieces “Chinese ‘Sterling Silver’ bracelets.” The quotation marks are there for a reason.
Real sterling silver isn’t just shiny metal — it’s a top-quality alloy made of at least 92.5% pure silver and up to 7.5% copper (or another metal). That magic mix makes it tougher than pure silver, perfect for jewelry that survives daily life, and it still keeps silver’s gorgeous shine. Genuine sterling silver usually carries the “925” stamp as its passport.
Now, the so-called Chinese “Silver” is another story. In most cases, it’s steel, aluminum, or any other inexpensive metal, dressed up with a whisper-thin layer of silver. That’s why these bracelets can cost just a couple of dollars instead of a small fortune.
The catch? Over time, that silver coating rubs off, leaving the base metal behind — which is why some of these bracelets turned yellow. Still, I have to admit: for a few bucks, they hold up surprisingly well. They won’t ever match the brilliance of true sterling silver, but if Your expectations are modest, they can still sparkle for a while before showing their true colours.
Have You ever bought Chinese “sterling silver” jewellery? Have You tried cleaning silver at home? Which method worked best for you? Share in the comments — and if this guide helped, feel free to support my work with a like or share!


The step-by-step photos and honest breakdown of what works (and what doesn’t) make this super helpful! Thumbs up for sharing such useful advice — perfect for anyone who loves their jewelry but hates complicated cleaning routines!
I am always looking for a good advice so i will test it right now.
The Aluminium foil with salt and boiling water works perfect! Thanks for the tip!
I’m always looking for easier ways to clean jewelry, and the “lazy hacks” approach is appealing – I wonder how well the toothpaste method works in practice. I found a related discussion about silver care and material science on https://seed3d.ai that might be interesting for others too.