
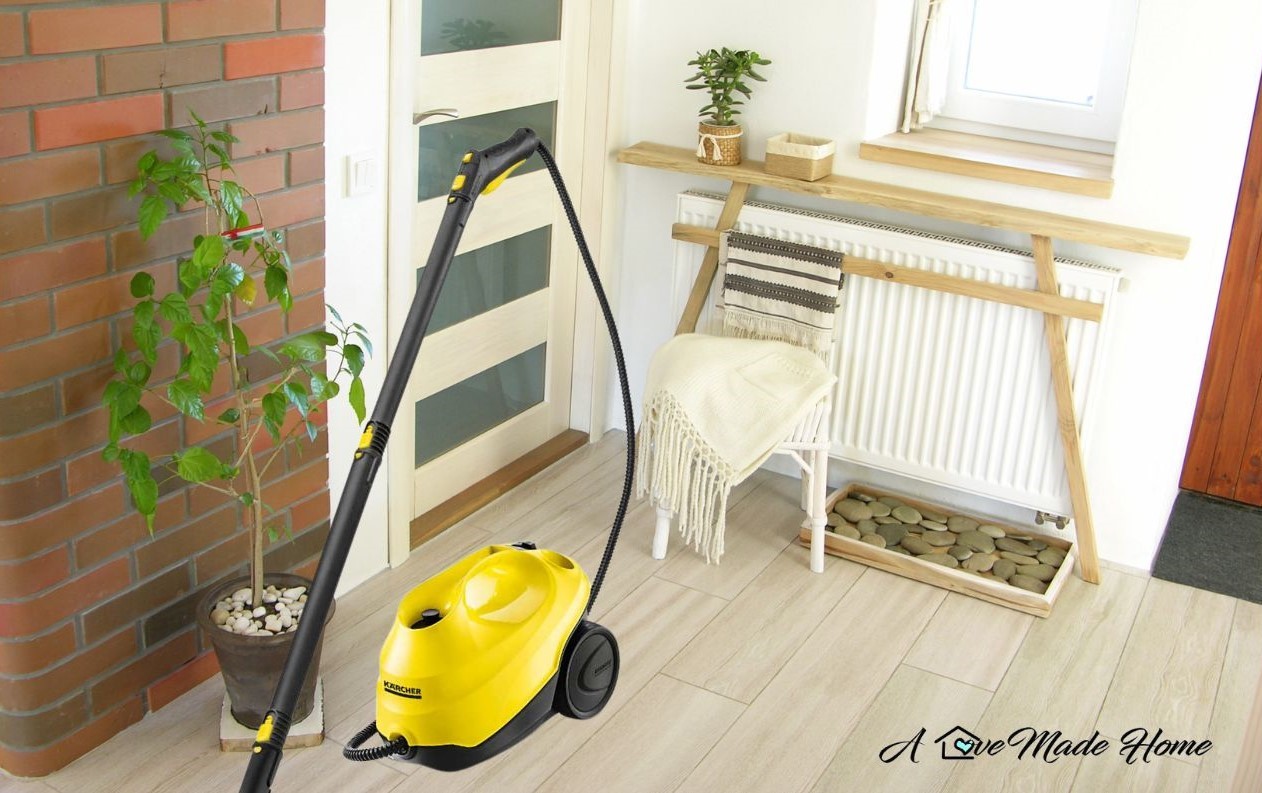
Heating radiators play a crucial role in keeping our homes warm and comfortable during the colder months. However, over time, they accumulate dust, grime, and even rust, reducing their efficiency and potentially affecting indoor air quality. Cleaning radiators is essential for maintaining their functionality and ensuring that the heating system operates at its best. One effective method for cleaning heating radiators is using a steam cleaner. In this article, I will guide you through the steps to clean your radiators effectively and efficiently.
Why Use a Steam Cleaner?
Steam cleaning is an excellent choice for cleaning heating radiators for several reasons:
- thorough cleaning: steam can penetrate even the most stubborn dirt, grime, and dust in the narrow crevices and fins of the radiator, leaving it clean and sanitized;
- chemical-free: steam cleaning doesn’t require the use of harsh chemicals, making it a safe and eco-friendly option for both, your health and the environment;
- efficient: steam cleaners are effort-efficient, as they can quickly loosen and remove dirt without much effort on your part;
- hygienic: steam cleaning kills bacteria, moulds, and dust mites, helping to improve indoor air quality and reduce allergens in your home.
Materials You Will Need
Before you begin cleaning your heating radiators with a steam cleaner, gather the following materials:
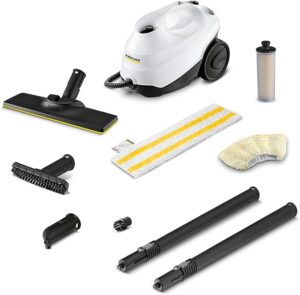
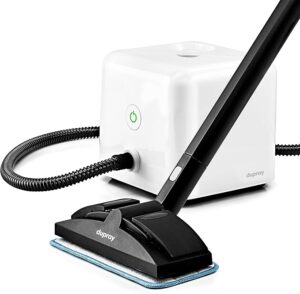
- Steam cleaner: ensure it’s equipped with a hose and a nozzle attachment suitable for reaching tight spaces. I am using this steam cleaner. This one is the US`s Amazon best seller. And this one has considerably high ratings on Amazon.
- Microfiber cloths or towels.
- Vacuum cleaner with a brush attachment (optional).
- A small brush or old toothbrush for precise cleaning.
- A washtub to put under the radiators to collect dirty water drops (here is a pretty foldable dish tub).
Step-by-Step Guide to Cleaning Heating Radiators with a Steam Cleaner
Follow these steps to clean your heating radiators effectively:
Step 1: Preparation
- Turn off the heating system: before you start, make sure the heating system is switched off to avoid burns from hot radiators.
- Remove any obstacles: clear the area around the radiator, removing any furniture, curtains, or objects that might hinder access.
Step 2: Vacuum and put a washtub under the radiator
- Use a vacuum cleaner with a brush attachment to remove loose dust, spider web, and debris from the radiator’s surface and fins. This step will make the steam cleaning process more effective.
- Put a washtub under the radiator to prevent dirty drops falling on the floor.
Step 3: Steam Cleaning
- Fill the steam cleaner’s water tank with clean water according to the manufacturer’s instructions.
- Attach the nozzle suitable for reaching tight spaces.
- Plug in and turn on the steam cleaner. Wait for it to heat up, typically a few minutes.
- Hold the nozzle as close as possible to the radiator’s surface and use the steam to loosen dirt, grime, and dust. Start from the top and work your way down.
- If your radiator has stubborn spots or stains, you can use a small brush or toothbrush to gently scrub them while applying steam.
- Wipe away loosened dirt and moisture with a microfiber cloth or towel.
Step 4: Detail Cleaning
For more precise cleaning:
- Use the steam cleaner’s nozzle to clean between the radiator fins, moving it back and forth.
- For intricate designs or hard-to-reach areas, a toothbrush or small brush can be helpful.
Step 5: Final Touches
Once you’ve cleaned the entire radiator, give it some time to dry completely before turning the heating system back on. Use a microfiber cloth to ensure no moisture remains on the surface.
Honest Conclusion (Video)
And now, to get real. I`ve been having a steam cleaner for years. To use it on the radiator never came to my mind, because our radiators were quite clean.
Until one day I found myself in a rented flat, where the radiator hadn`t been cleaned for at least 20 years. It was covered not only with tons of dust and web nets, but also mould that gathered there due to high humidity. We were living there for a while and I just could not afford me and my son to breathe the air that was coming after being heated with this:
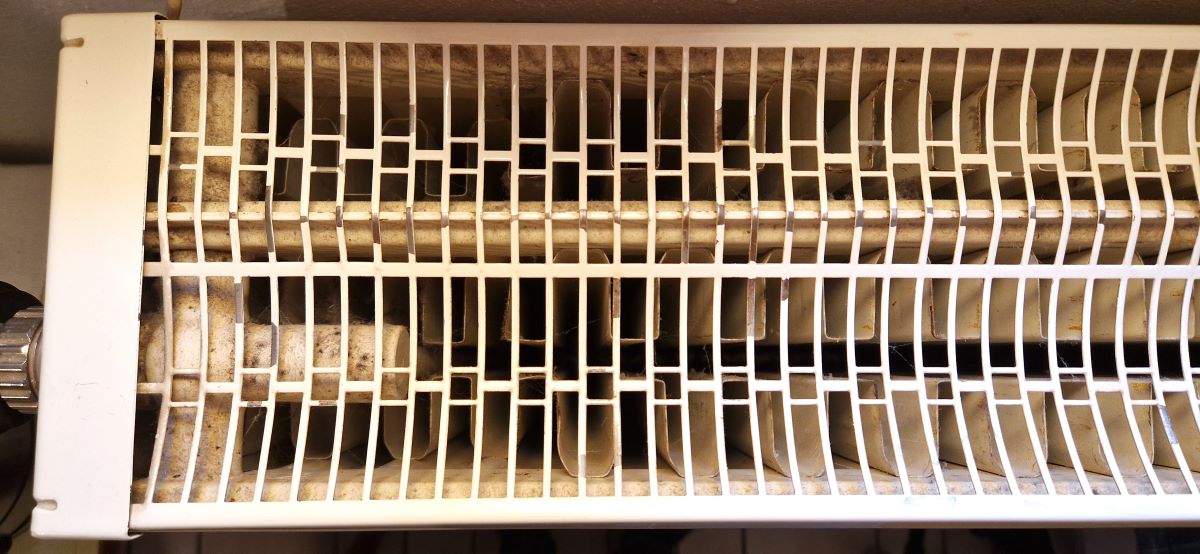
At first I tried to process with the jet nozzle that comes with the steam cleaner. The dirt moved, but not as fast as I expected.
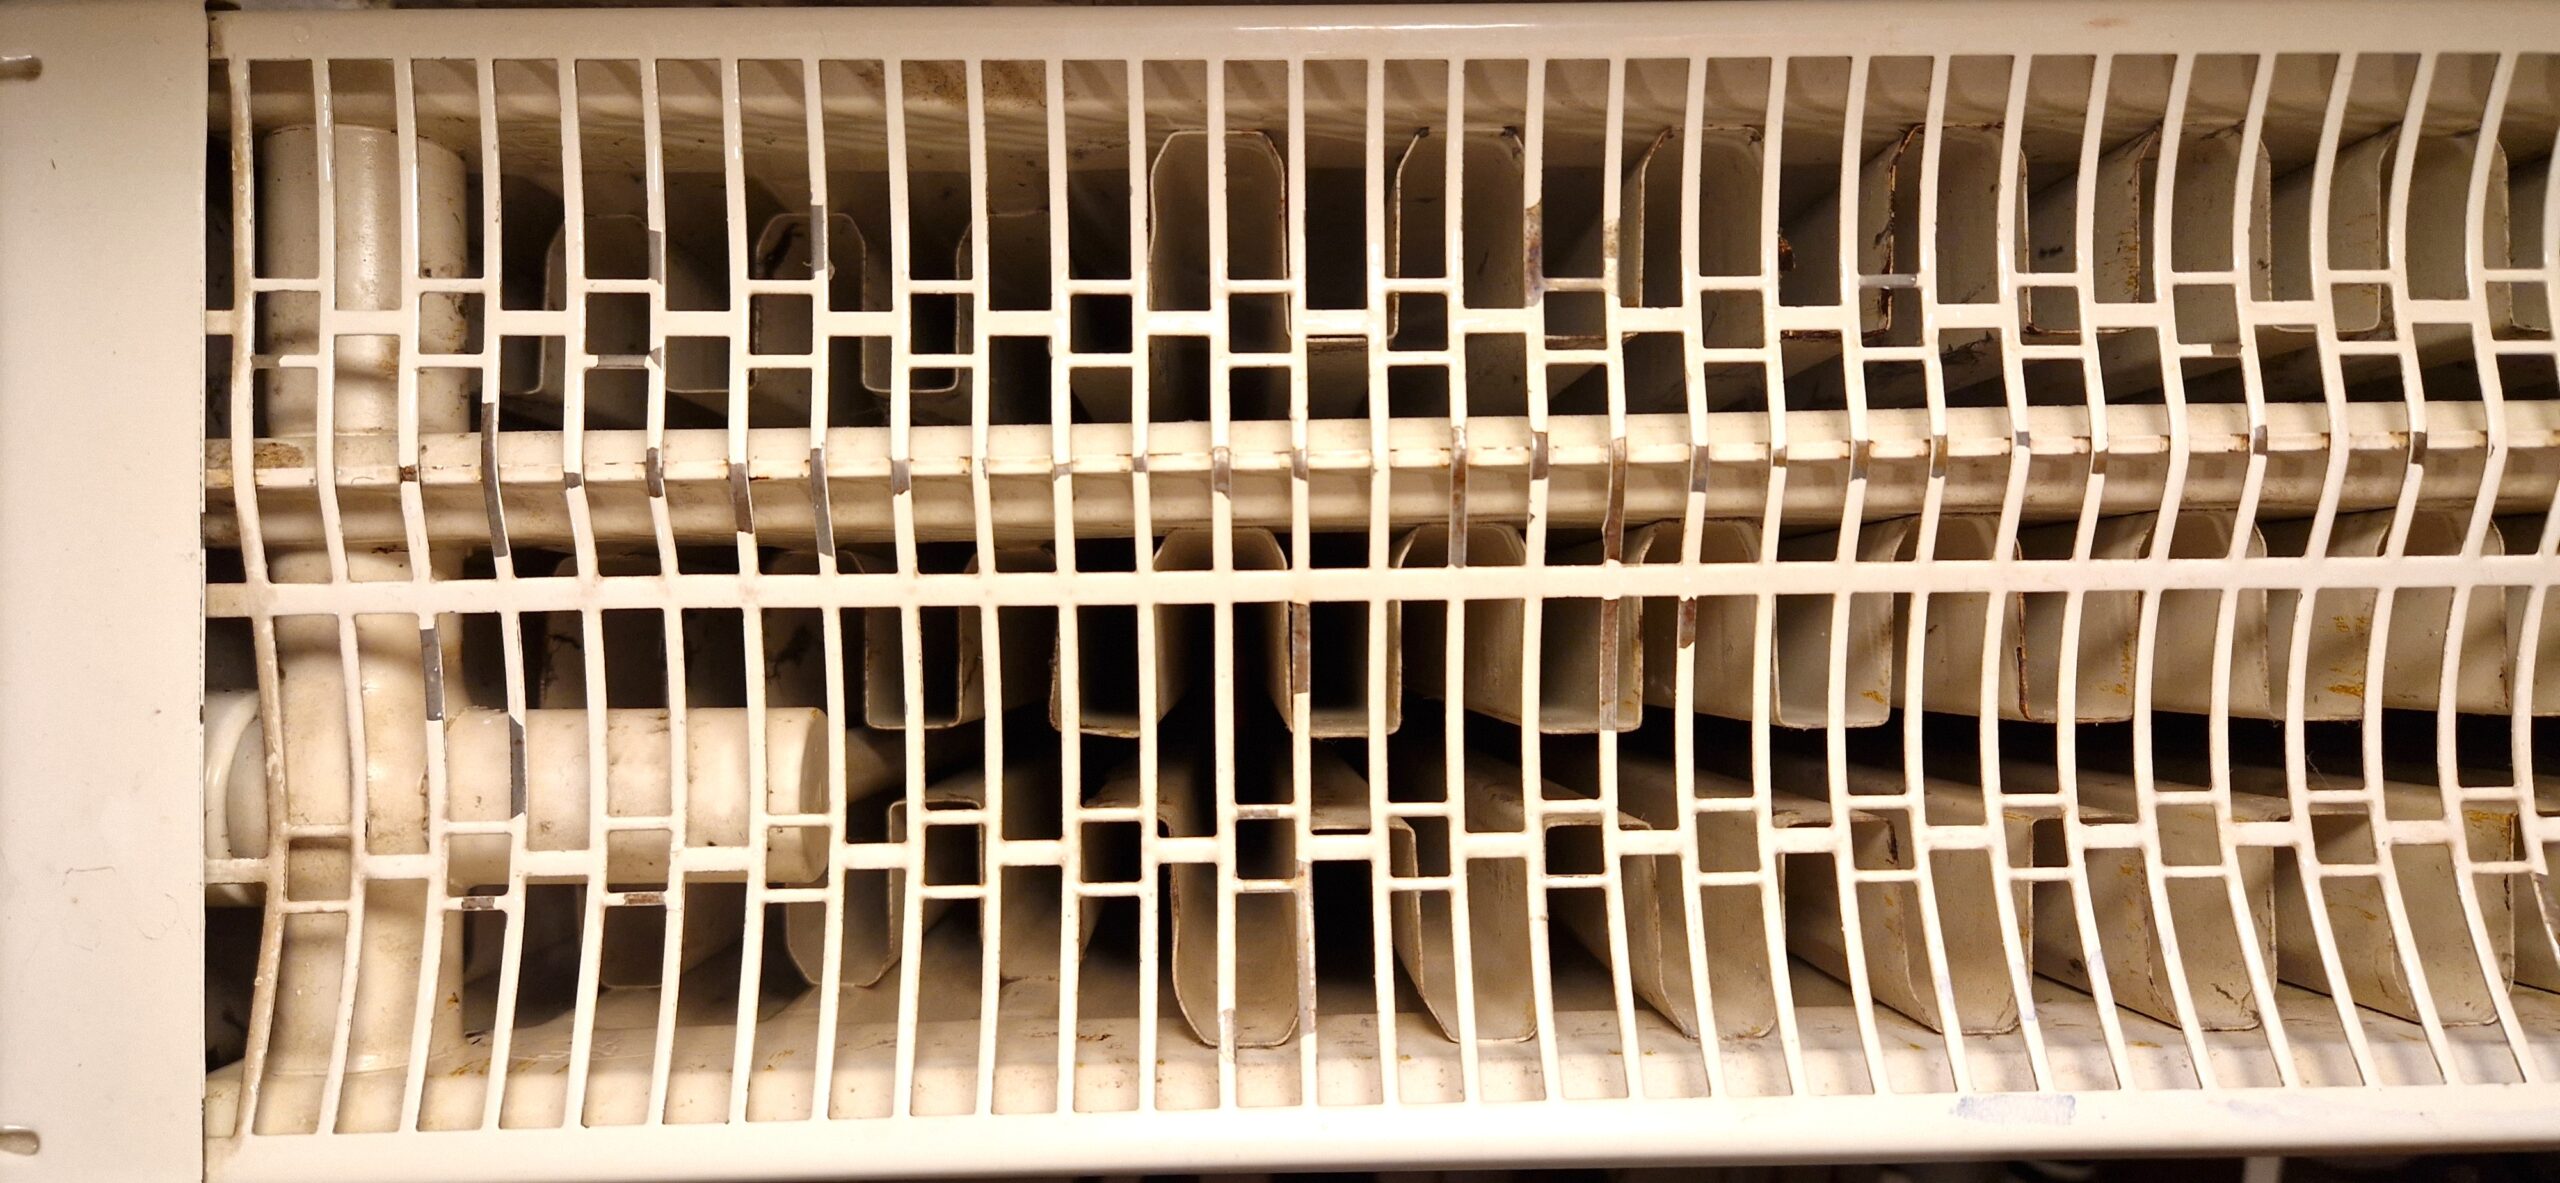
I was in a deepest despair, until I tried to take off the jet nozzle and make a flow directly from the steam cleaner`s handle. I was so happy and disappointed at the same time. Because finally it worked, but only after wasting maybe an hour of dragging that nozzle around the top grill:
Normally, to deep-clean the heating radiators, one takes off the top grill first, which is held by the side panels, which, in their turn, are held by plastic clips. But this radiator was that old that those clips (which are holding the side panels, which, in their turn, hold the top grill), were worn out. And I was afraid, that when I just try to take them (the clips) off, being handled even by my gentle fingers, they`d defeatedly scatter under the slightest pressure.
So, obviously I had no other choice except of turning to my favourite Steam Cleaner. Which, by the way, comes in handy at a lot of other cleaning routines.
Here is a video on how I cleaned the old radiator with this Steam Cleaner:
This post contains affiliate links. For more information, see my disclosures here.
This is the steam cleaner I used:
This is the Number One steam cleaner in the US (according to my modest observations):
This is a cheaper but with over tenths of thousands great reviews steam cleaner on Amazon:

A Steam Cleaner for those, who goes fully professional (up to 120 min. non-stop steam):

P.S. A tutorial on how to make that pretty radiator cover in the featured picture You can see here.


