
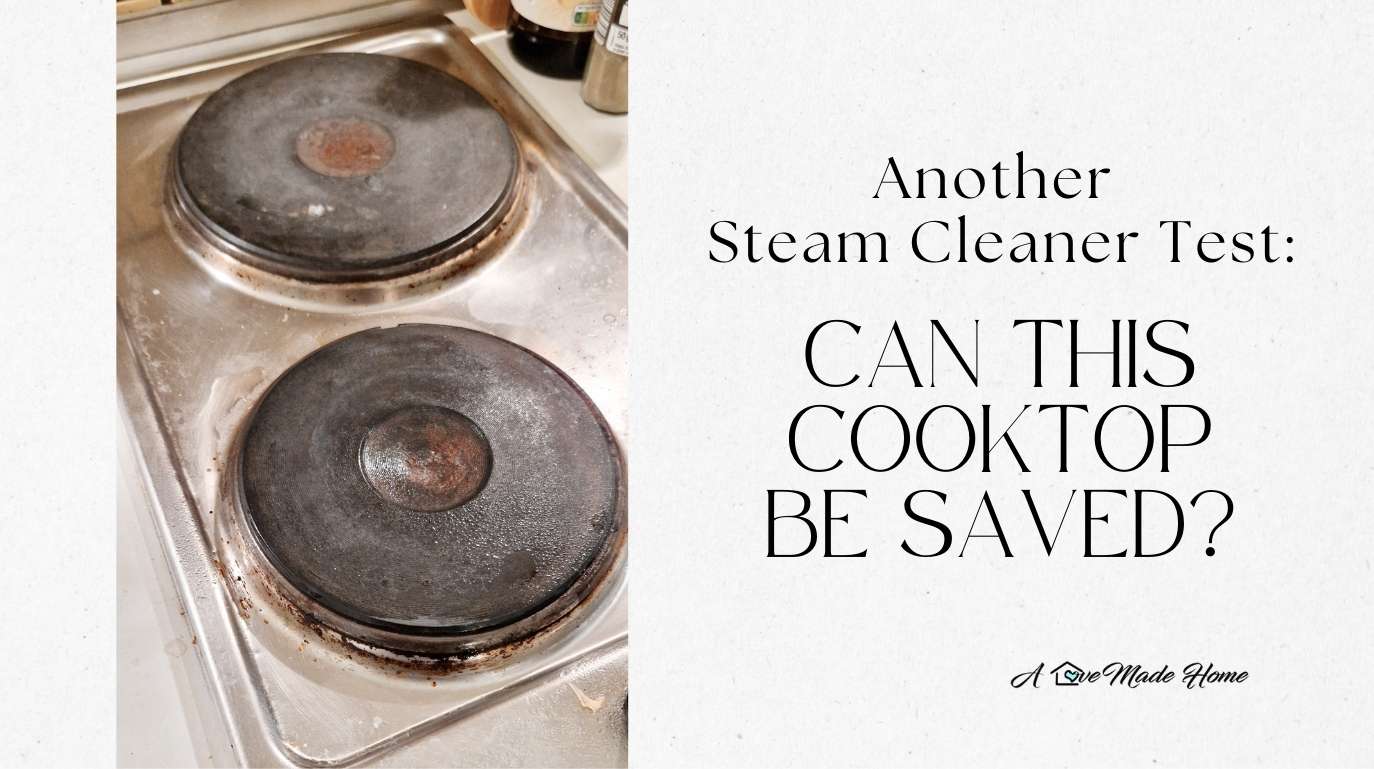
Ah, the old electric cooker — that loyal kitchen warrior that`s been serving here for over 30! years.
It’s been there for early morning coffee, quick scrambled eggs, late-night “I’m too tired to cook properly but I’m starving” pasta.
But here’s the thing. . . while it never complains, it does keep souvenirs from every single meal. Burnt milk, boiled-over pasta water, mystery sauce from who-knows-when. . . until one day You look down and realize Your faithful cooktop is starting to resemble an archaeological dig site.
Rather than spending a Saturday scrubbing like Cinderella before the ball, I armed myself with the big guns: a steam cleaner.
And oh, my friends — what a difference it made.
Before we begin, however, I need to clarify something important: I used the steam cleaner mainly on the stainless-steel surface around the hot plates, not on the hot plates themselves.
The solid electric plates are a different story — and I will explain how I clean those, including how I remove rust, further down in this post.
Why a Steam Cleaner?
If You’ve never tried cleaning with steam, You’re in for a treat.
It’s like having a little superhero in Your cleaning cupboard — no chemicals, no harsh smells, just pure water turning into hot, dirt-busting magic.
Steam loosens stubborn grime, melts away greasy build-up, and blasts dirt right out of those awkward nooks and crannies. Plus, it’s eco-friendly, safe, and fast. Basically, it’s the cleaning version of a win-win-win. Check out the blogpost where I turn deeper into 5 reasons You need a steam cleaner in Your household here.
Step 1: Turn Off, Cool Down, and Unplug
First things first: safety. Always make sure Your stove is completely off, unplugged, and cool before You start.
Yes, even if You’re in a hurry. We’re aiming for clean burners, not third-degree burns or an electrifying YouTube moment.
Step 2: Get Your Steam Cleaner Ready
Fill Your steam cleaner with plain water — no soap, no vinegar, no secret potion from Your grandma’s cupboard. The beauty of steam cleaning is that water alone gets the job done.
You can make it with an attachment — for this job, the small round brush (this one is the one I`m usually using) or the concentrated nozzle (this one fits the steam cleaner I`m using) works best.
Step 3: Let the Steam Work Its Magic
Hold the steam nozzle right above the dirty surface and let the hot vapour do its thing.
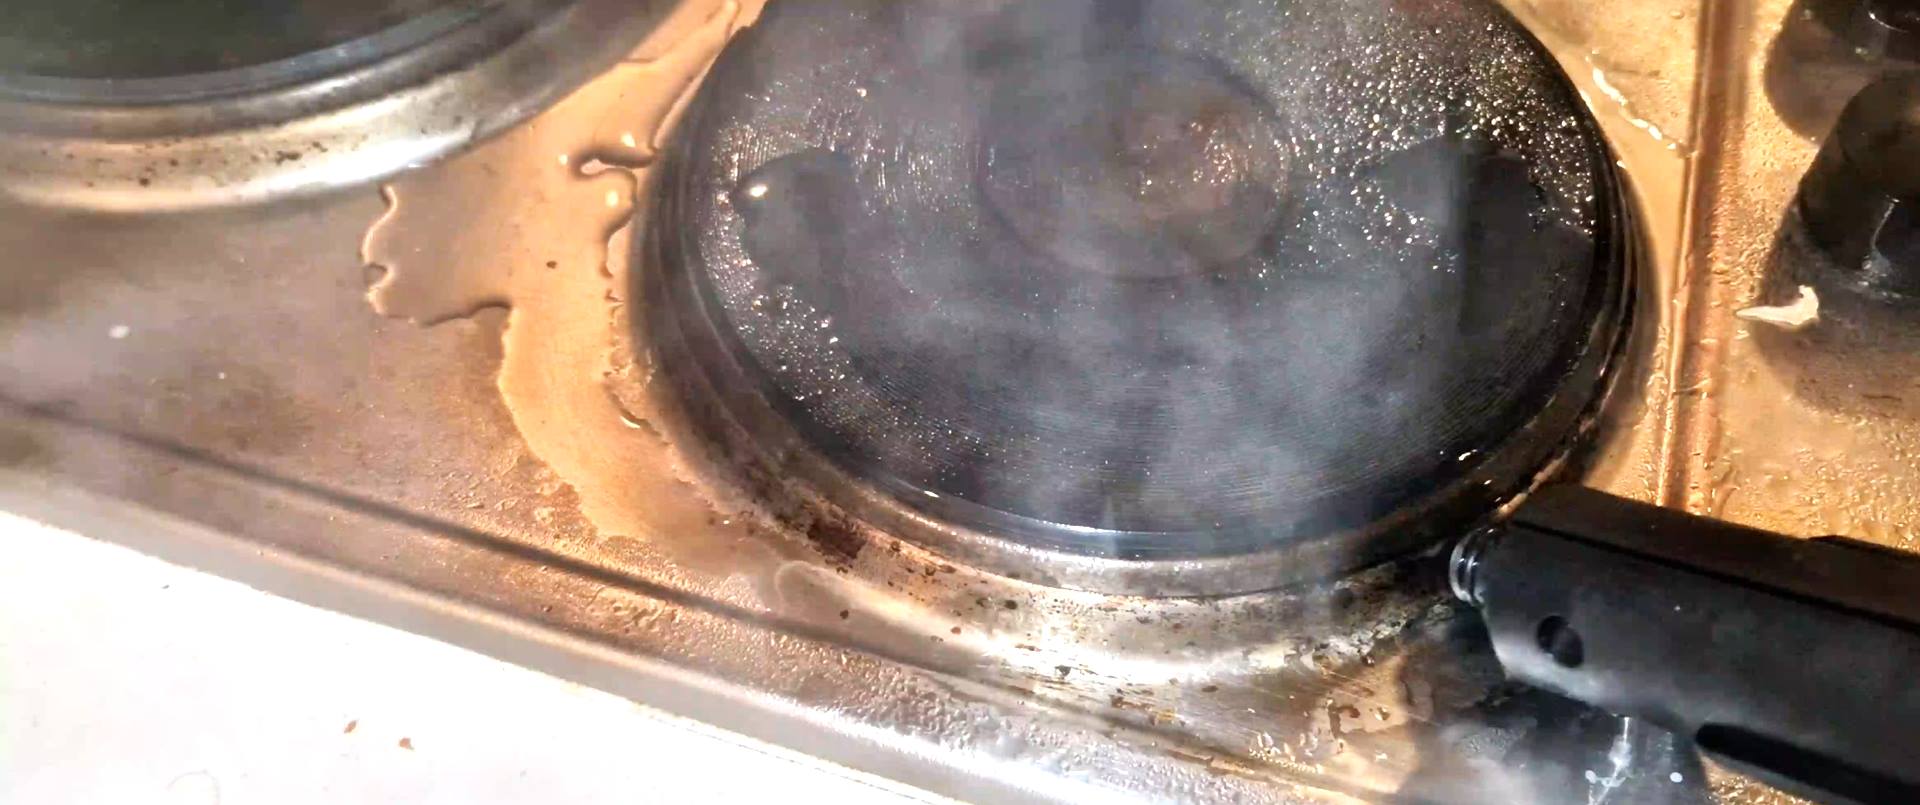
You’ll literally see grime softening, grease loosening, and old burnt bits starting to surrender. Scrub it a bit with the harder side of the sponge.
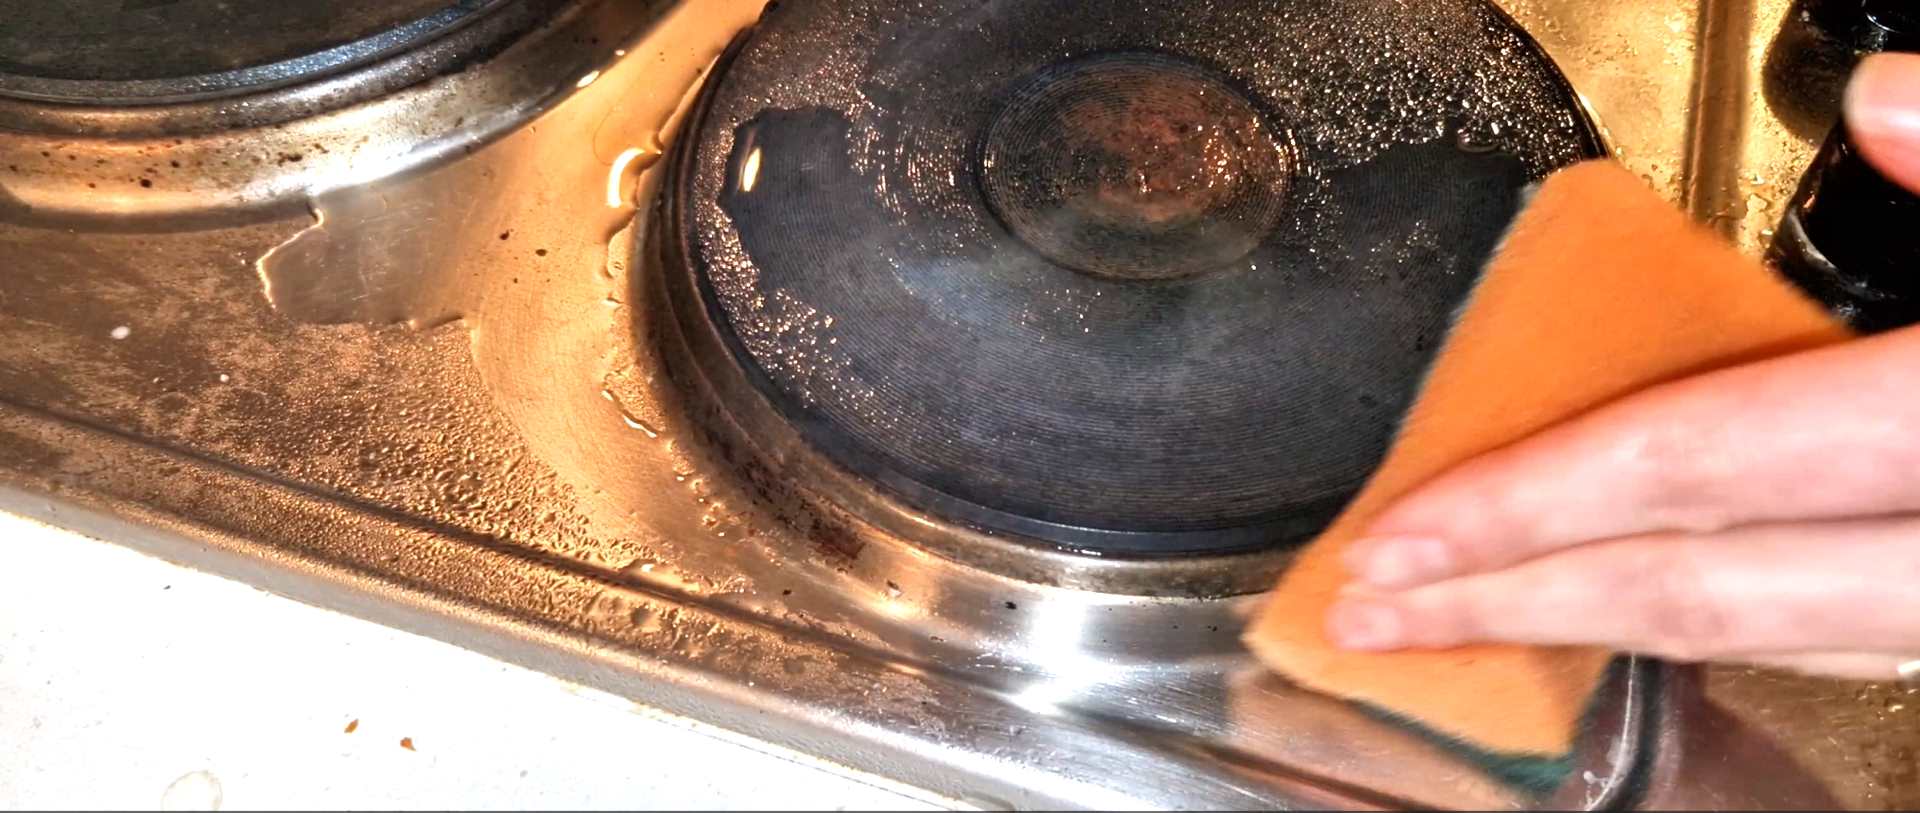
Step 4: Wipe, Admire, Repeat
After steaming an area, wipe it with a clean microfibre cloth. Most of the dirt should come away like it’s been waiting for the right moment to leave.
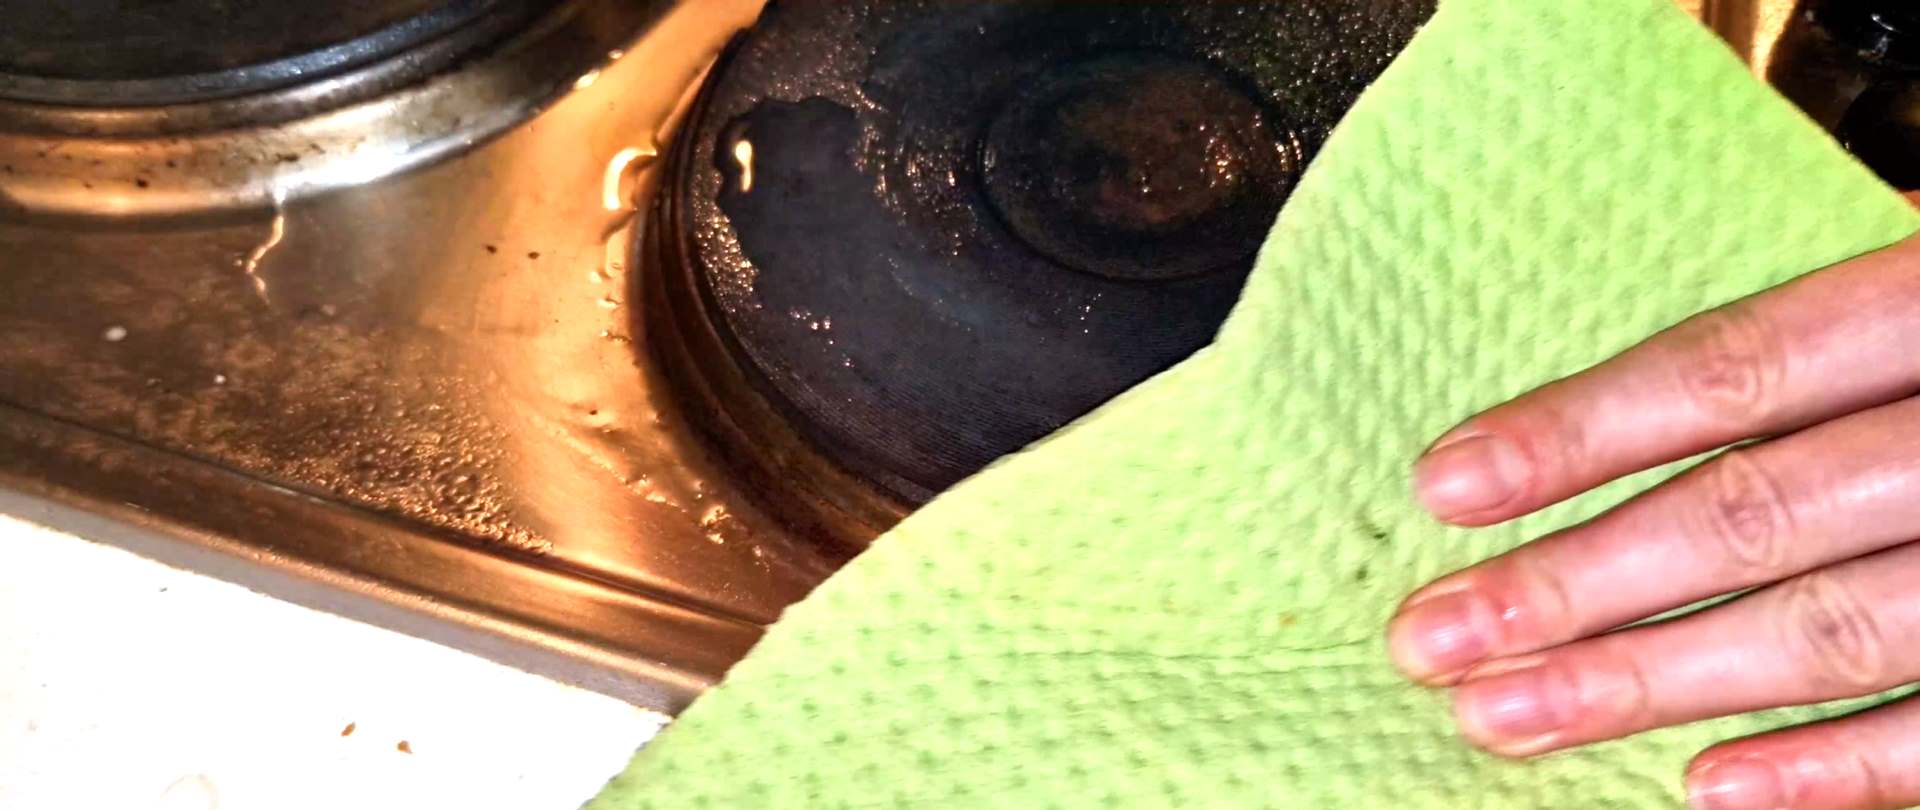
Got a stubborn spot? Just give it another steam blast and wipe again.
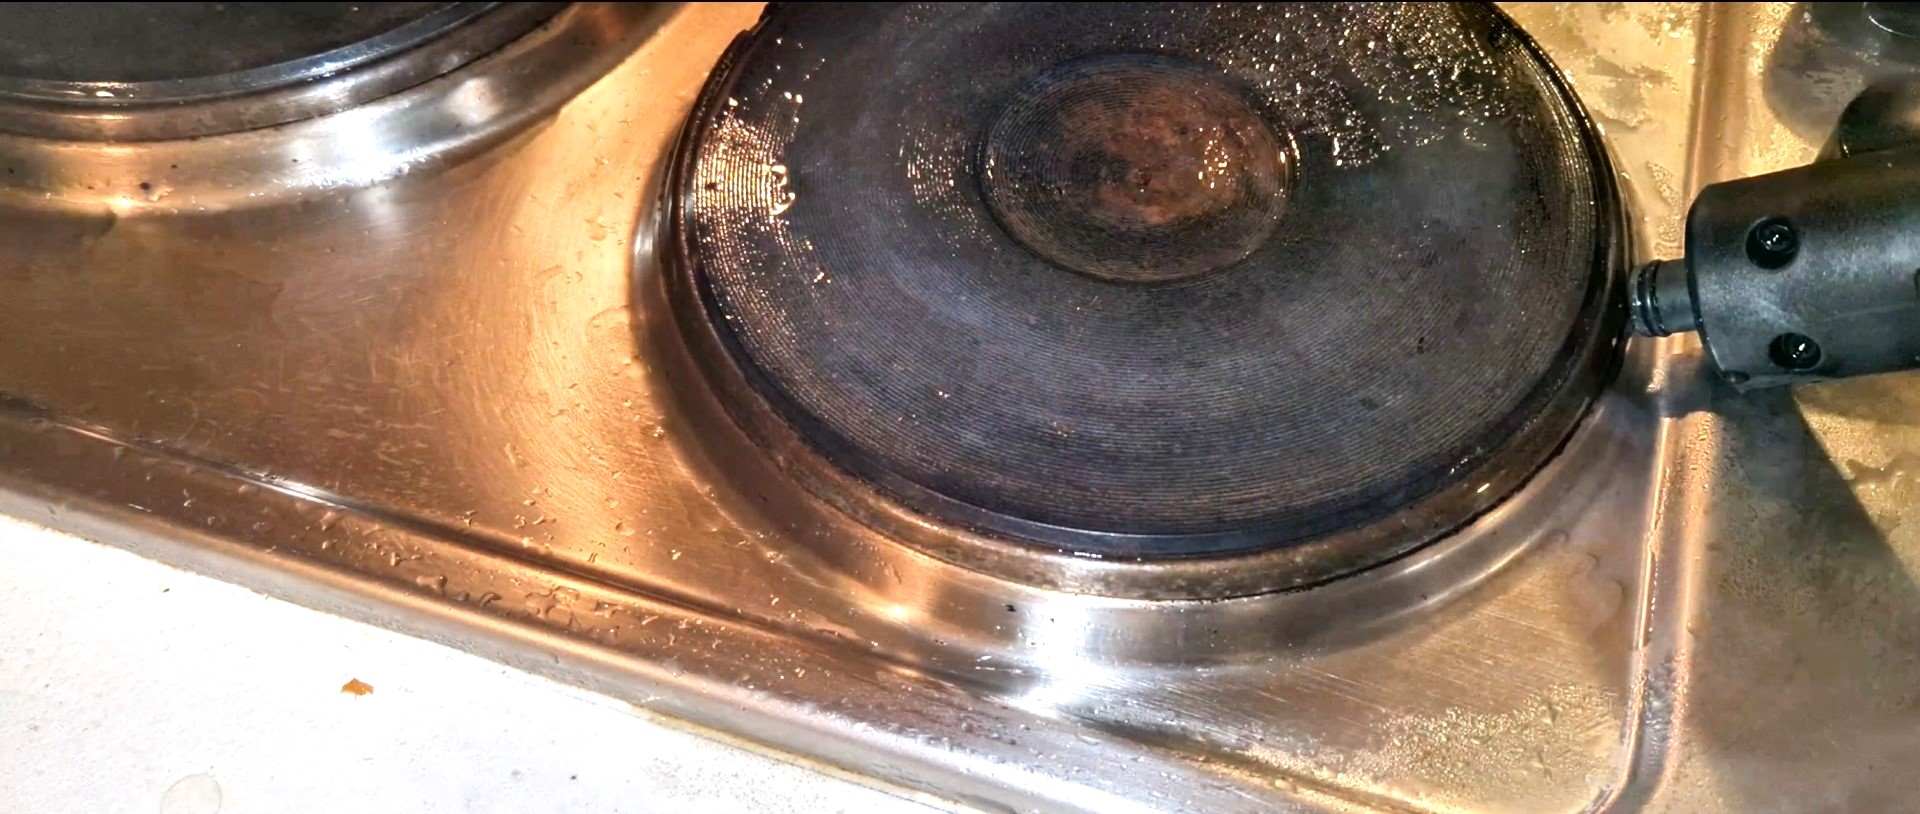
No arm workout required — unless You count lifting Your coffee mug to celebrate 😉.
Step 5: Don’t Forget the Edges
Hot plates have those annoying edges and ridges where crumbs and grime love to hide. Use Your steam cleaner’s pointed nozzle for precision cleaning, or wrap a cotton swab in a bit of cloth for a DIY detail tool.
Step 6: Dry Thoroughly
Once You’re done, give the cooker a good dry with a fresh cloth. Any leftover moisture can shorten its lifespan — and after all this work, You want Your burner sticking around for the long haul.
Here`s a video, where You can see the Magic happening in process:
But How Do I Clean the Actual Hot Plates?
Here is the funny thing: I never really had a serious problem with burnt food sticking permanently to the hot plates themselves.
Solid electric hot plates become extremely hot. When milk, sauce or pasta water boiled over, the residue on the plate usually burned and dried during normal use.
You could almost call the hot plate “self-cleaning” — although I would not recommend testing this theory by deliberately pouring dinner over it.
Once the plate was completely switched off and cool, I usually only needed to wipe away the loose, burnt remains with a damp cloth. After that, I dried the plate immediately.
The stainless-steel surface around the plates required much more cleaning than the plates themselves.
Rust, however, was another matter.
How I Remove Rust from Old Electric Hot Plates
A 30-year-old electric hot plate naturally begins to show its age. This one developed rusty patches, and my favourite cleaner for dealing with them is citric acid.
I normally prepare the solution myself. Put approximately two tablespoons of citric acid powder into a spray bottle and add hot water, then mix it until the powder dissolves.
*Be careful, because hot water expands and You can get burns. The water should be hot, but not boiling. Never pour or spray the mixture onto a switched-on or warm hot plate!
Citric acid works much faster when the solution is warm. Light rust begins to loosen almost immediately. More stubborn rust may need another application and some gentle scrubbing.
Once the rust has loosened, wipe the plate thoroughly with a clean damp cloth to remove the citric acid solution. Then dry it immediately and completely. This step is especially important because moisture left on the metal can quickly lead to more rust.
For those who do not feel like mixing their own solution, You can buy a ready-made citric acid cleaner here. Follow the instructions on the product label. I find the solution more effective when it is warm, but again, it should never be boiling or applied to a hot or switched-on cooker.
Citric acid is still an acid, so wear gloves, protect Your eyes and surrounding surfaces.
Why I Like Steam Cleaning
- Fast: Faster than just scrubbing.
- Eco-Friendly: No harsh chemicals — just water.
- Satisfying: That moment when the blackened crust slides away? Chef’s kiss.
- Effortless: The steam does the hard work so I don’t have to.
Pro Tips from My Kitchen to Yours
- Wipe after each use. Even a quick once-over keeps the “archaeological layers” from forming.
- Use distilled water in Your steam cleaner if You live in a hard water area — it keeps the machine happy and limescale-free.
- Test sponges and cleaners on a small area first.
- Work slowly. Let the steam linger for a few seconds on stubborn areas before wiping.
- Pair it with a good playlist. Cleaning feels faster when You’re dancing in the kitchen 😉.
Final Thoughts
Next time Your cooker looks like it’s been through a kitchen war, don’t reach for the harsh chemicals or heavy-duty scrubbers.
Reach for Your steam cleaner and prepare Your cooker for whatever culinary adventures (or disasters) You throw at it next.
Trust me — Your future self will thank you, and Your kitchen will look just that little bit happier.
This post contains affiliate links. For more information, see my disclosures here.
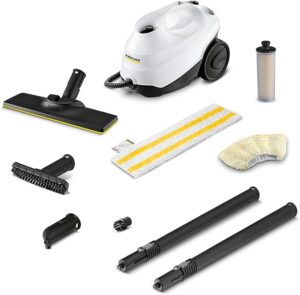
This is the steam cleaner I used:
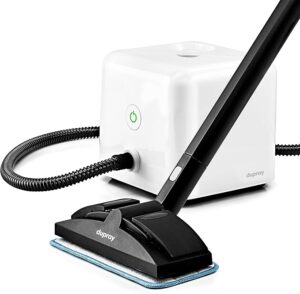
This is the Number One steam cleaner in the US (according to my modest observations):
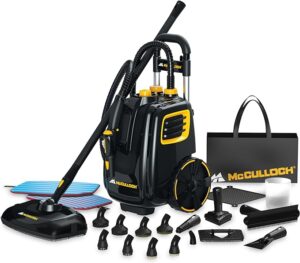
This is a cheaper but with over tenths of thousands great reviews steam cleaner on Amazon:

A Steam Cleaner for those, who goes fully professional (up to 120 min. non-stop steam):
Final Results
Here are the final results after steam-cleaning the stainless-steel cooktop:
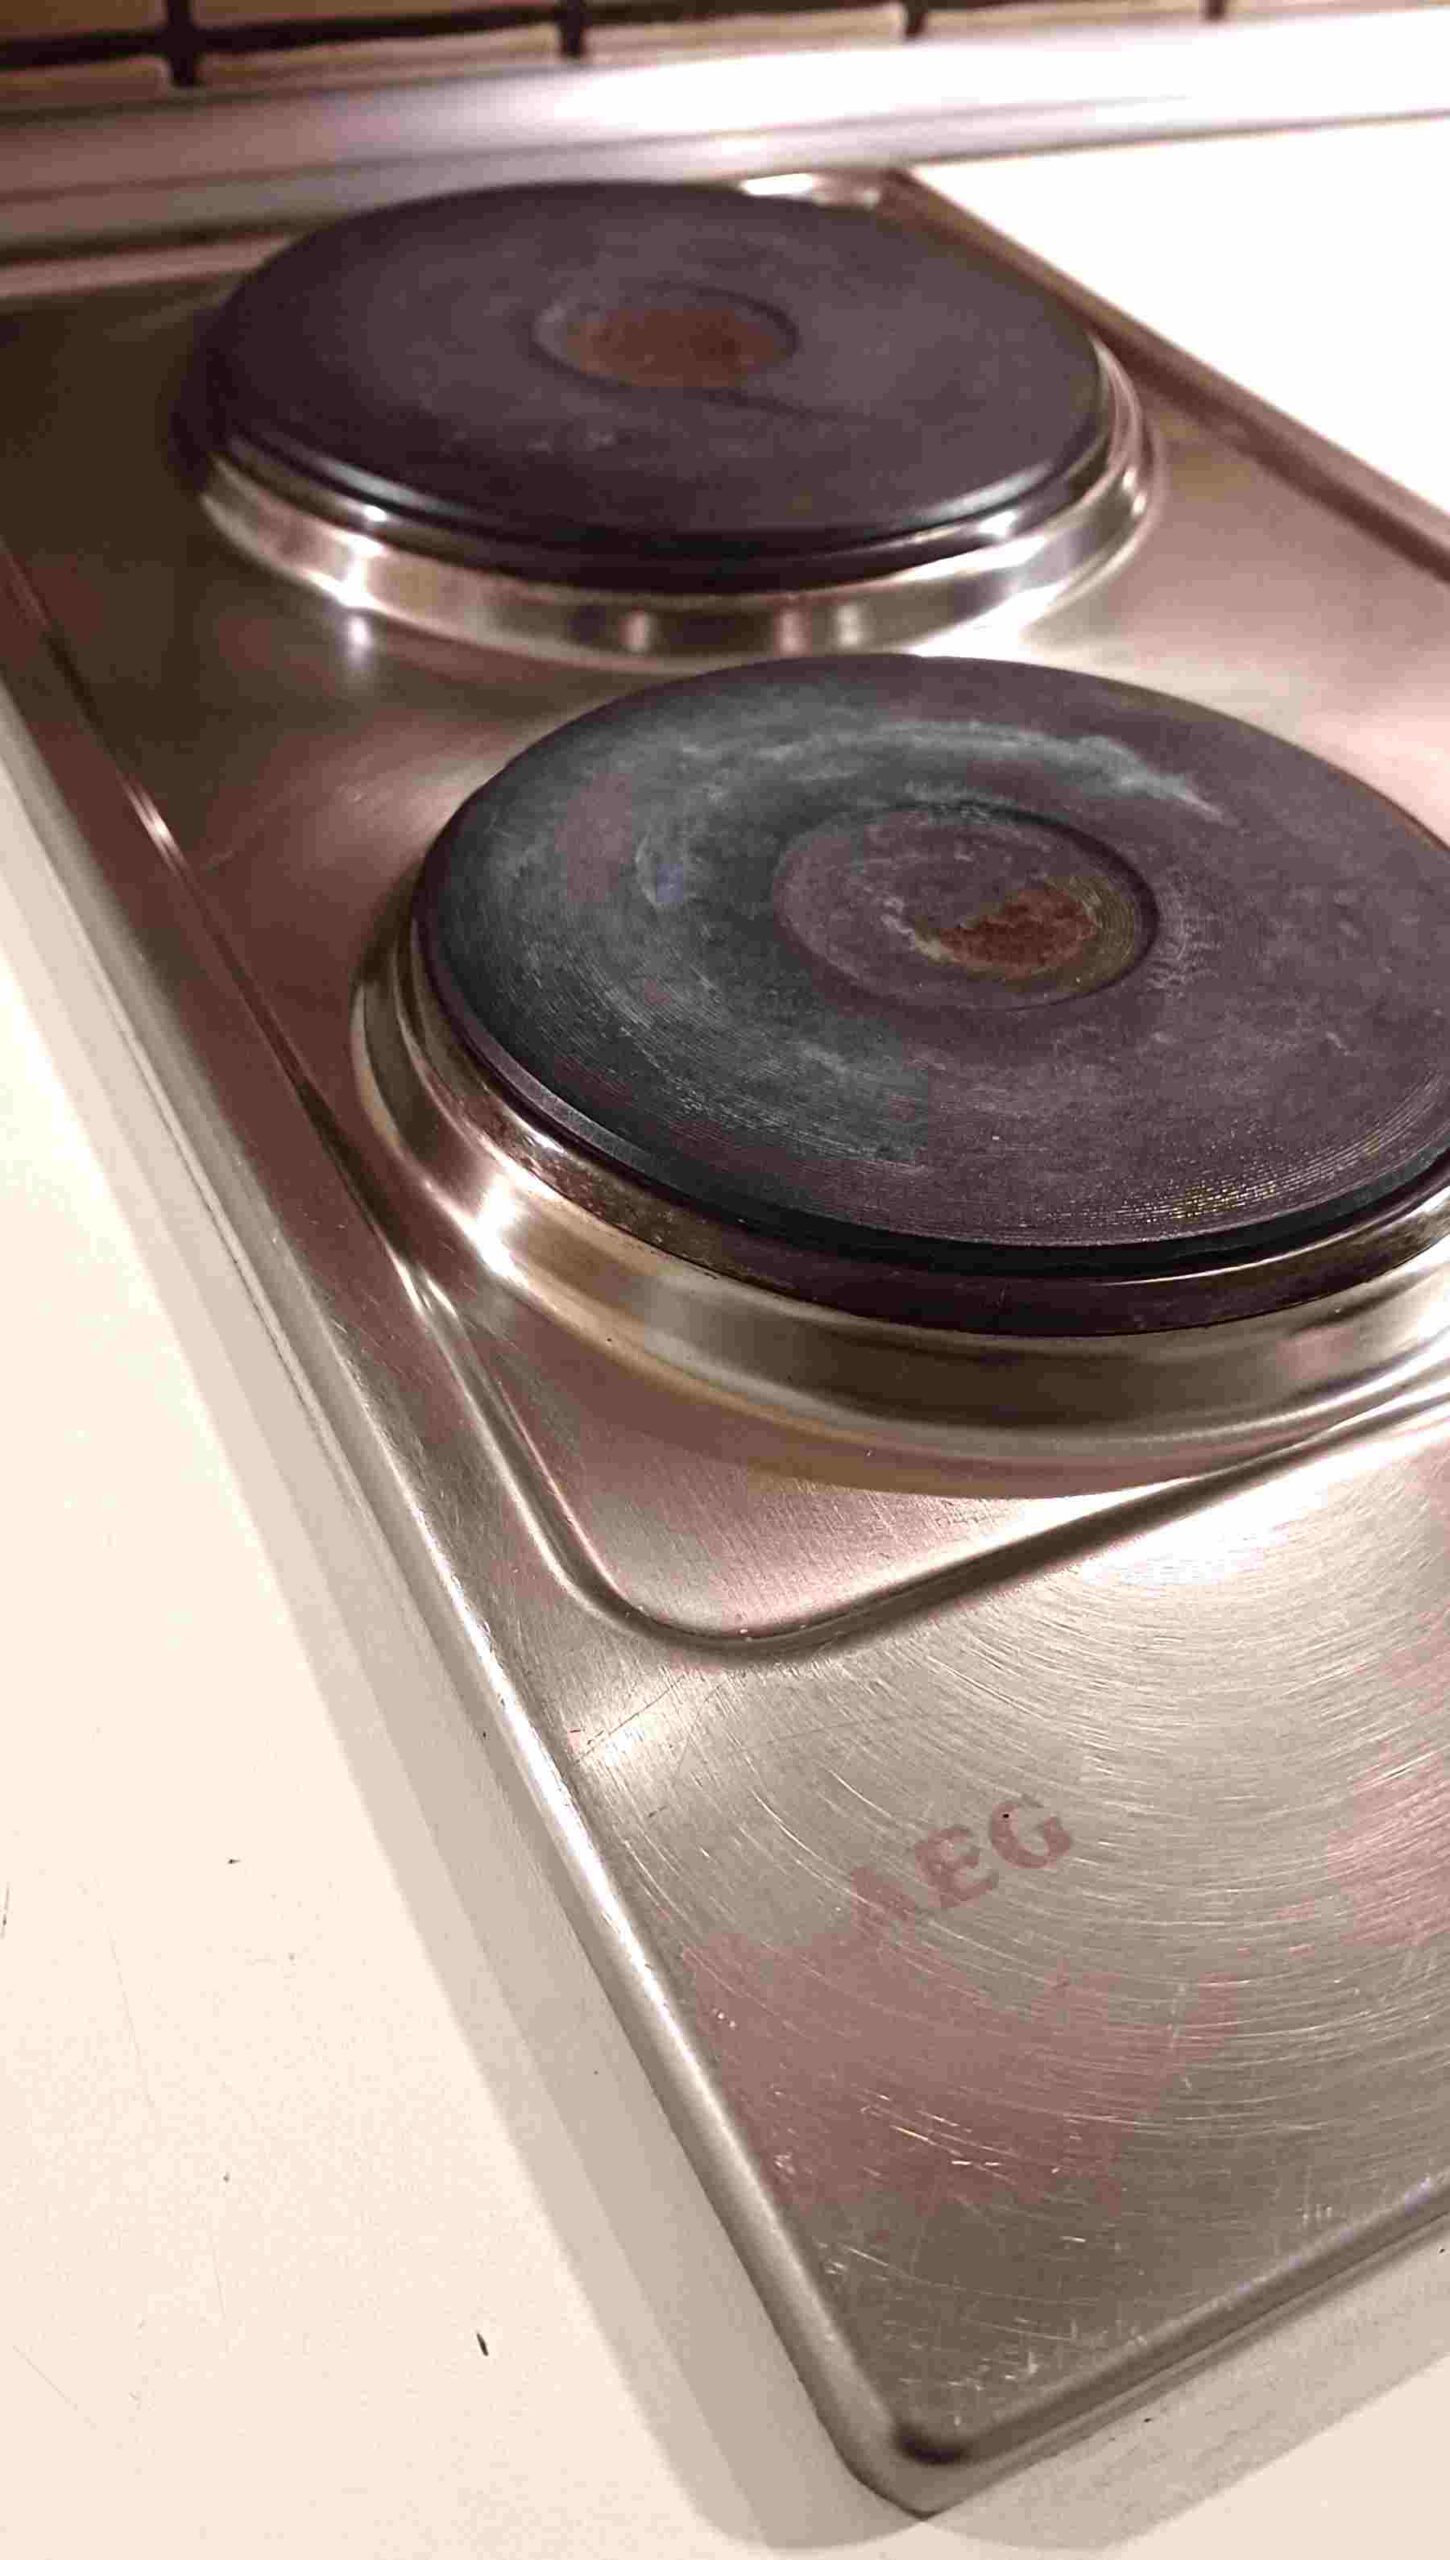
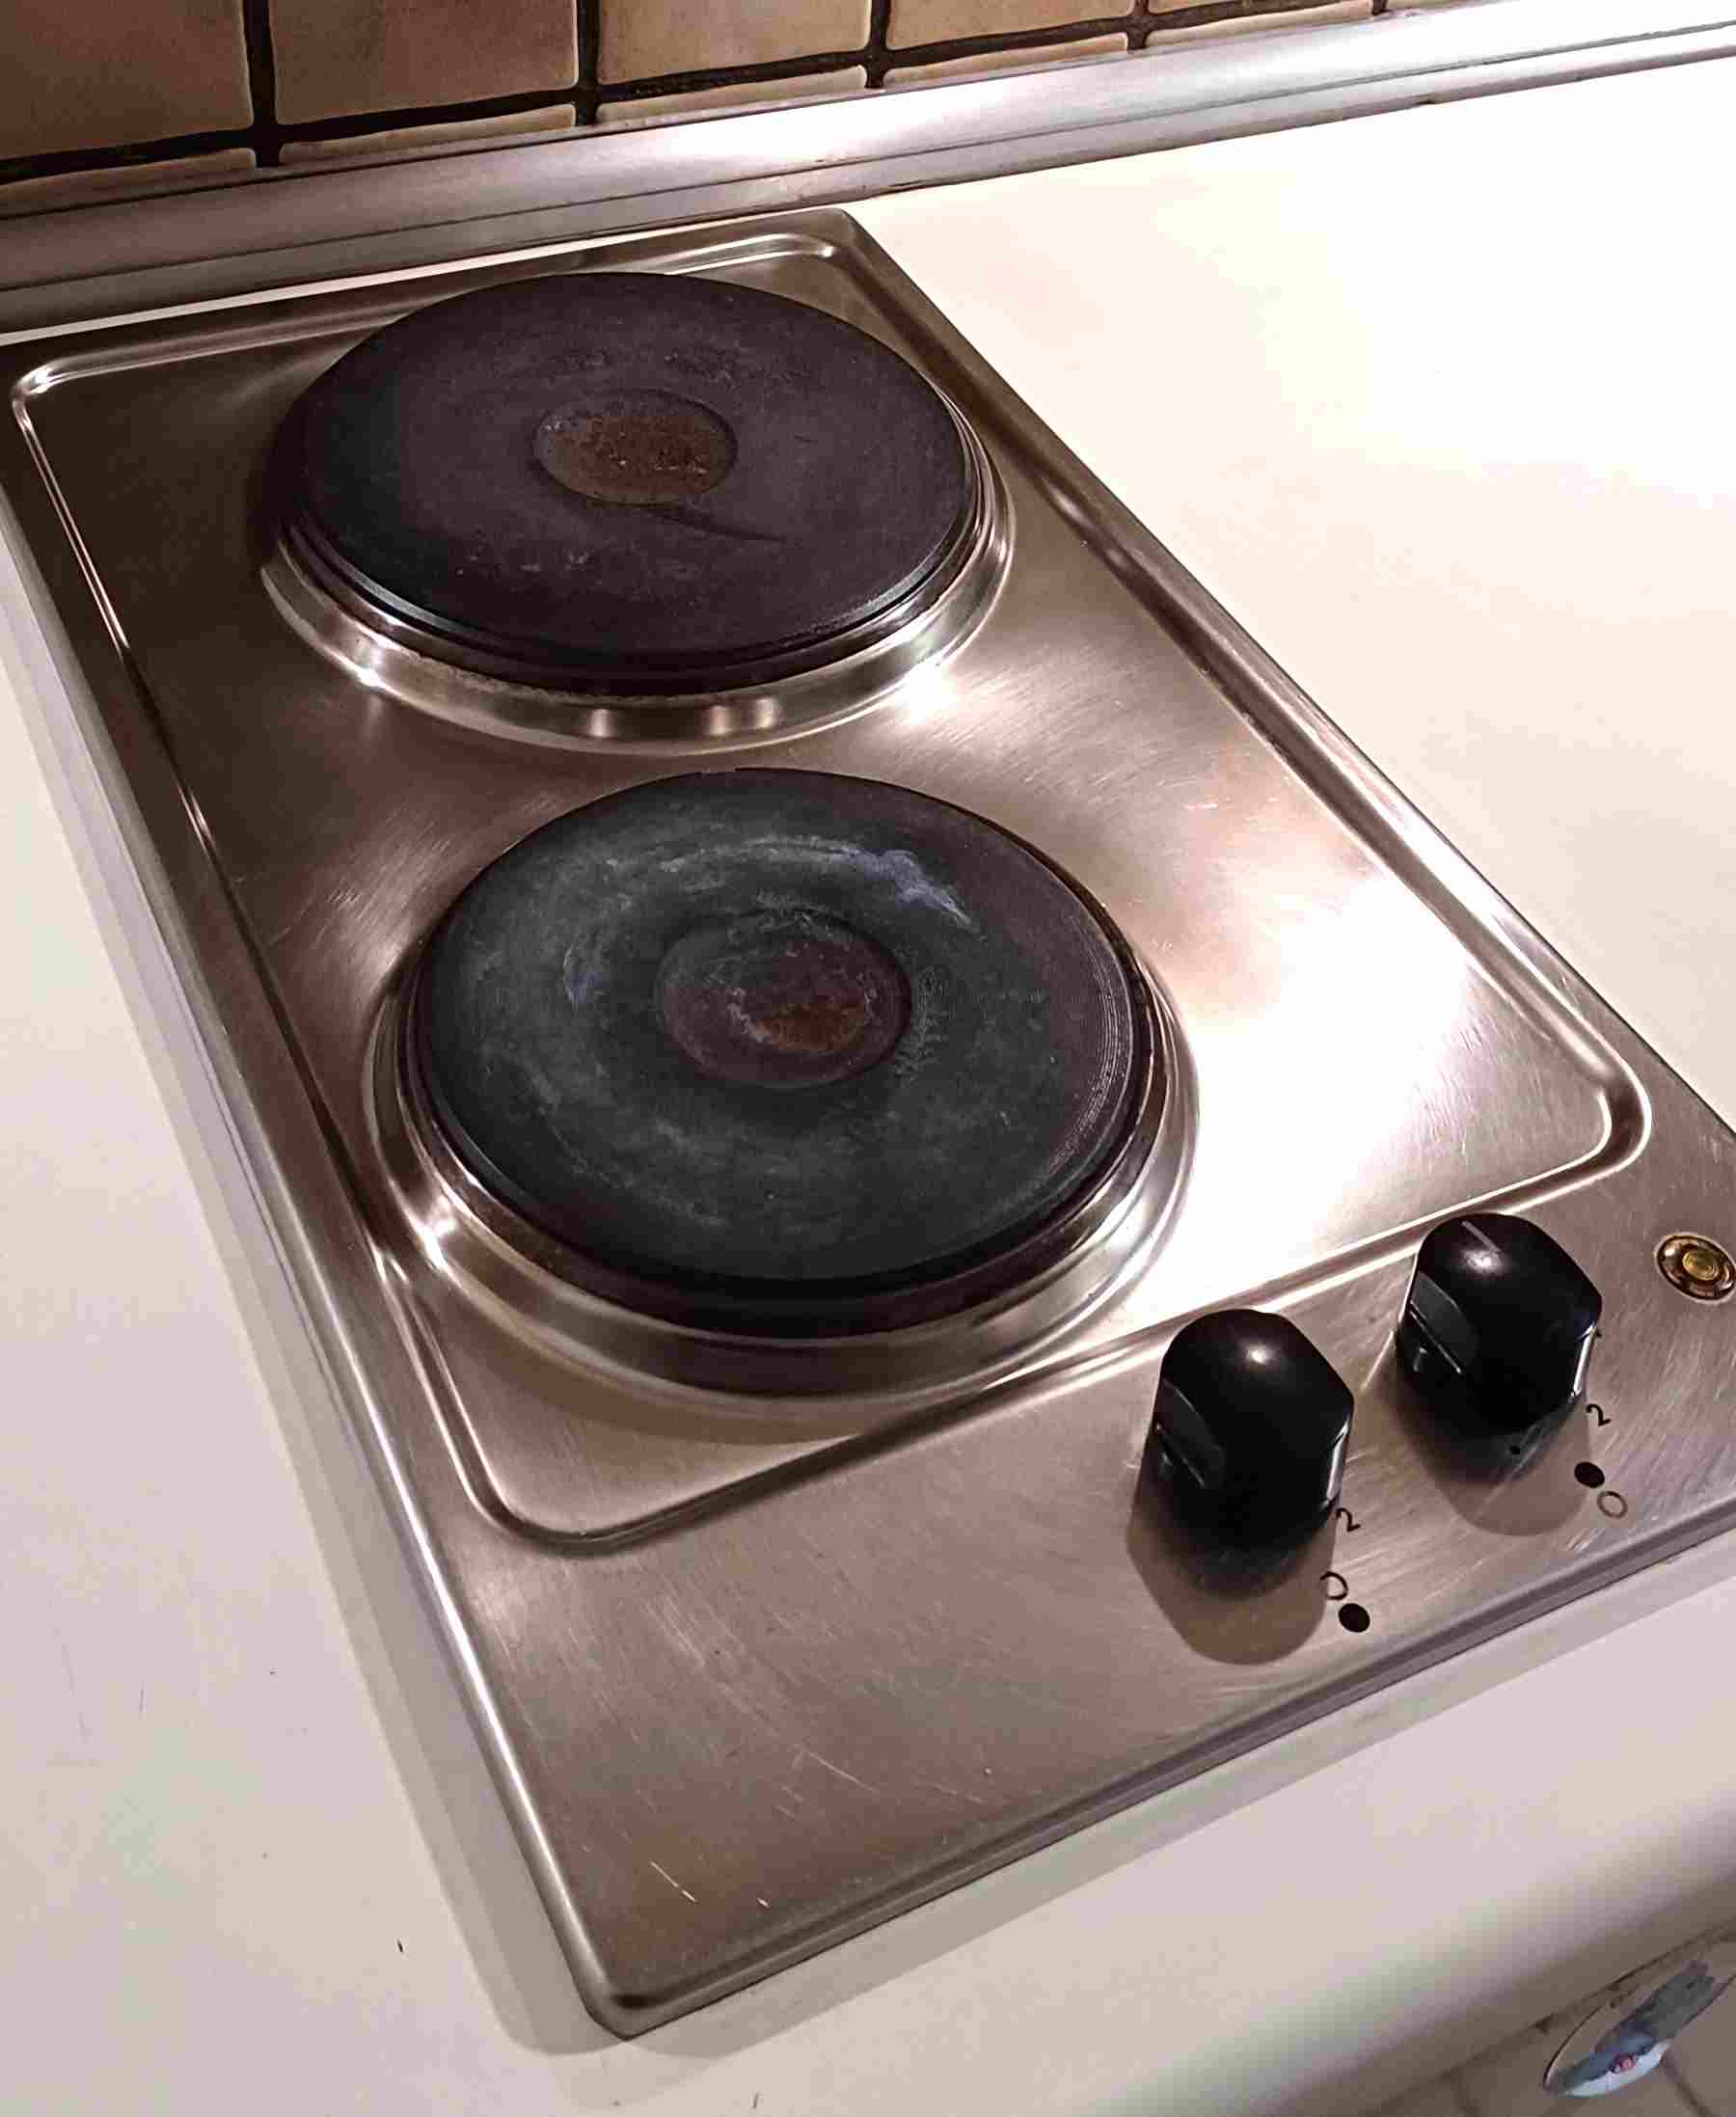
If these steam-cleaned results have sparked a little cleaning inspiration in You, drop a comment below and tell me what You’d tackle first!
🛠️ Want more practical DIY solutions and honest testing? Subscribe to our YouTube Channel A LoveMade Home for step-by-step video guides.

